Post by alanw on Feb 4, 2012 15:38:59 GMT 12
Hi All
Have been building this since July last year but other issues got in the way, so trying to finish it off.
I'm using the 1/32 Hasegawa kit basically OOB with a few refinements.
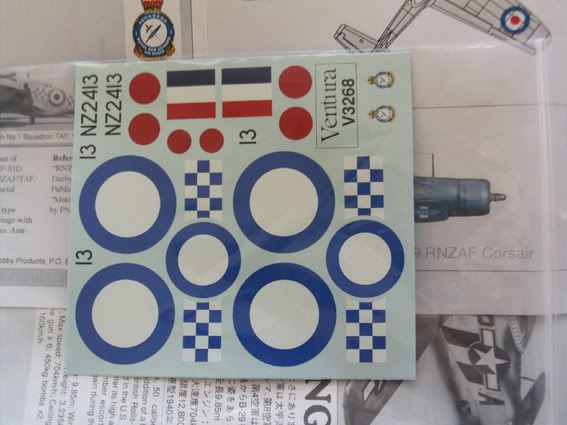
Markings are from the Ventura range for Auckland No.1 Squadron,
aircraft NZ2413 in HSS (High Speed Silver)

I'm also using this previous thread for some aditional guidance
rnzaf.proboards.com/index.cgi?board=Modelling&action=display&thread=11704&page=1
OK Building this beasty!!! ;D
Starting point is the Packard Merlin, I'm basically building it as
is from the box with out additional plumbing etc, as the engine won't be seen from the out side.
You can see the rear of the engine has had some putty added, as the joins were a bit askew (partly the kit and partly mine).
I applied Tamiya putty with an old scalpel blade and when dry(ish),
I used Q tips dipped in Acetone (nail polish) to smooth it out, this
allows you to get a good coverage and in areas where you need to
blend in curved areas, it works a treat. Some monor sanding with
wet & dry paper (very fine grade) and H2O, it came out great.
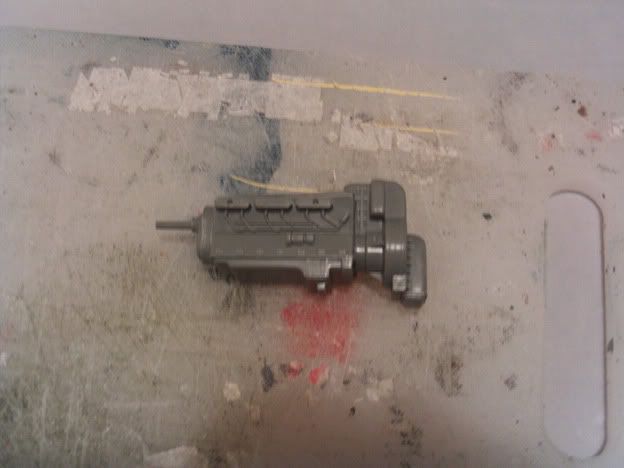
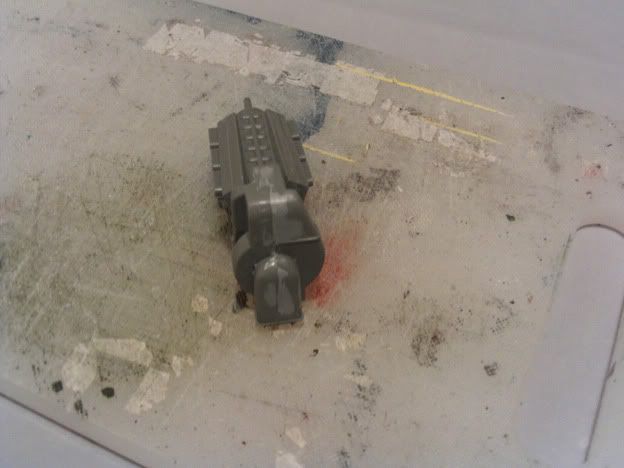
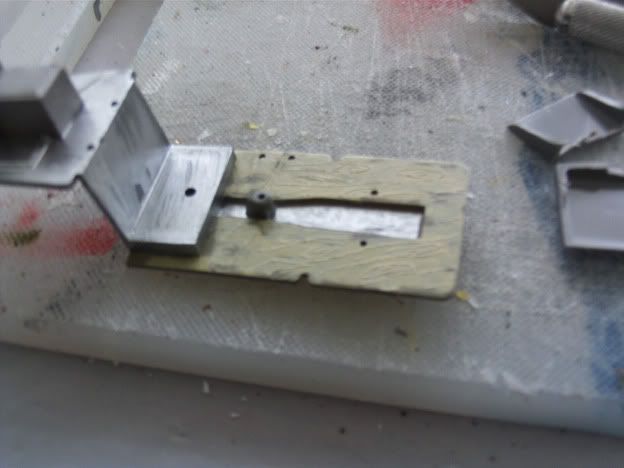
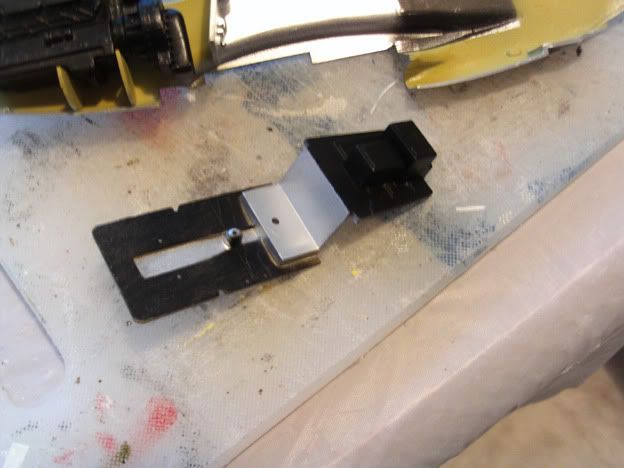
Now Hasegawa did not have any "mountings" such as engine bearers for the Merlin, (in fact the main item to hold the Merlin in place, is the 1 piece front plate for the engine spindle to poke through) and in wanting to build this in a reasonably decent pace I manufactured some mountings as in this photo
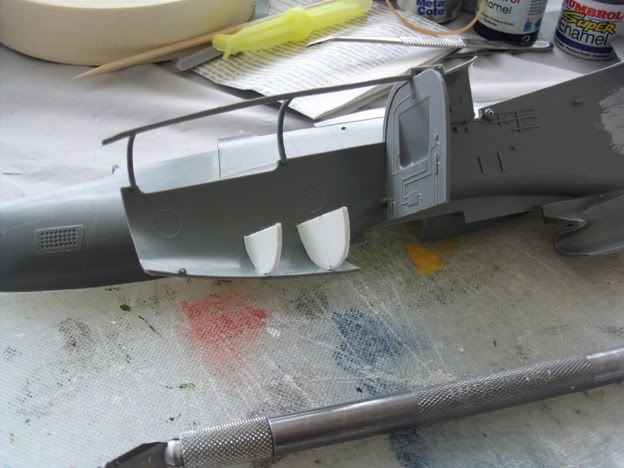
The engine resting in place, prior to paint and glue, with the Engine bay/forward cockpit bulkhead in place
On to the cockpit.
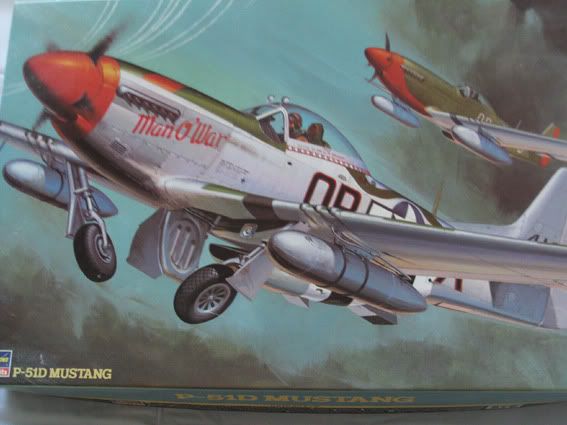
The kit seat was not correct from pictures I have seen of the type in P 51D's ( would expect the seats in the P 51's delivered to the RNZAF were the same)
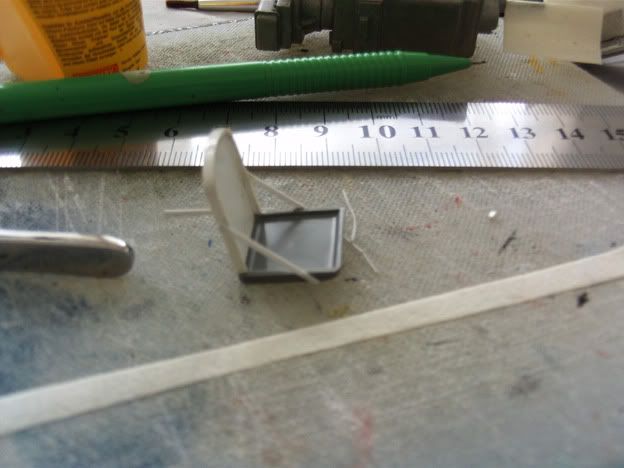
I cut off the back, ready to make a new one
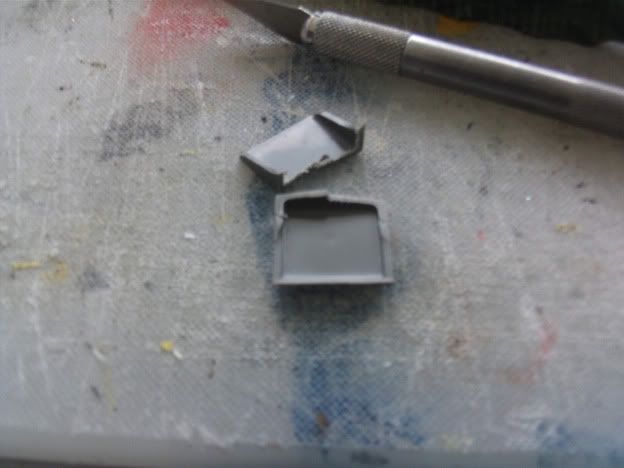
After a little surgery and shaping, plus addition of styrene, 1 seat!
Not quite perfec, but I like it ;D
As I understand it RNZAF Mustangs had black painted ply floor boards.
The flooring has been painted brown with Humbrol 71 Linen
over the top to represent plywood, prior to a coat of black paint
(there is a method to my madness here )
)
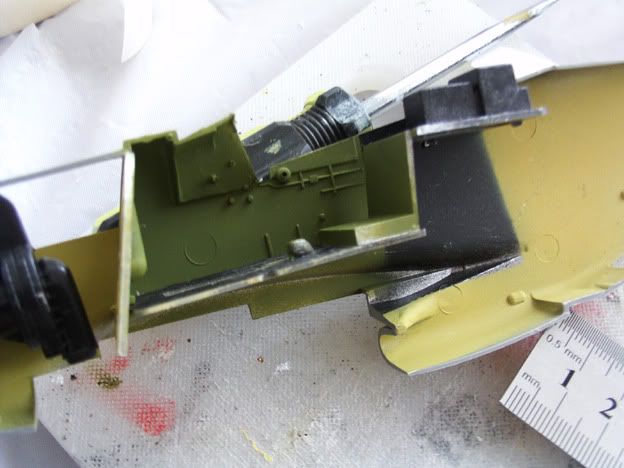
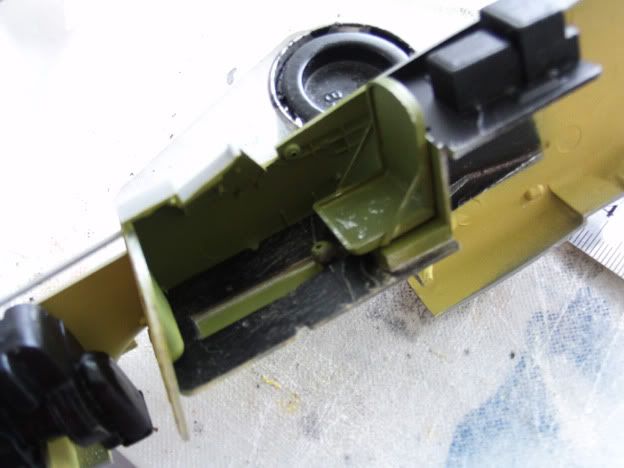
You will note in the above photo Aluminum paint has been added to other parts also as an undercoat also, this helps in weathering later.
Next photo shows the flooring and radio/fuel tank section painted in satin black
After the addition of US Interior Green, I applied some gentle rubbing with an old cloth (old T shirt) to the black, to reaveal the underlying colour of the wood -just subtle.
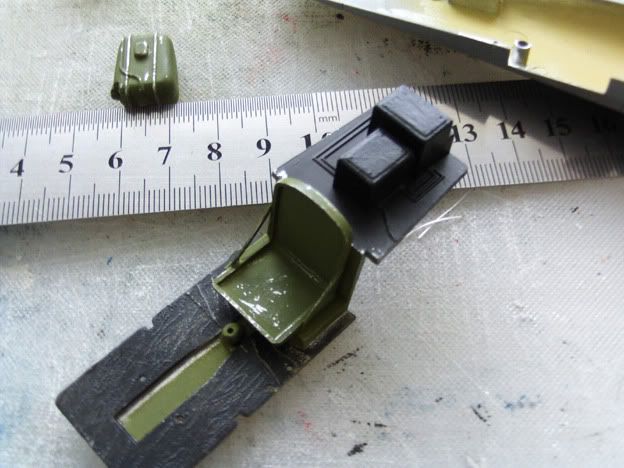
You will notice also I have done the same to the seat in strategic places where wear and tear would occur.
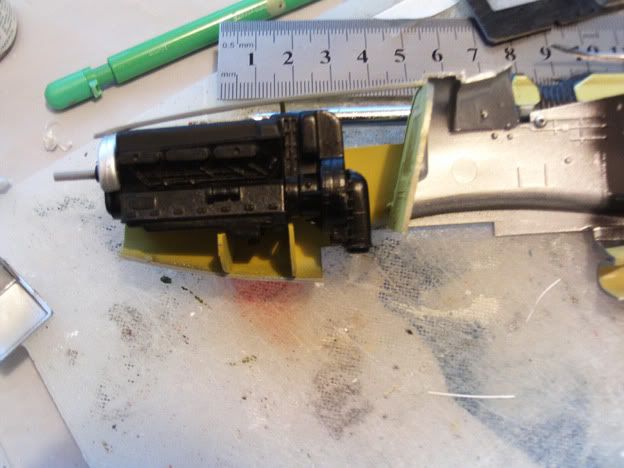
The fuselage was sprayed first with Yellow Zinc Chromate in the engine bay and rear fuselage, black for the radio/fuel tank area.
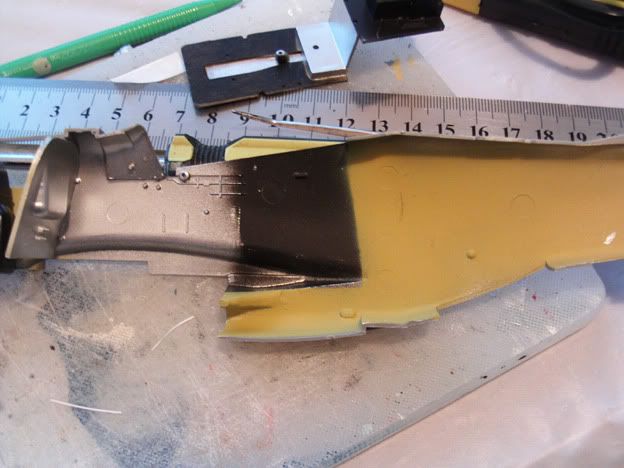
I tried to do a rough "feathering" as Anthony mentioned in the above link, worked to some extent.
Added some Interior Green
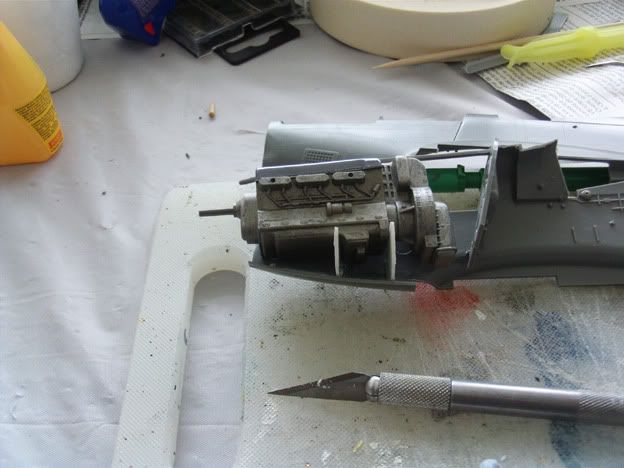
The Merlin painted and sitting on it's mounts (not glued yet)
Hope you enjoy, I have had fun!!! ;D
More soon
Regards
Alan
Have been building this since July last year but other issues got in the way, so trying to finish it off.
I'm using the 1/32 Hasegawa kit basically OOB with a few refinements.
Markings are from the Ventura range for Auckland No.1 Squadron,
aircraft NZ2413 in HSS (High Speed Silver)
I'm also using this previous thread for some aditional guidance
rnzaf.proboards.com/index.cgi?board=Modelling&action=display&thread=11704&page=1
OK Building this beasty!!! ;D
Starting point is the Packard Merlin, I'm basically building it as
is from the box with out additional plumbing etc, as the engine won't be seen from the out side.
You can see the rear of the engine has had some putty added, as the joins were a bit askew (partly the kit and partly mine).
I applied Tamiya putty with an old scalpel blade and when dry(ish),
I used Q tips dipped in Acetone (nail polish) to smooth it out, this
allows you to get a good coverage and in areas where you need to
blend in curved areas, it works a treat. Some monor sanding with
wet & dry paper (very fine grade) and H2O, it came out great.
Now Hasegawa did not have any "mountings" such as engine bearers for the Merlin, (in fact the main item to hold the Merlin in place, is the 1 piece front plate for the engine spindle to poke through) and in wanting to build this in a reasonably decent pace I manufactured some mountings as in this photo
The engine resting in place, prior to paint and glue, with the Engine bay/forward cockpit bulkhead in place
On to the cockpit.
The kit seat was not correct from pictures I have seen of the type in P 51D's ( would expect the seats in the P 51's delivered to the RNZAF were the same)
I cut off the back, ready to make a new one
After a little surgery and shaping, plus addition of styrene, 1 seat!
Not quite perfec, but I like it ;D
As I understand it RNZAF Mustangs had black painted ply floor boards.
The flooring has been painted brown with Humbrol 71 Linen
over the top to represent plywood, prior to a coat of black paint
(there is a method to my madness here
 )
)You will note in the above photo Aluminum paint has been added to other parts also as an undercoat also, this helps in weathering later.
Next photo shows the flooring and radio/fuel tank section painted in satin black
After the addition of US Interior Green, I applied some gentle rubbing with an old cloth (old T shirt) to the black, to reaveal the underlying colour of the wood -just subtle.
You will notice also I have done the same to the seat in strategic places where wear and tear would occur.
The fuselage was sprayed first with Yellow Zinc Chromate in the engine bay and rear fuselage, black for the radio/fuel tank area.
I tried to do a rough "feathering" as Anthony mentioned in the above link, worked to some extent.
Added some Interior Green
The Merlin painted and sitting on it's mounts (not glued yet)
Hope you enjoy, I have had fun!!! ;D
More soon
Regards
Alan