1/72 Miles Aerovan Resin Cast Scratch Build
Oct 4, 2014 20:50:59 GMT 12
Dave Homewood, mumbles, and 4 more like this
Post by Bruce on Oct 4, 2014 20:50:59 GMT 12
In order to fill a gap in my RNZAF aircraft collection, I have wanted to build a Miles Aerovan. Only 2 served with the RNZAf for a short period on R&D work. Unfortunately there has never been a kit of this type, soI decided to scratch build one using the Resin cast process. I had previously resin moulded the engines for my MR5 Sunderland, but building a complete aircraft is a bit more complex. In effect you build the model 4 times - Pattern, Outside and inside mould making, Resin casting and the actual assembly. I takes a bit of thinking around!
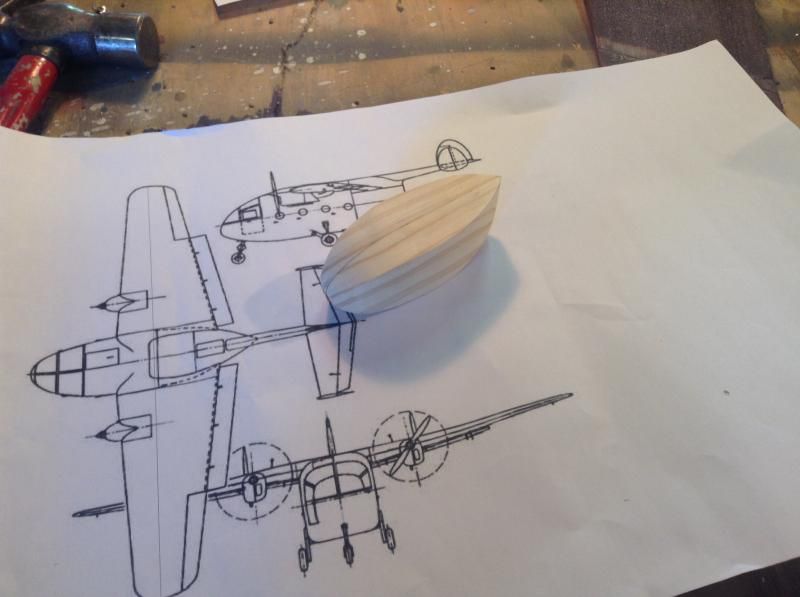
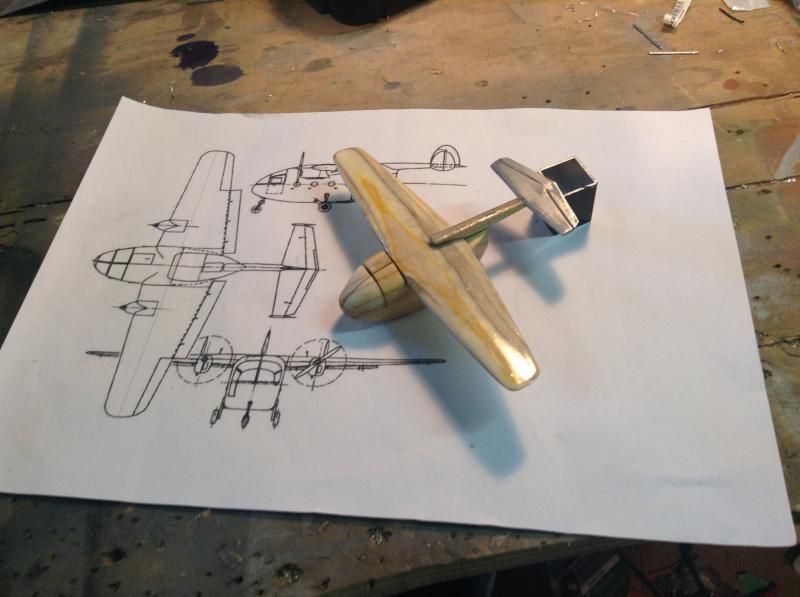
I started by making wooden patterns. Cut from Pine and plywood on a bandsaw and shaped on a belt Sander. The blanks were then split into the component sections, sealed with resin and finished with spray putty and wet and dry sandpaper to get a smooth finish. Other sections of the patterns were made from aluminium and Knead It Putty. Surface detail was added from plastic strip and rod.
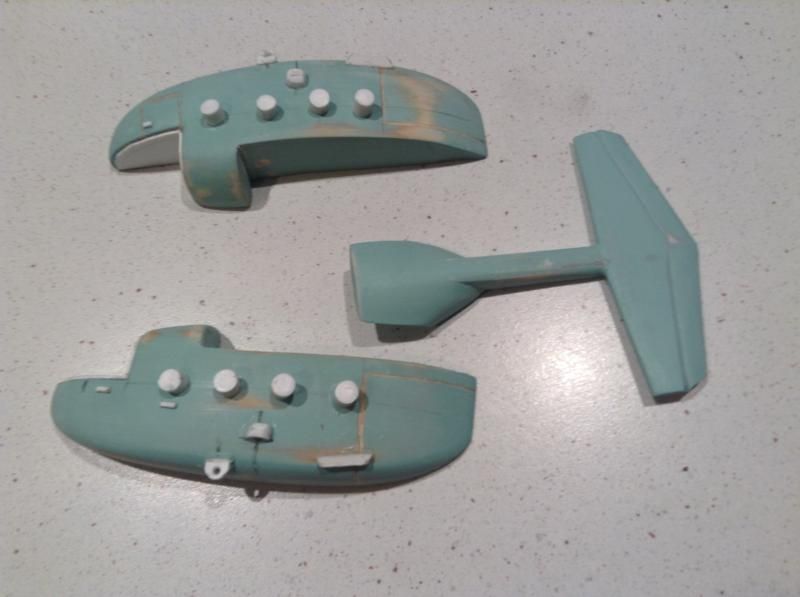
I finished the patterns with a Laquer finish as the moulding process will show the difference between matt and gloss paint! the fuselage is hollow so the moulding process is complex. I laid the fuselage halves out and built up a mould box as below. the square nuts are to make alignment tabs to keep the halves of the mould aligned.
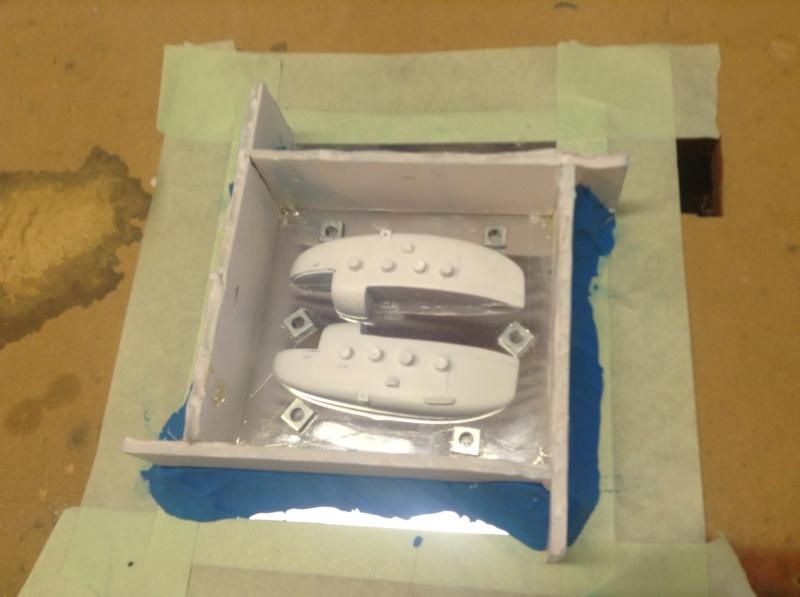
The mould box was filled with 2 part silicone moulding compund, which is pretty freaky in that it will only stick to itself!
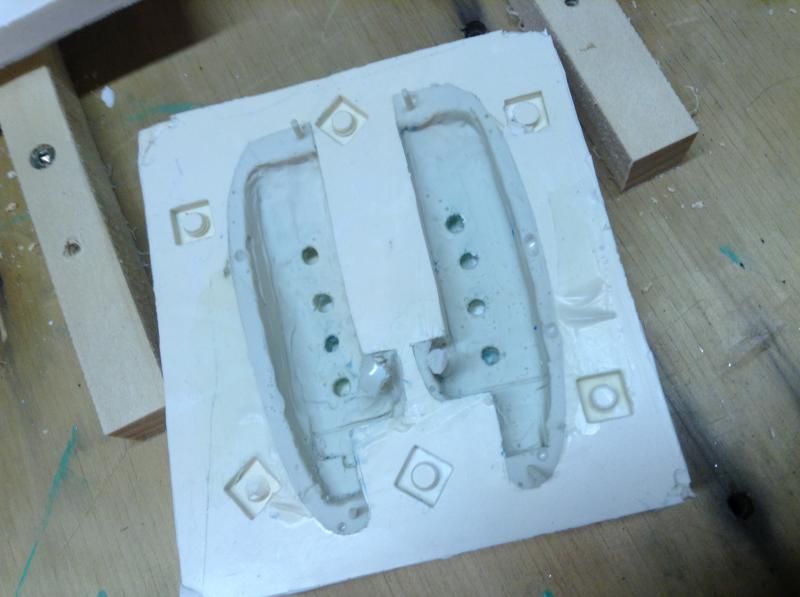
I didnt take any photos of the next stage, but when the patterns were removed, I built up the internal shaping using plasticene, applied a release agent to all the silicone surfaces and poured the second half of the mould.
Once the halves were split and the plasticene removed, I set up for a pour. I used a wooden jig to keep everything aligned and clamped together:
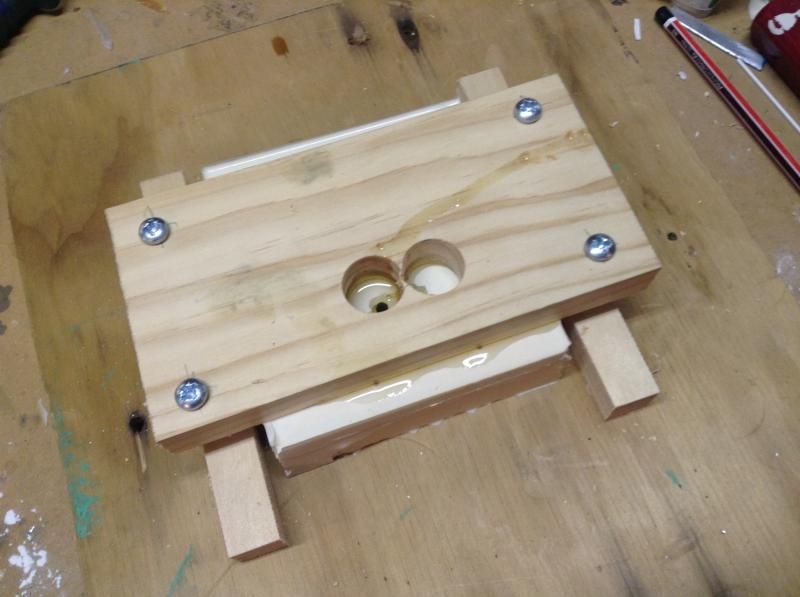
the resin sets really quick and cats well, but I had to have a couple of goes to get nice castings without voids:
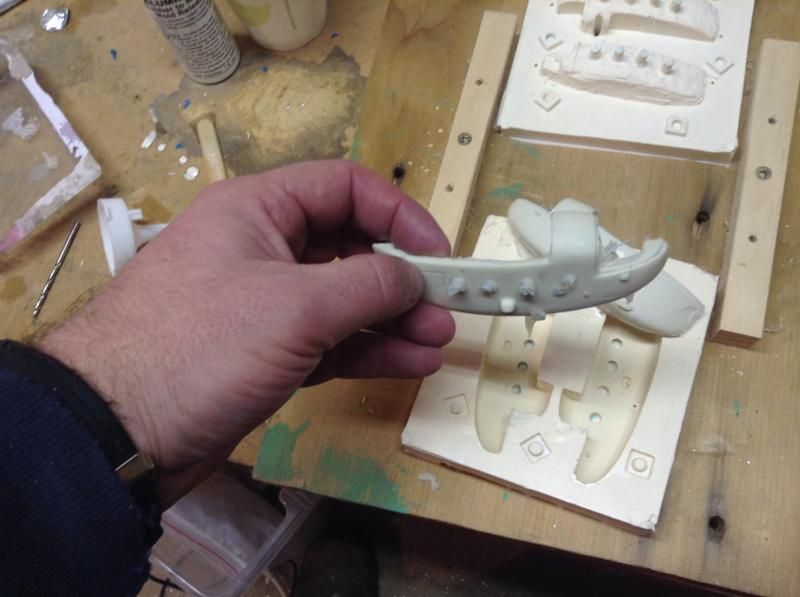
The wings and other compoents were moulded and cast in a similar manner.
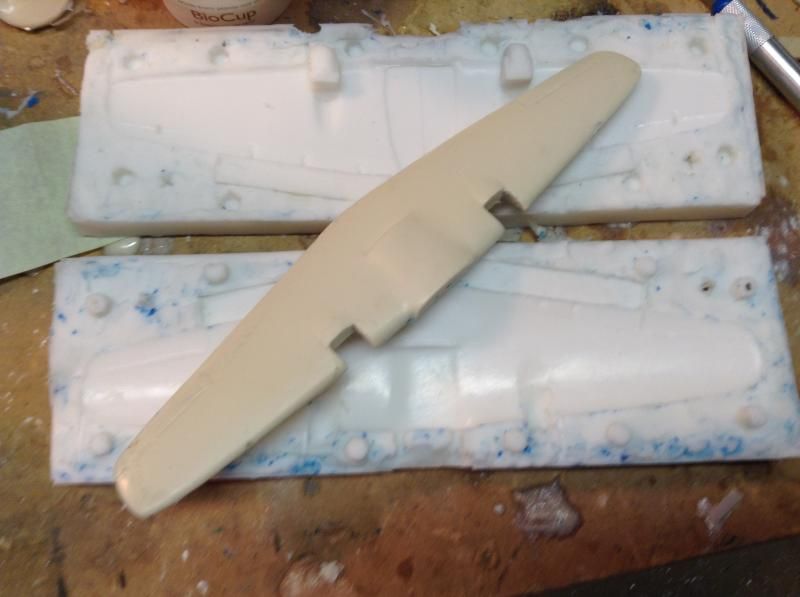
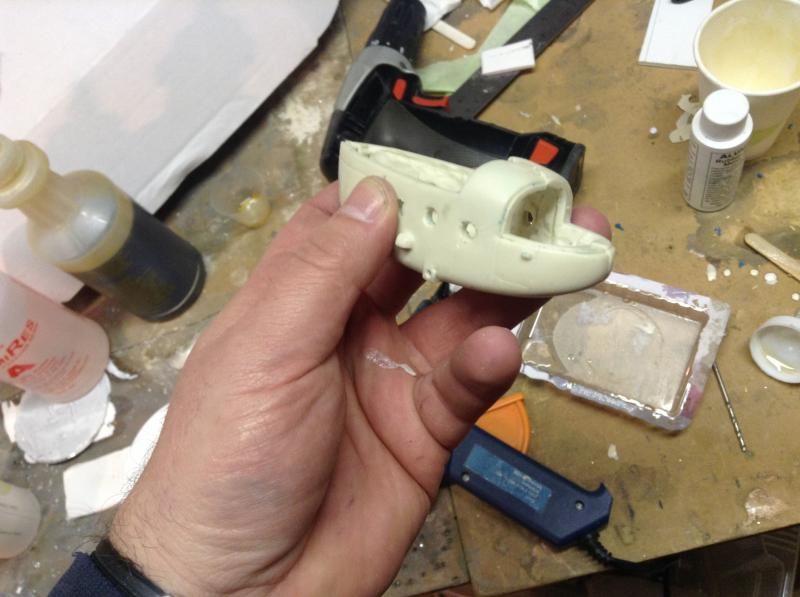
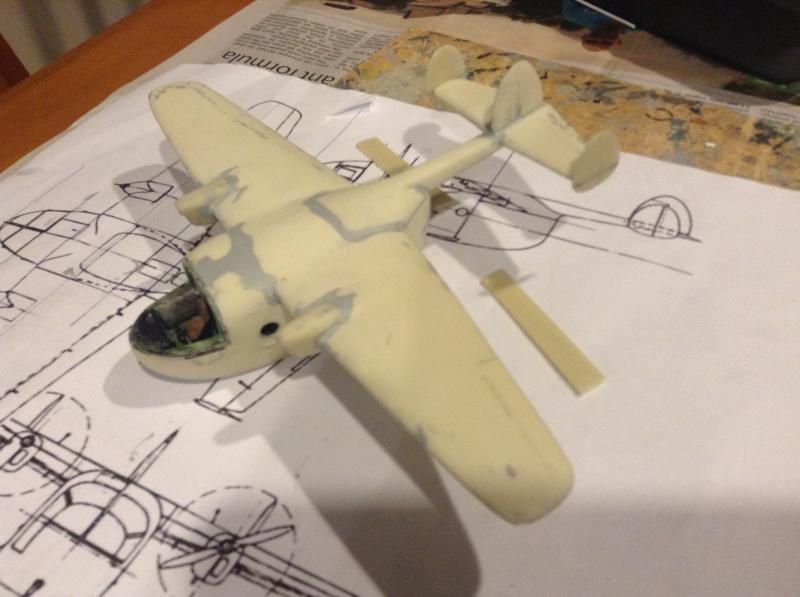
A full set of cast components (with fuselage already joined)

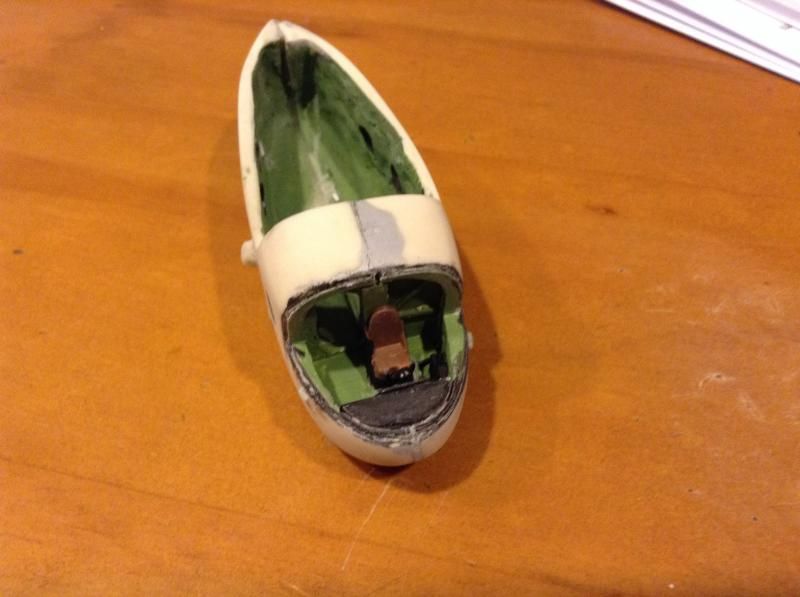
I had joined the fuselage and detailed the cockpit using some Dragon Rapide bits from my bits box. Unfortunately a lot of this detail went to waste later as I needed a lot more lead weight in the nose to get it to sit right, and the only spot available was beside the pilot's seat
anyway, assembling the components was pretty straightforward, although a bit of filler is needed, as with most scratchbuilds or limited run models.
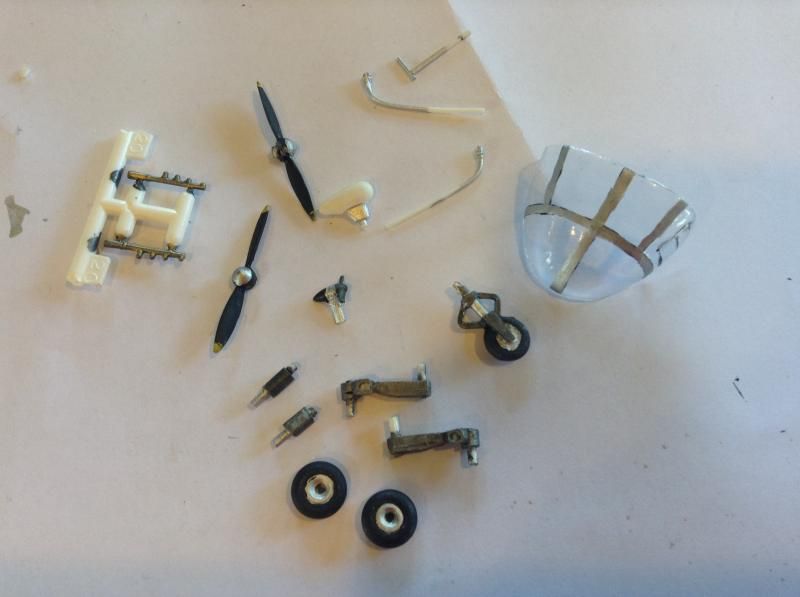
The various small components were made up from plastic rod and strips, and bits from the bits box - including more Rapide bits... The windscreen was vac formed over a chucnk of the original wooden pattern. I could have taken resin casts of these too, but I didnt need the extra hassle!
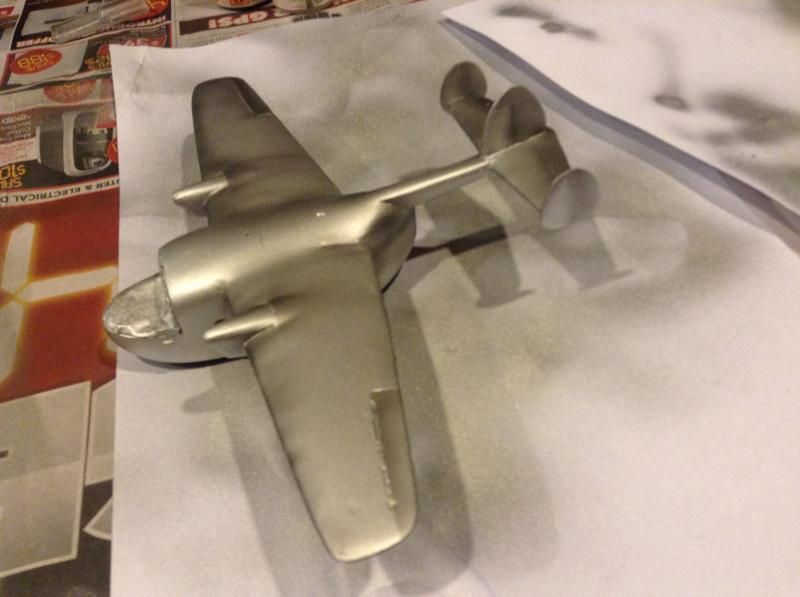
The model was airbrushed using Tamiya acrylics, with a little shading / highlights.
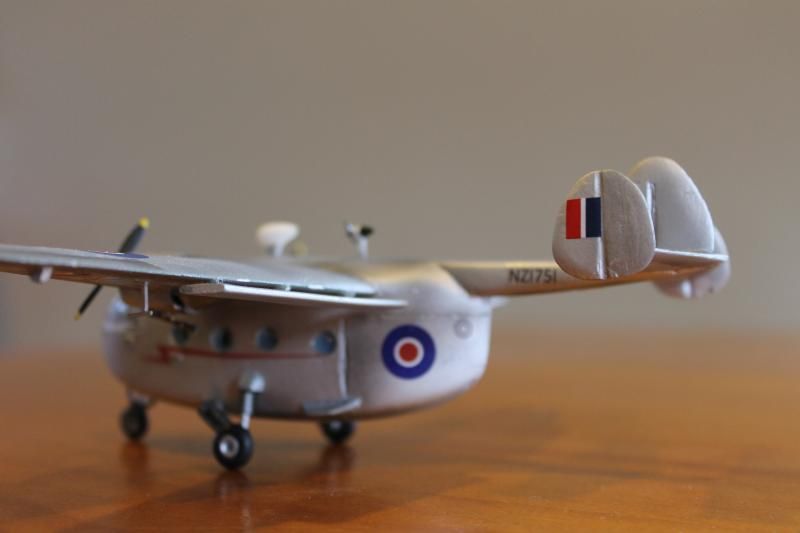
To finish the model I used C type roundels and fin flashes from the bits box, with Inkjet printed serials and Lightning flash fuselage stripes (The Aerovan must be the most unlikely machine to have Lightning flash stripes - must have made it seem more powerful! )The Stripes were particularly tricky to apply - very fiddly. NZ1752 would have been my first choice as it had a magnetometer mount under the tailboom, however the model was already showing tail heaviness problems, so I changed to 1751, which was used for topdressing experiments (!) and didnt have any extra fittings.
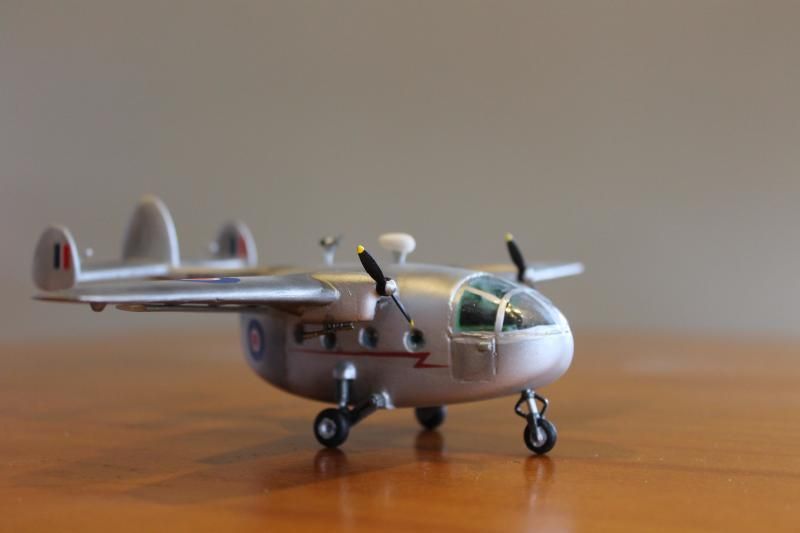
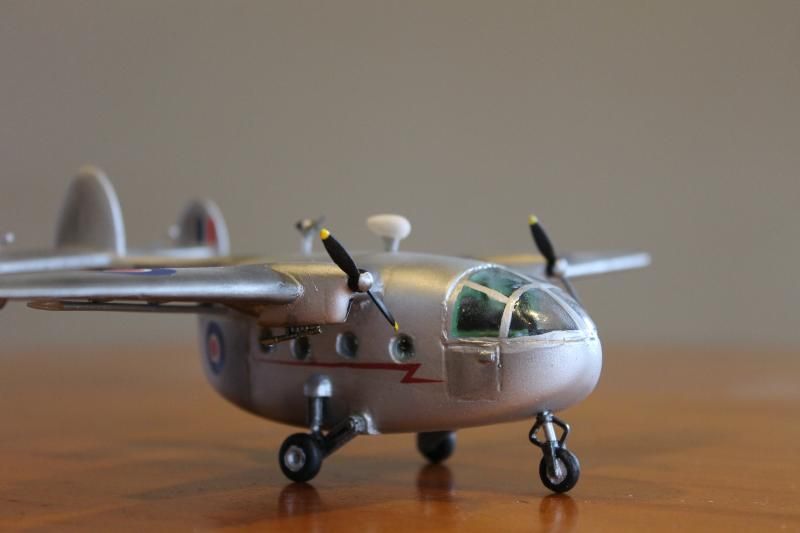
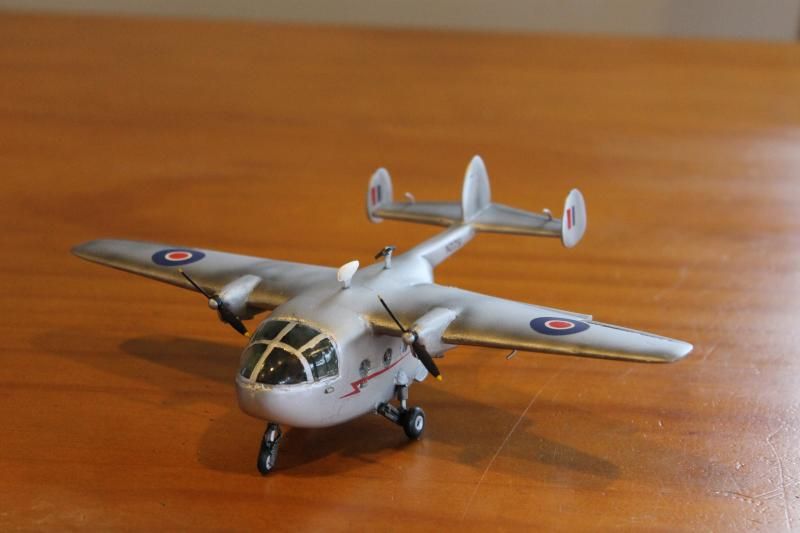
Due to very stormy weather today, I stayed home and completed the model:
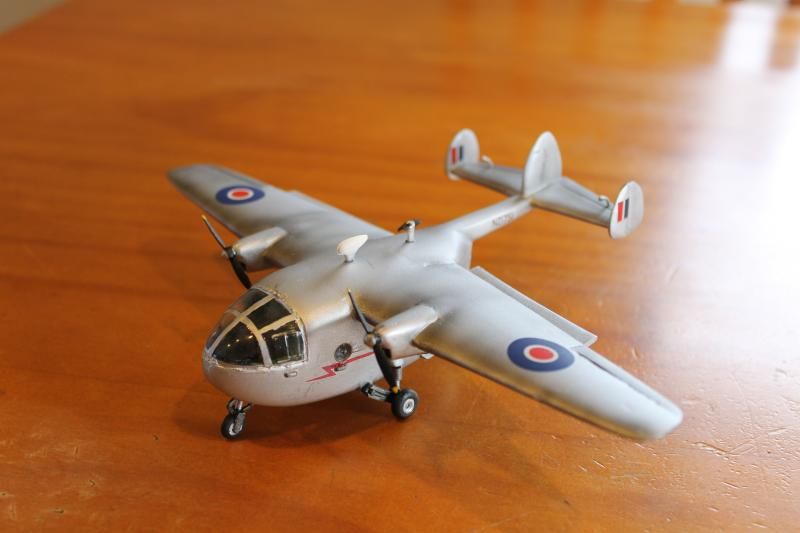
Overall I am really pleased with the result. Its been a fun learning curve and I've almost got my head around resin casting now! As with most models there are several areas which arent quite right and unfortunately I know they are there!....
I started by making wooden patterns. Cut from Pine and plywood on a bandsaw and shaped on a belt Sander. The blanks were then split into the component sections, sealed with resin and finished with spray putty and wet and dry sandpaper to get a smooth finish. Other sections of the patterns were made from aluminium and Knead It Putty. Surface detail was added from plastic strip and rod.
I finished the patterns with a Laquer finish as the moulding process will show the difference between matt and gloss paint! the fuselage is hollow so the moulding process is complex. I laid the fuselage halves out and built up a mould box as below. the square nuts are to make alignment tabs to keep the halves of the mould aligned.
The mould box was filled with 2 part silicone moulding compund, which is pretty freaky in that it will only stick to itself!
I didnt take any photos of the next stage, but when the patterns were removed, I built up the internal shaping using plasticene, applied a release agent to all the silicone surfaces and poured the second half of the mould.
Once the halves were split and the plasticene removed, I set up for a pour. I used a wooden jig to keep everything aligned and clamped together:
the resin sets really quick and cats well, but I had to have a couple of goes to get nice castings without voids:
The wings and other compoents were moulded and cast in a similar manner.
A full set of cast components (with fuselage already joined)
I had joined the fuselage and detailed the cockpit using some Dragon Rapide bits from my bits box. Unfortunately a lot of this detail went to waste later as I needed a lot more lead weight in the nose to get it to sit right, and the only spot available was beside the pilot's seat

anyway, assembling the components was pretty straightforward, although a bit of filler is needed, as with most scratchbuilds or limited run models.
The various small components were made up from plastic rod and strips, and bits from the bits box - including more Rapide bits... The windscreen was vac formed over a chucnk of the original wooden pattern. I could have taken resin casts of these too, but I didnt need the extra hassle!
The model was airbrushed using Tamiya acrylics, with a little shading / highlights.
To finish the model I used C type roundels and fin flashes from the bits box, with Inkjet printed serials and Lightning flash fuselage stripes (The Aerovan must be the most unlikely machine to have Lightning flash stripes - must have made it seem more powerful!
 )The Stripes were particularly tricky to apply - very fiddly. NZ1752 would have been my first choice as it had a magnetometer mount under the tailboom, however the model was already showing tail heaviness problems, so I changed to 1751, which was used for topdressing experiments (!) and didnt have any extra fittings.
 Due to very stormy weather today, I stayed home and completed the model:
Overall I am really pleased with the result. Its been a fun learning curve and I've almost got my head around resin casting now! As with most models there are several areas which arent quite right and unfortunately I know they are there!....