|
|
Post by kiwi285 on Nov 5, 2018 16:04:42 GMT 12
Fantastic info David - thank you very much for taking the time to respond in such detail.
|
|
|
|
Post by kiwi285 on Nov 6, 2018 16:19:36 GMT 12
Hope you won't suffer any withdrawal symptoms but I will be away on holiday until the 19 November. There should have been some progress by then although I know that some of the team are heading to Gisborne and some to Dairy Flat so will see what transpires.
|
|
|
|
Post by Dave Homewood on Nov 6, 2018 16:57:45 GMT 12
Have a nice break Mike.
|
|
|
|
Post by kiwi285 on Nov 6, 2018 21:24:32 GMT 12
Thanks Dave. Next year is going to be a real interesting one for the team. |
|
|
|
Post by davidd on Nov 7, 2018 10:10:07 GMT 12
Kiwi285,
Glad your enjoyed my last post; if I did not get any feedback (preferably positive!) I would probably contribute less, but should I be labouring under any misapprehensions, then I do appreciate being supplied with a superior version of history. We all make mistakes, but the vast majority of them are not deliberate.
David D
|
|
|
|
Post by Dave Homewood on Nov 7, 2018 10:41:07 GMT 12
I for one always appreciate your detailed contributions to the conversations David. It's always amazing how much you manage to dig out to add to the discussions, it's fantastic! If no-one comments it is not because we do not enjoy what you write, because we do. We're really fortunate to have you here.
|
|
|
|
Post by baz62 on Nov 7, 2018 14:48:27 GMT 12
Yes your detail is much appreciated David and I certainly have learned a lot.
|
|
|
|
Post by johnnyfalcon on Nov 7, 2018 15:03:57 GMT 12
Ditto to the above kudos David. Whenever I see a DD post I sit up and take notice!
|
|
|
|
Post by kiwi285 on Nov 21, 2018 13:34:08 GMT 12
|
|
|
|
Post by ZacYates on Nov 22, 2018 14:23:07 GMT 12
Great stuff Mike, thanks for sharing. It really is stunning to see how quickly the project is progressing!
|
|
|
|
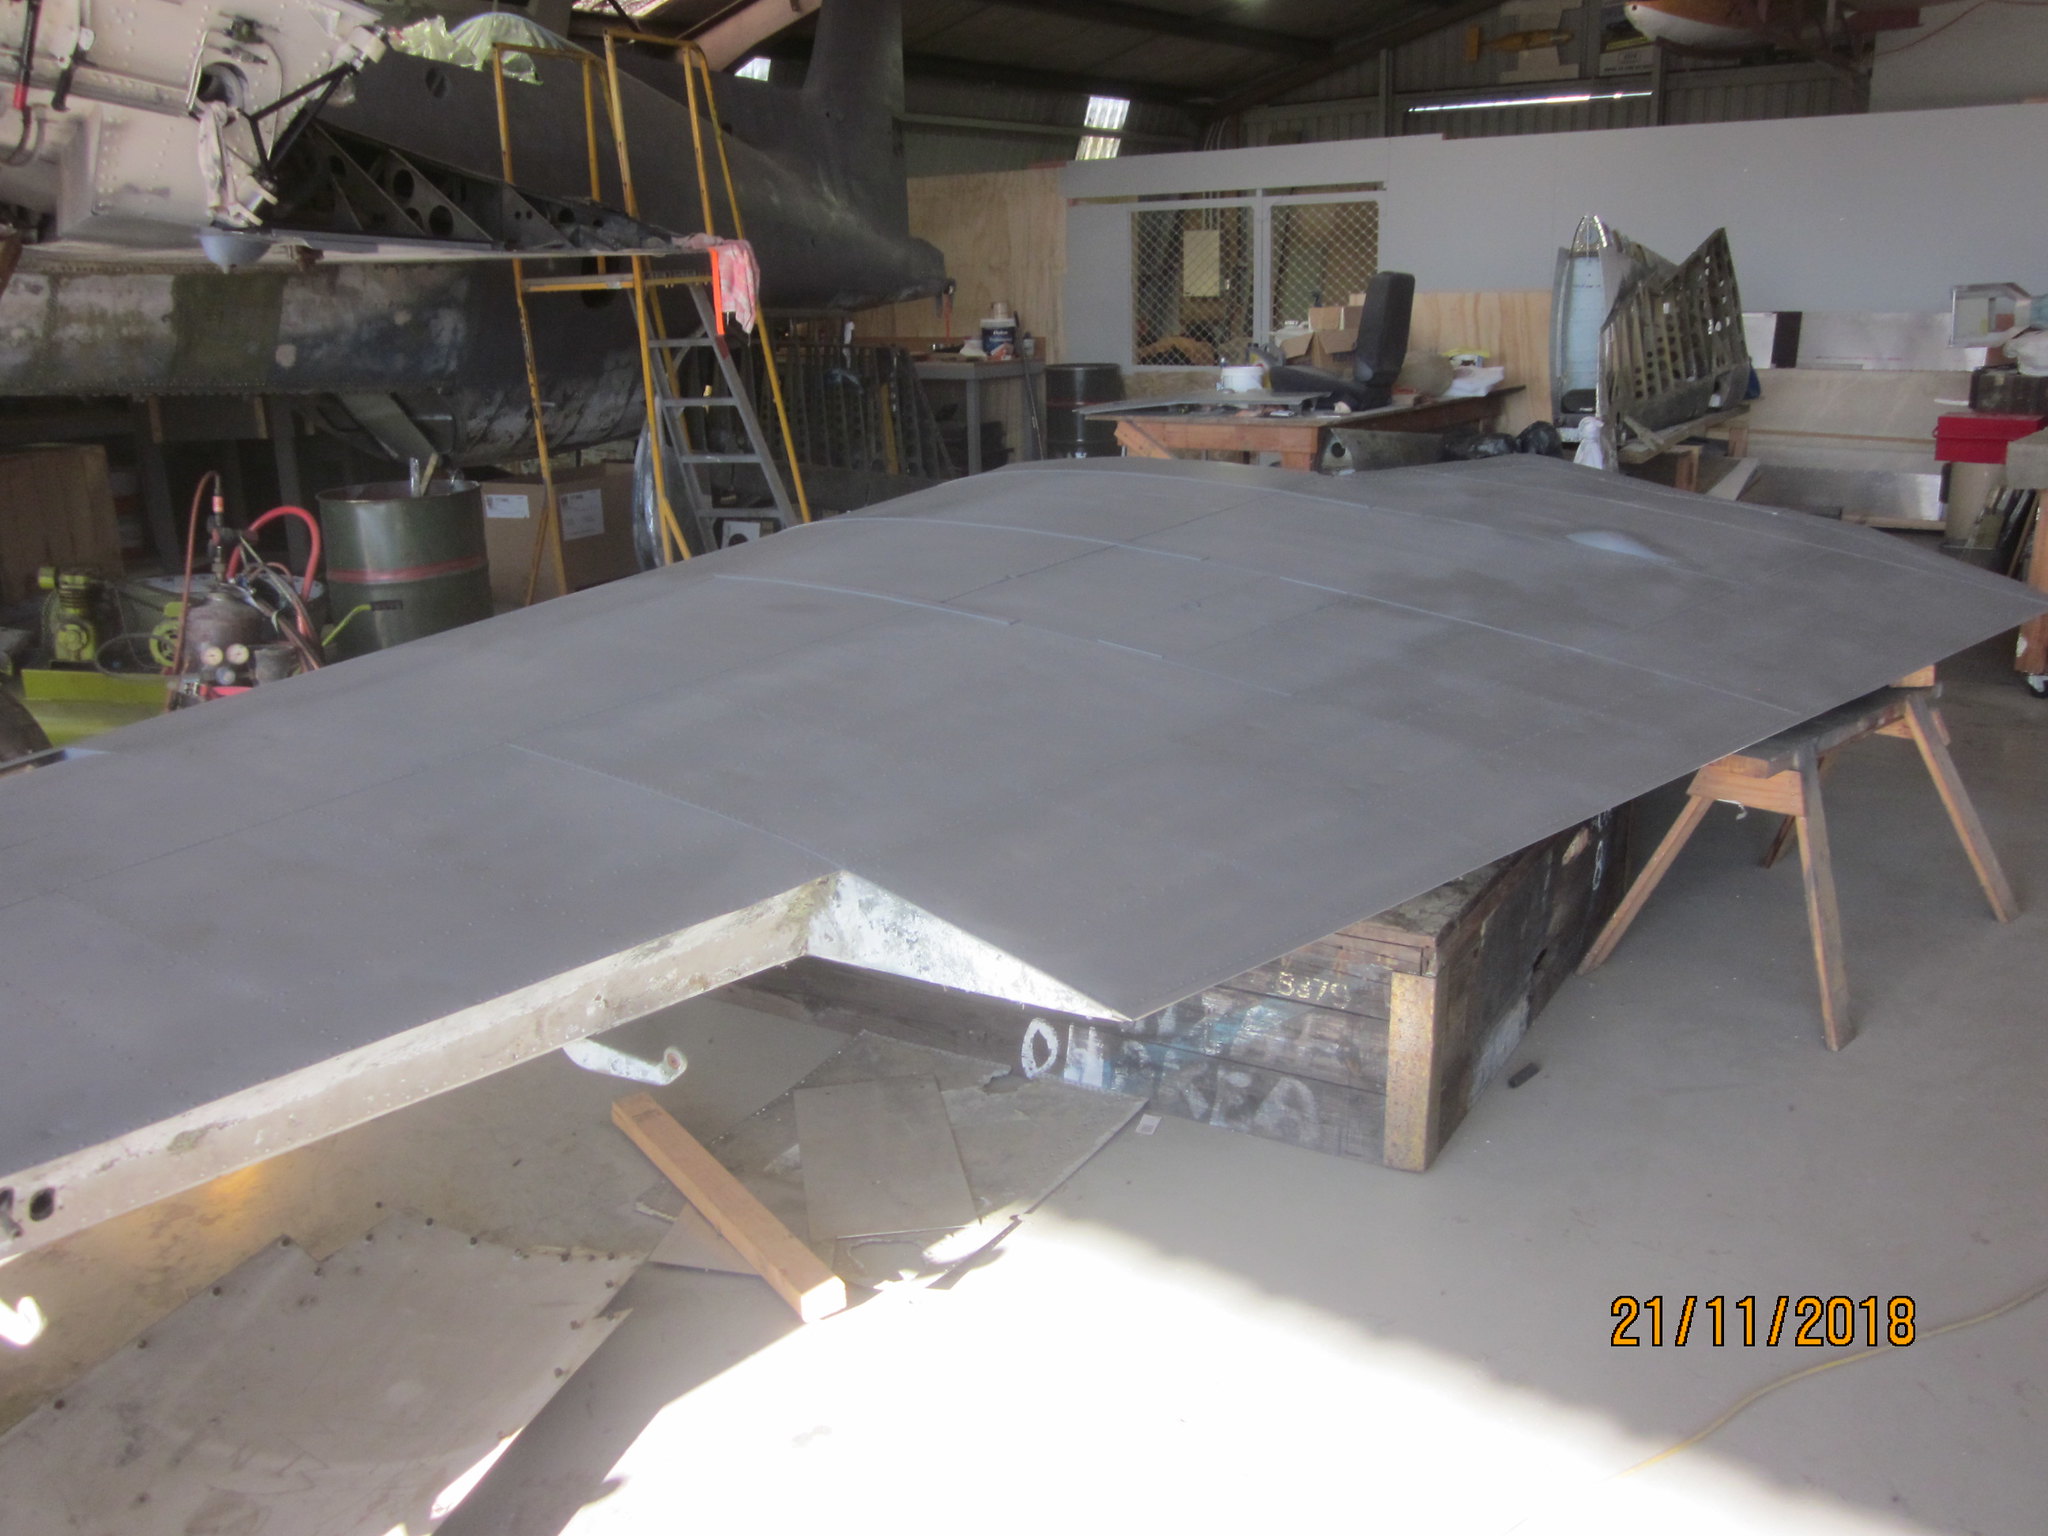
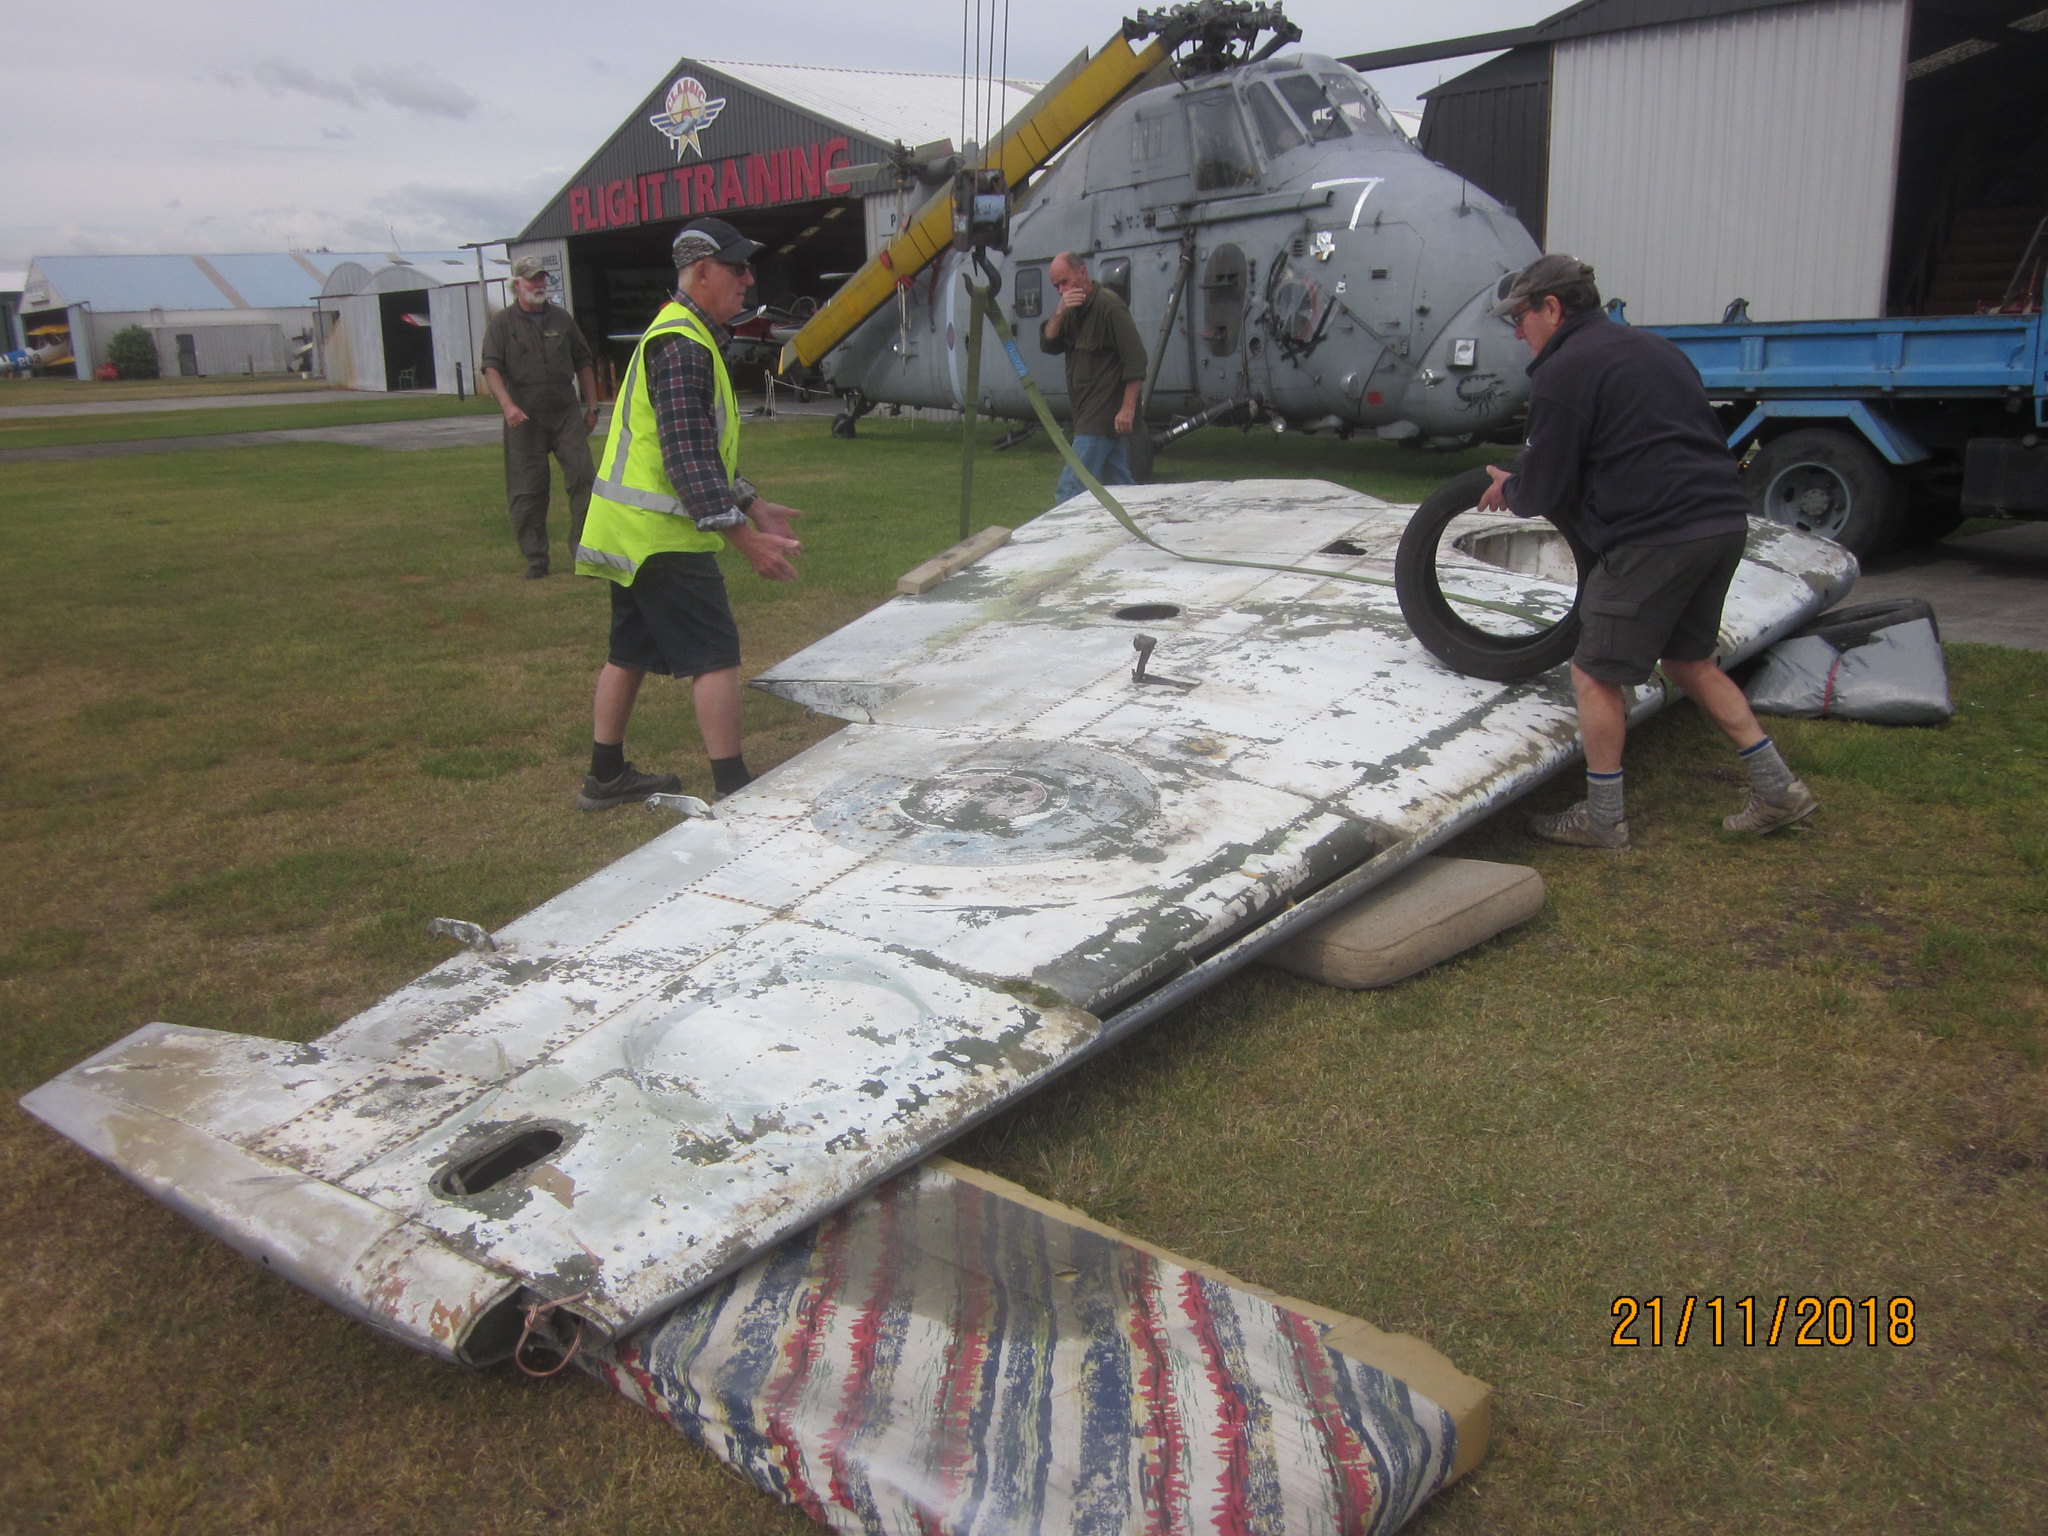
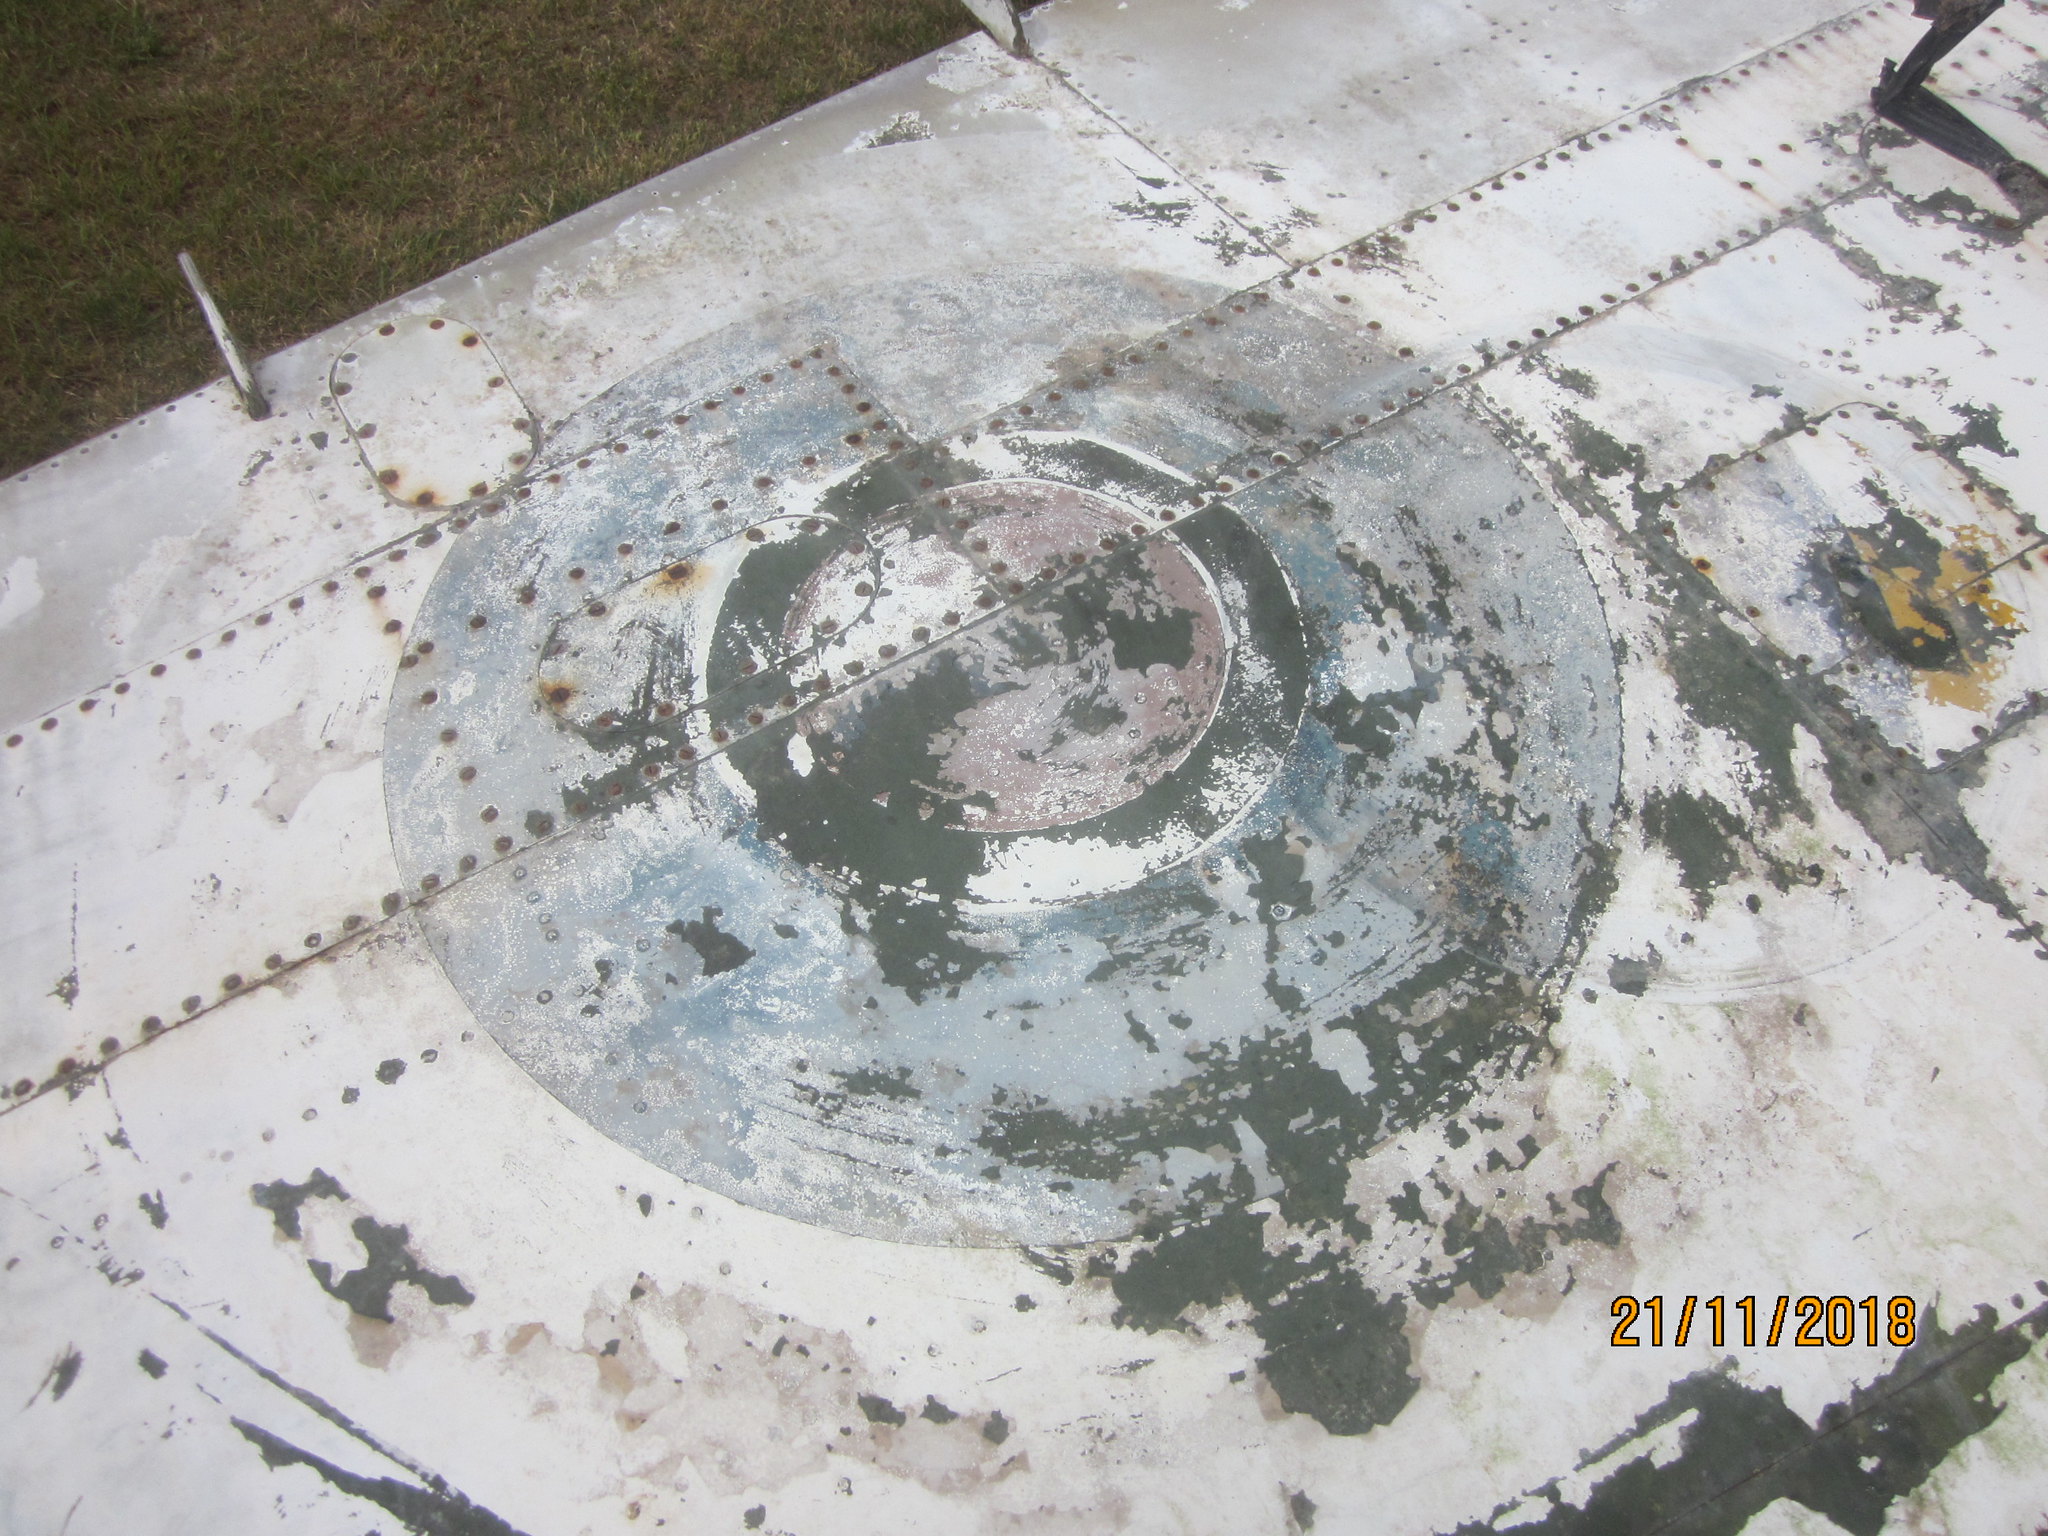
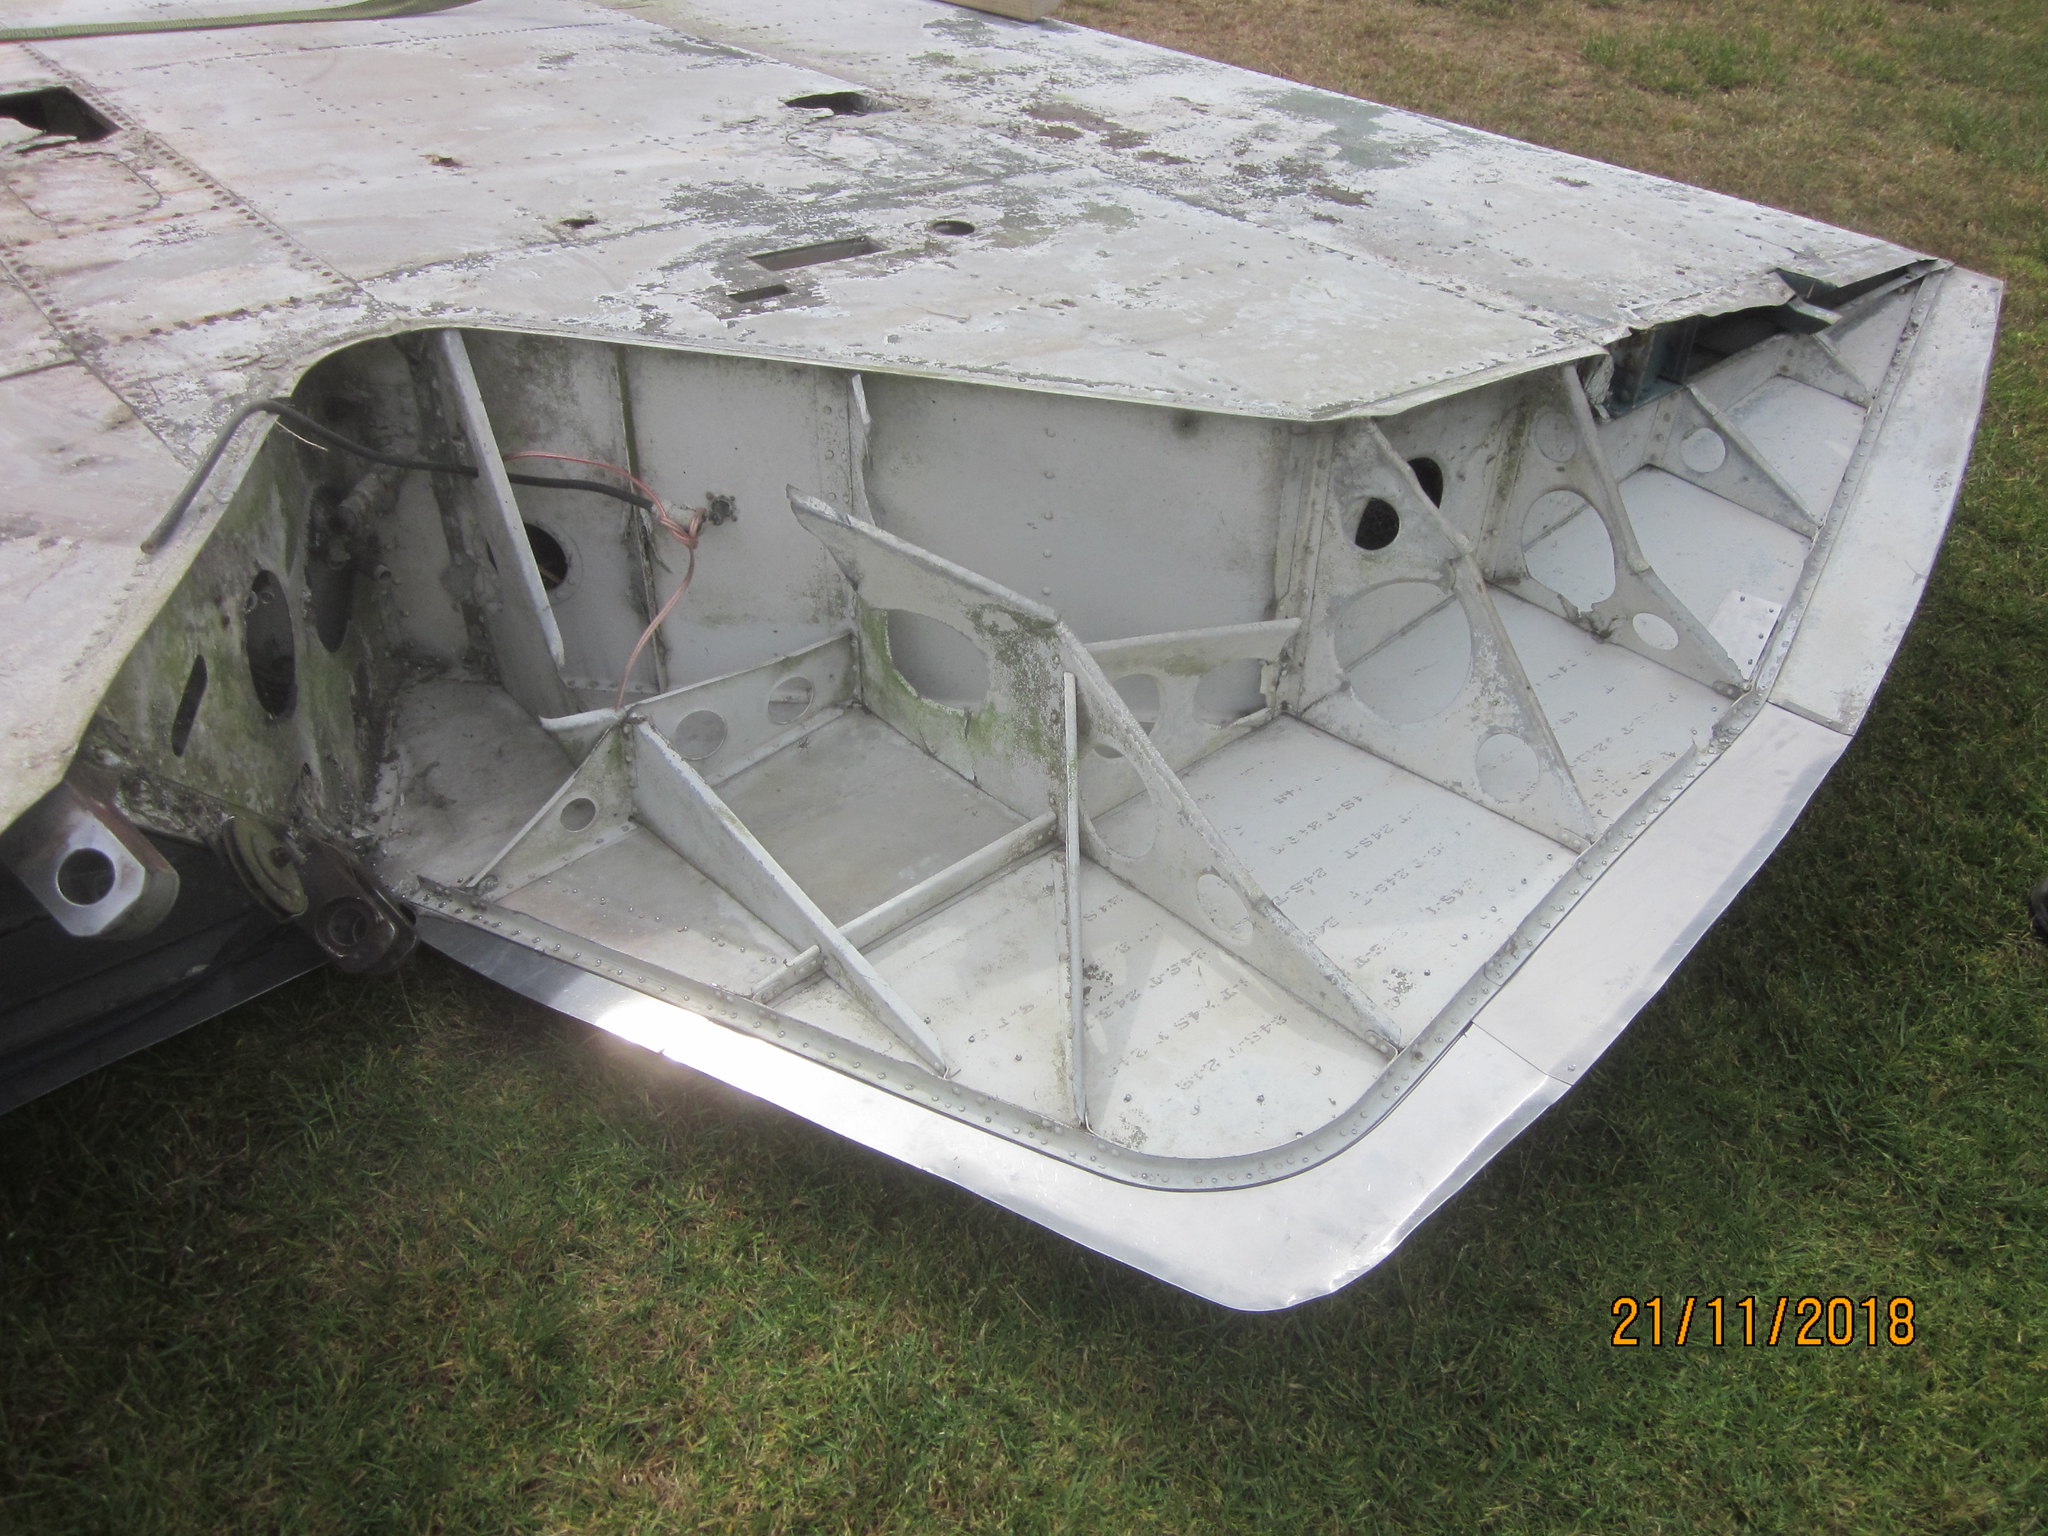
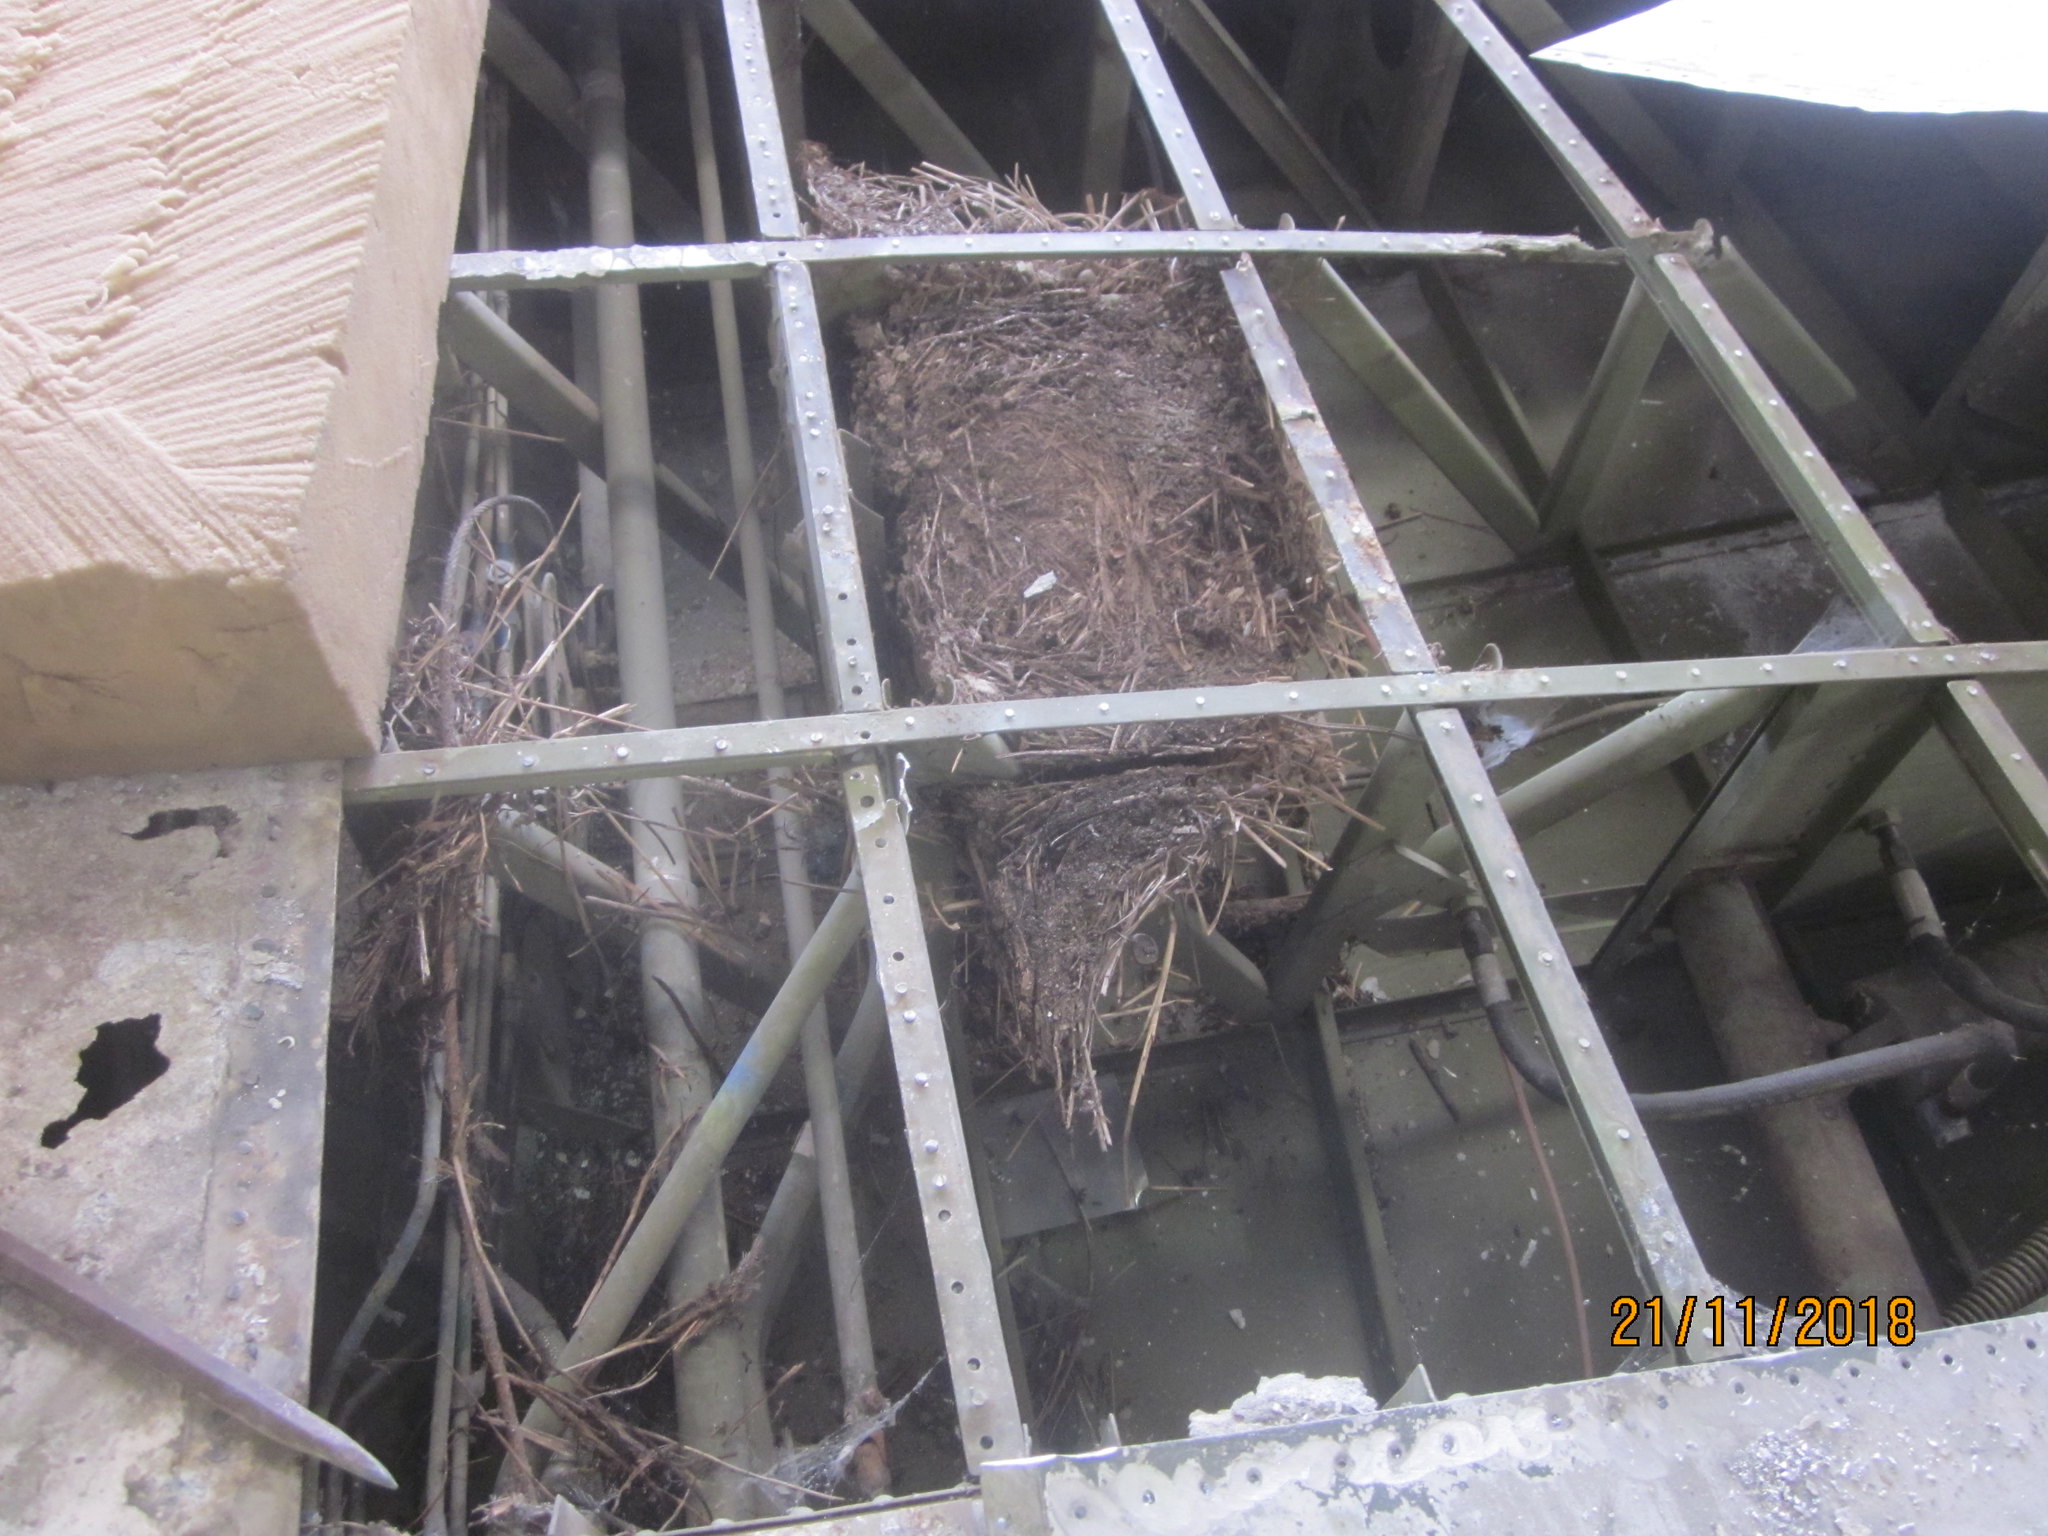
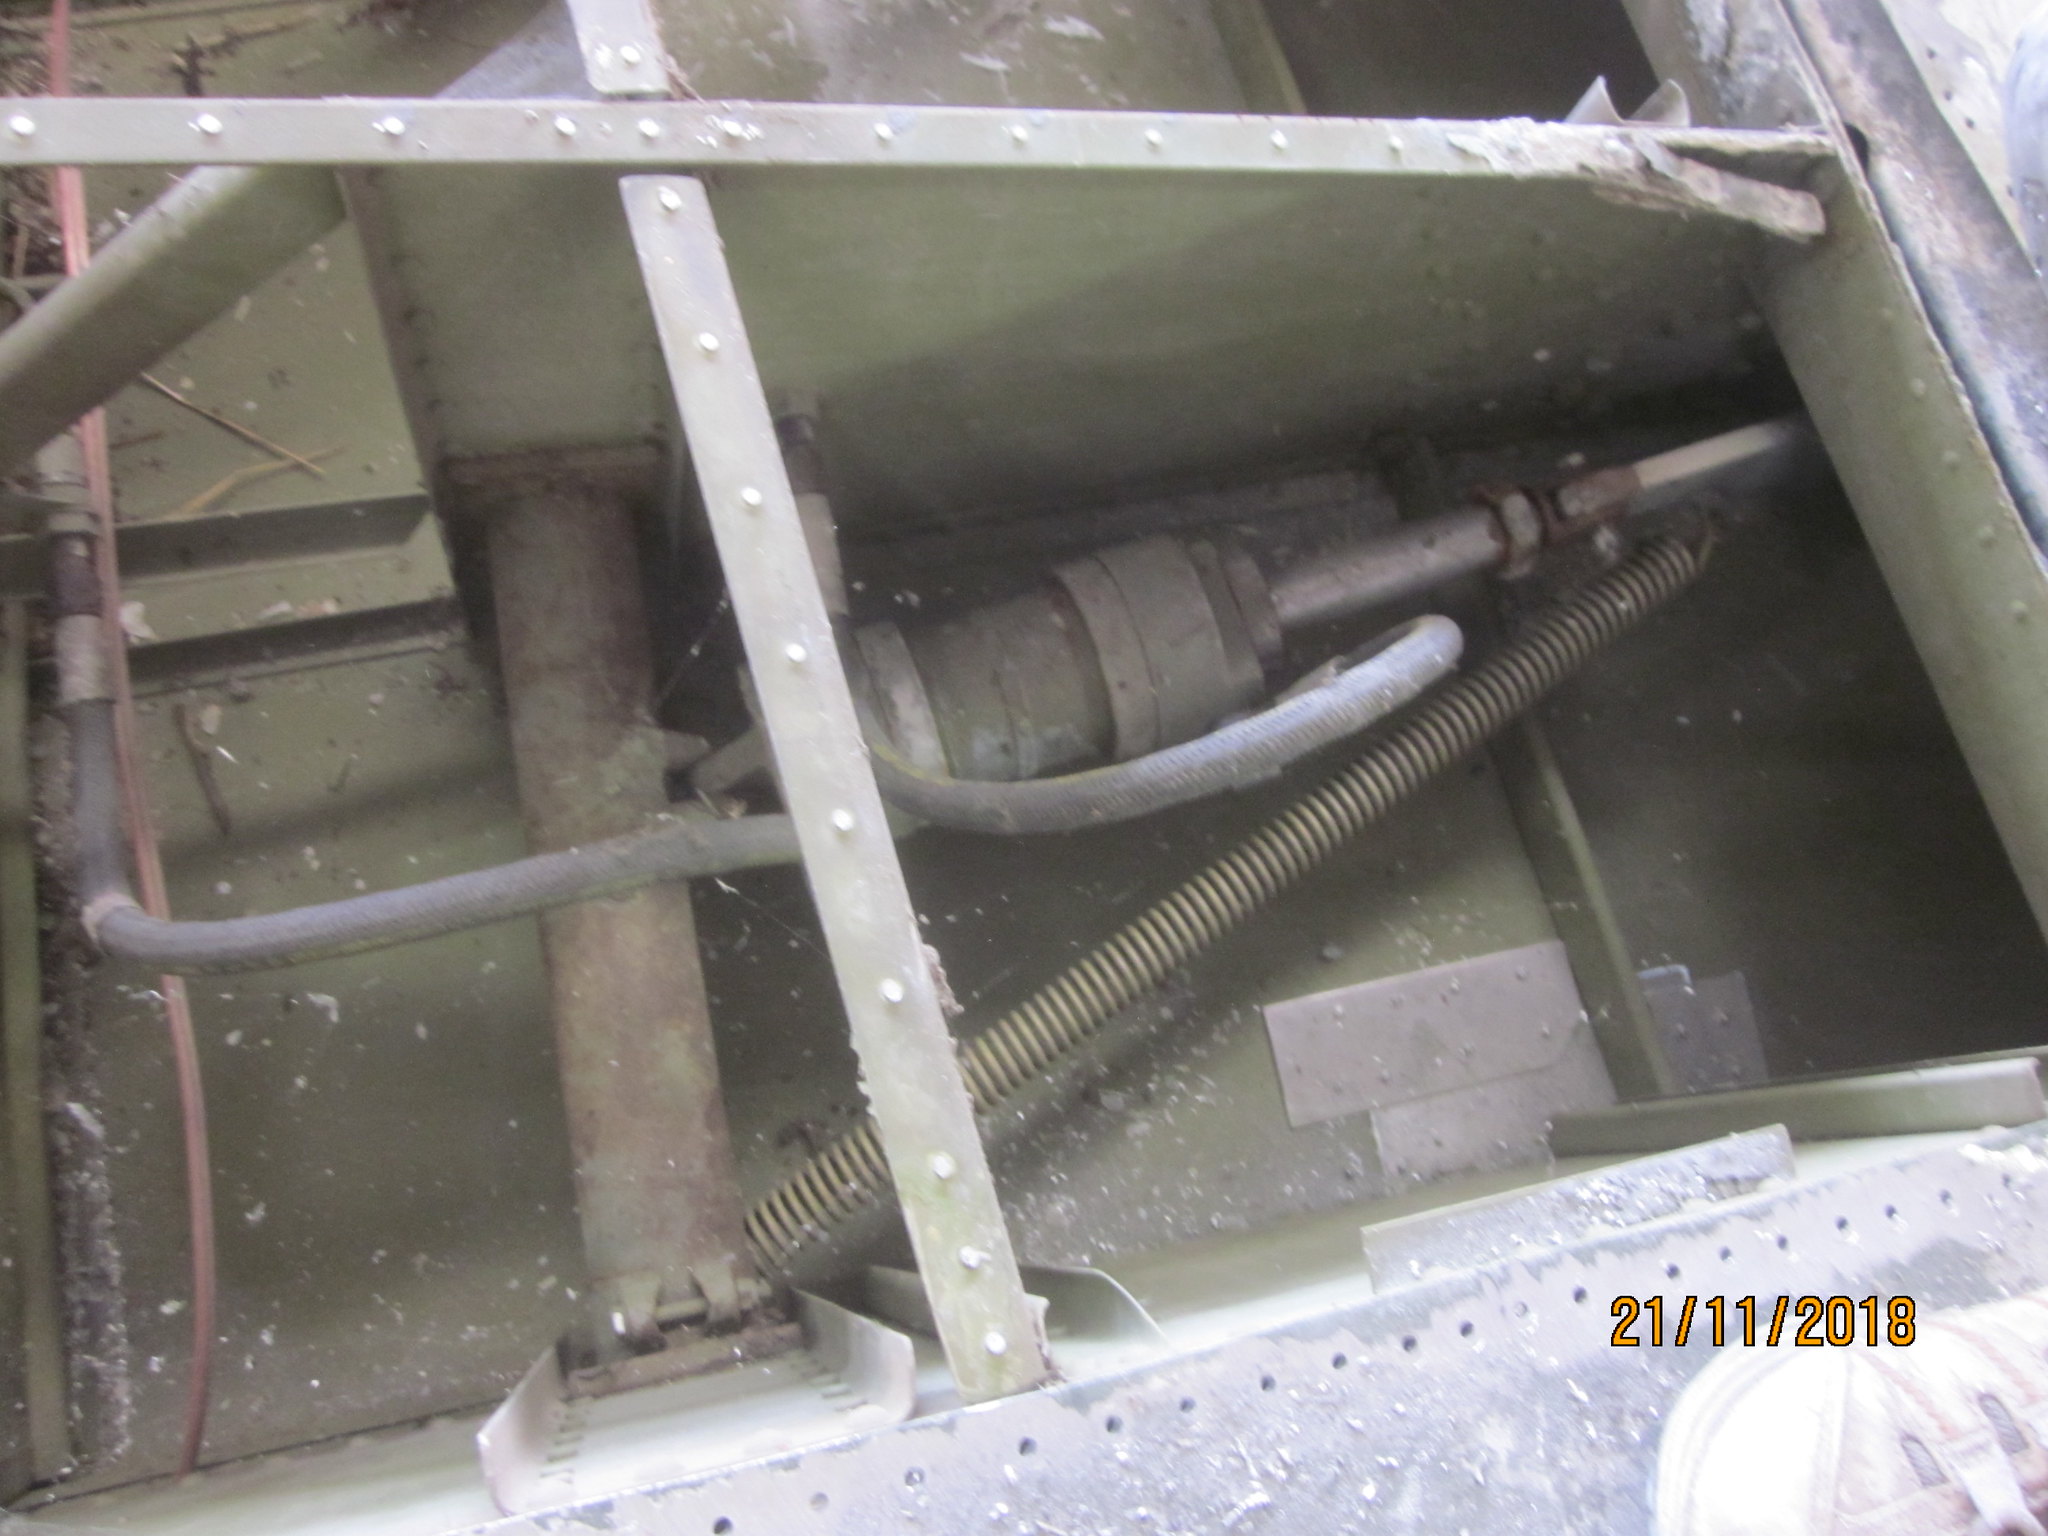
Post by kiwi285 on Nov 23, 2018 15:57:06 GMT 12
We are making progress on the last wing panel and it seems to be in good condition. Some rot evident but it all seems to be in the same spot making it easier to cut out. One of the photos shows the rot in the spar webb plates and these will need to be replaced. Other smaller areas should be easy to repair. I did some panel beating on the front cowl ring this morning and then the team paint stripped it and hung it on the engine. Looks like we are moving on at a rate of knots. We are getting the control surfaces ready for covering and I would imagine we will start on that soon as we have been waiting on our resident machinist to finish making bushes for the new hinge points and there is only one still to go. Nigel arranged to have the plates water jet cut for the elevator actuation arm and they arrived yesterday so I spend some time today making a couple of spacers and assembling and drilling off the necessary holes to put it all together. When I first saw this arrangement on 2505 I couldn't for the life of me figure out just how it worked as nothing seemed to line up. The hinge points on the elevators are about 5 inches back from the leading edge and this lines up with the special frame mounted in the fin trailing edge and everything pivots around this point which appears to be quite a distance back from the structure. The tubes protruding from the elevator halves are NOT on the hinge line but rather in front of it and that whole structure moves up and down as the pivot is further aft. (hope you understand what I am saying). In the photos of the arm you can see the pivot point right at the back of the arm and the tubes from the elevator halves swing through an arc around the rear point.  231118 001 231118 001 by Mike Feisst, on Flickr 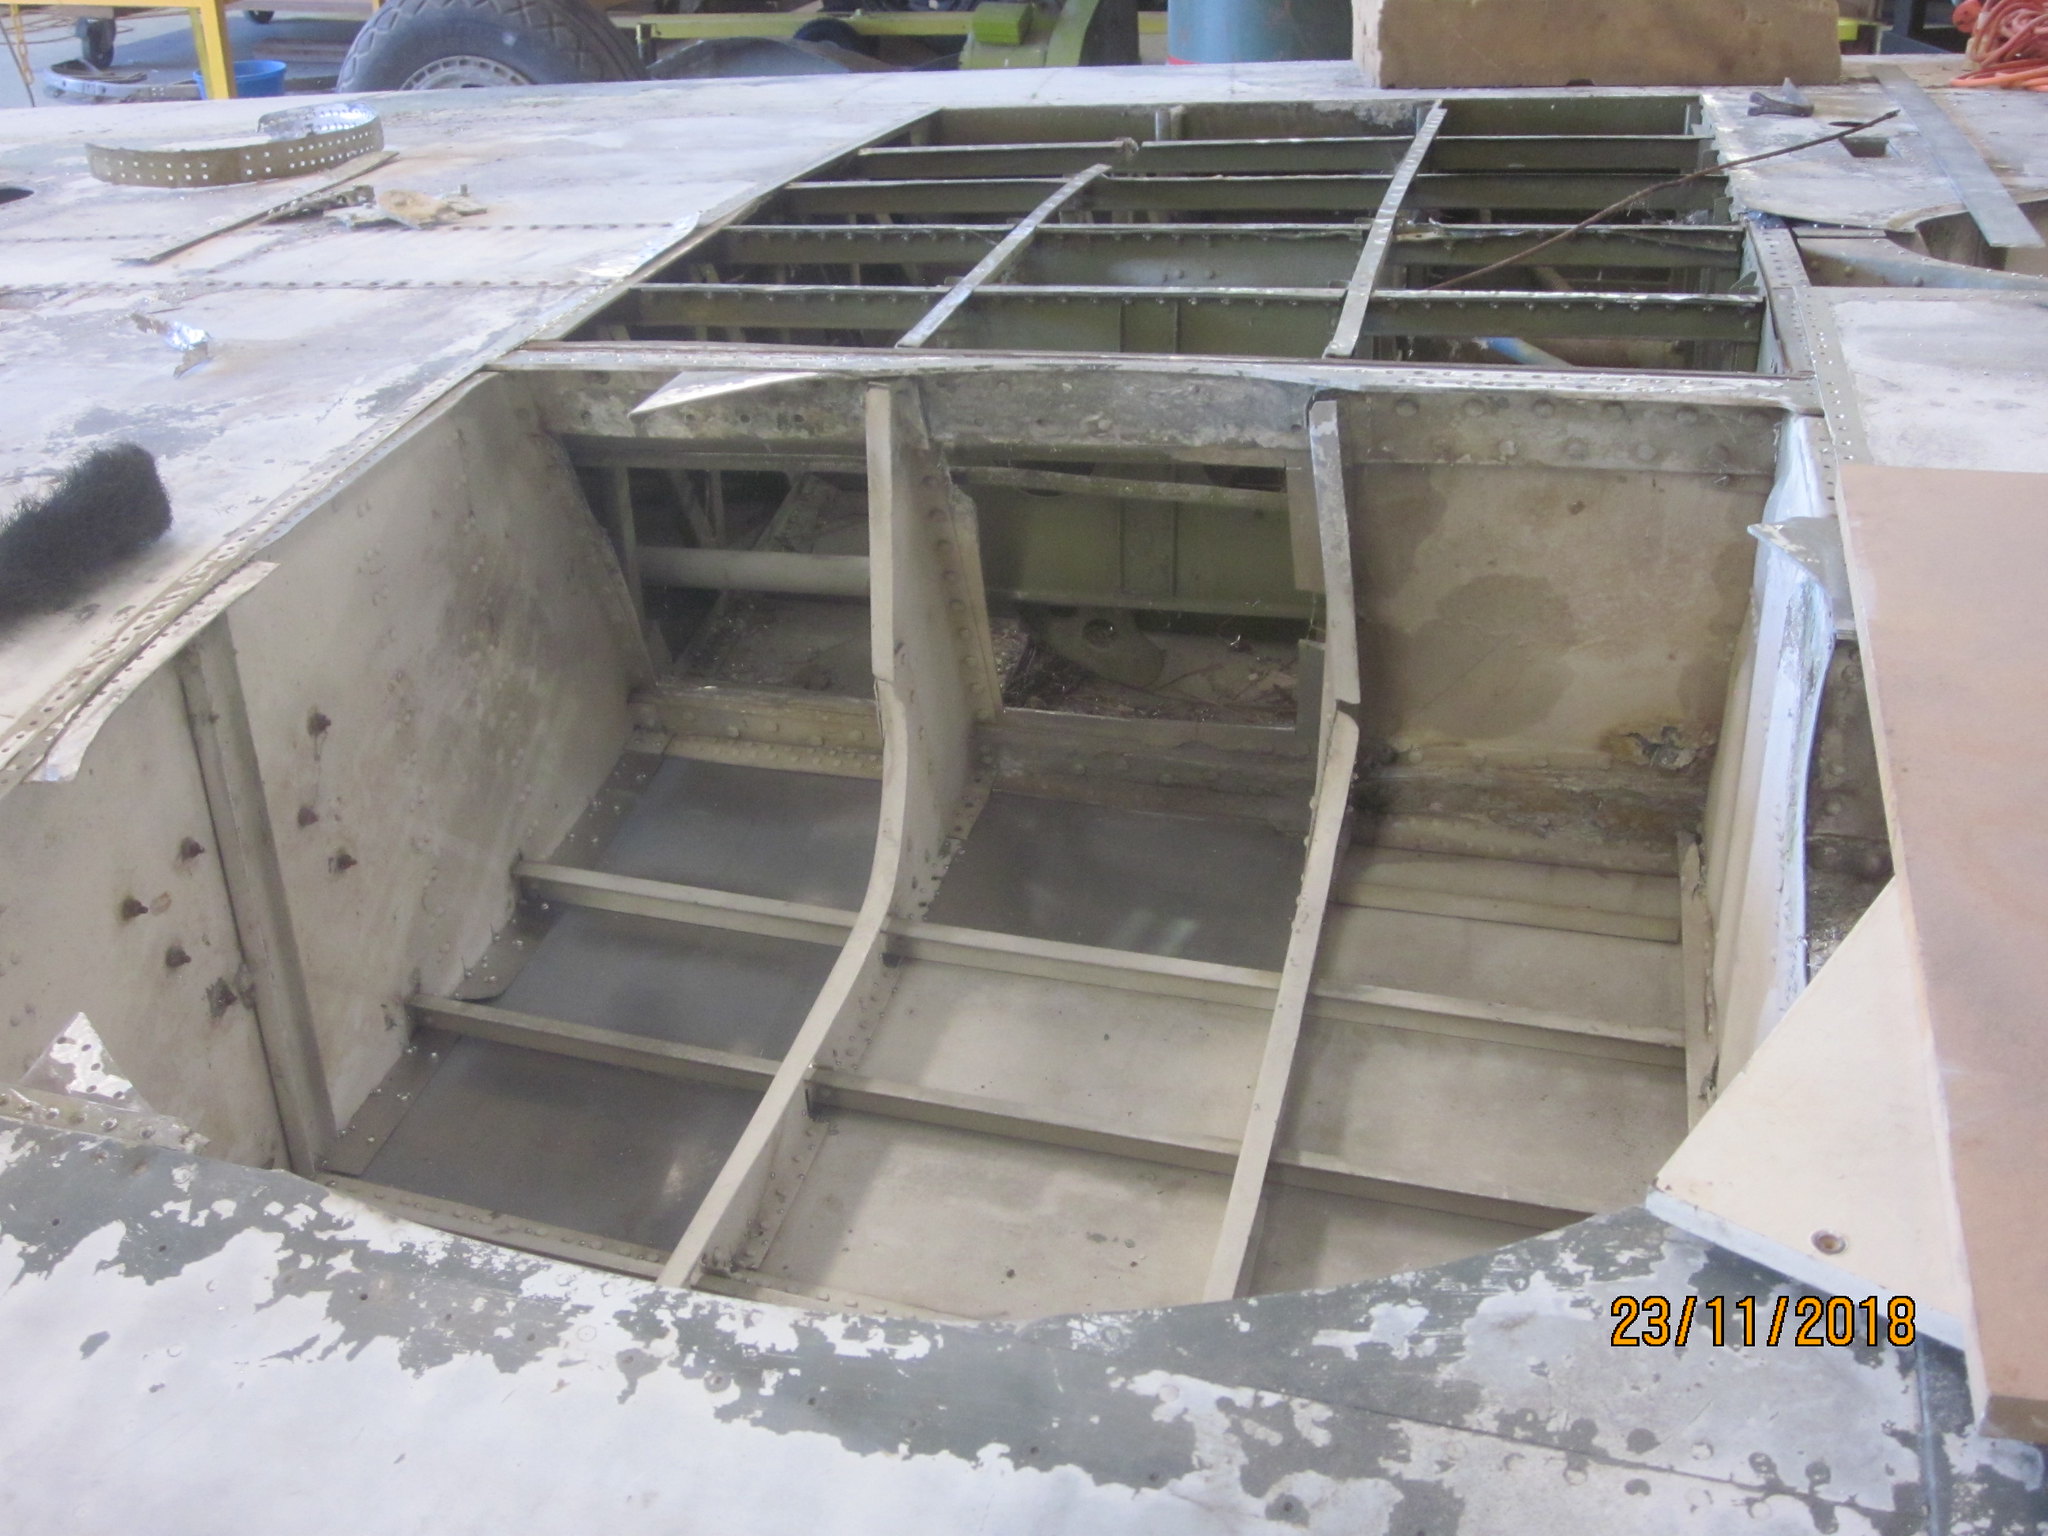 231118 004 231118 004 by Mike Feisst, on Flickr  231118 002 231118 002 by Mike Feisst, on Flickr 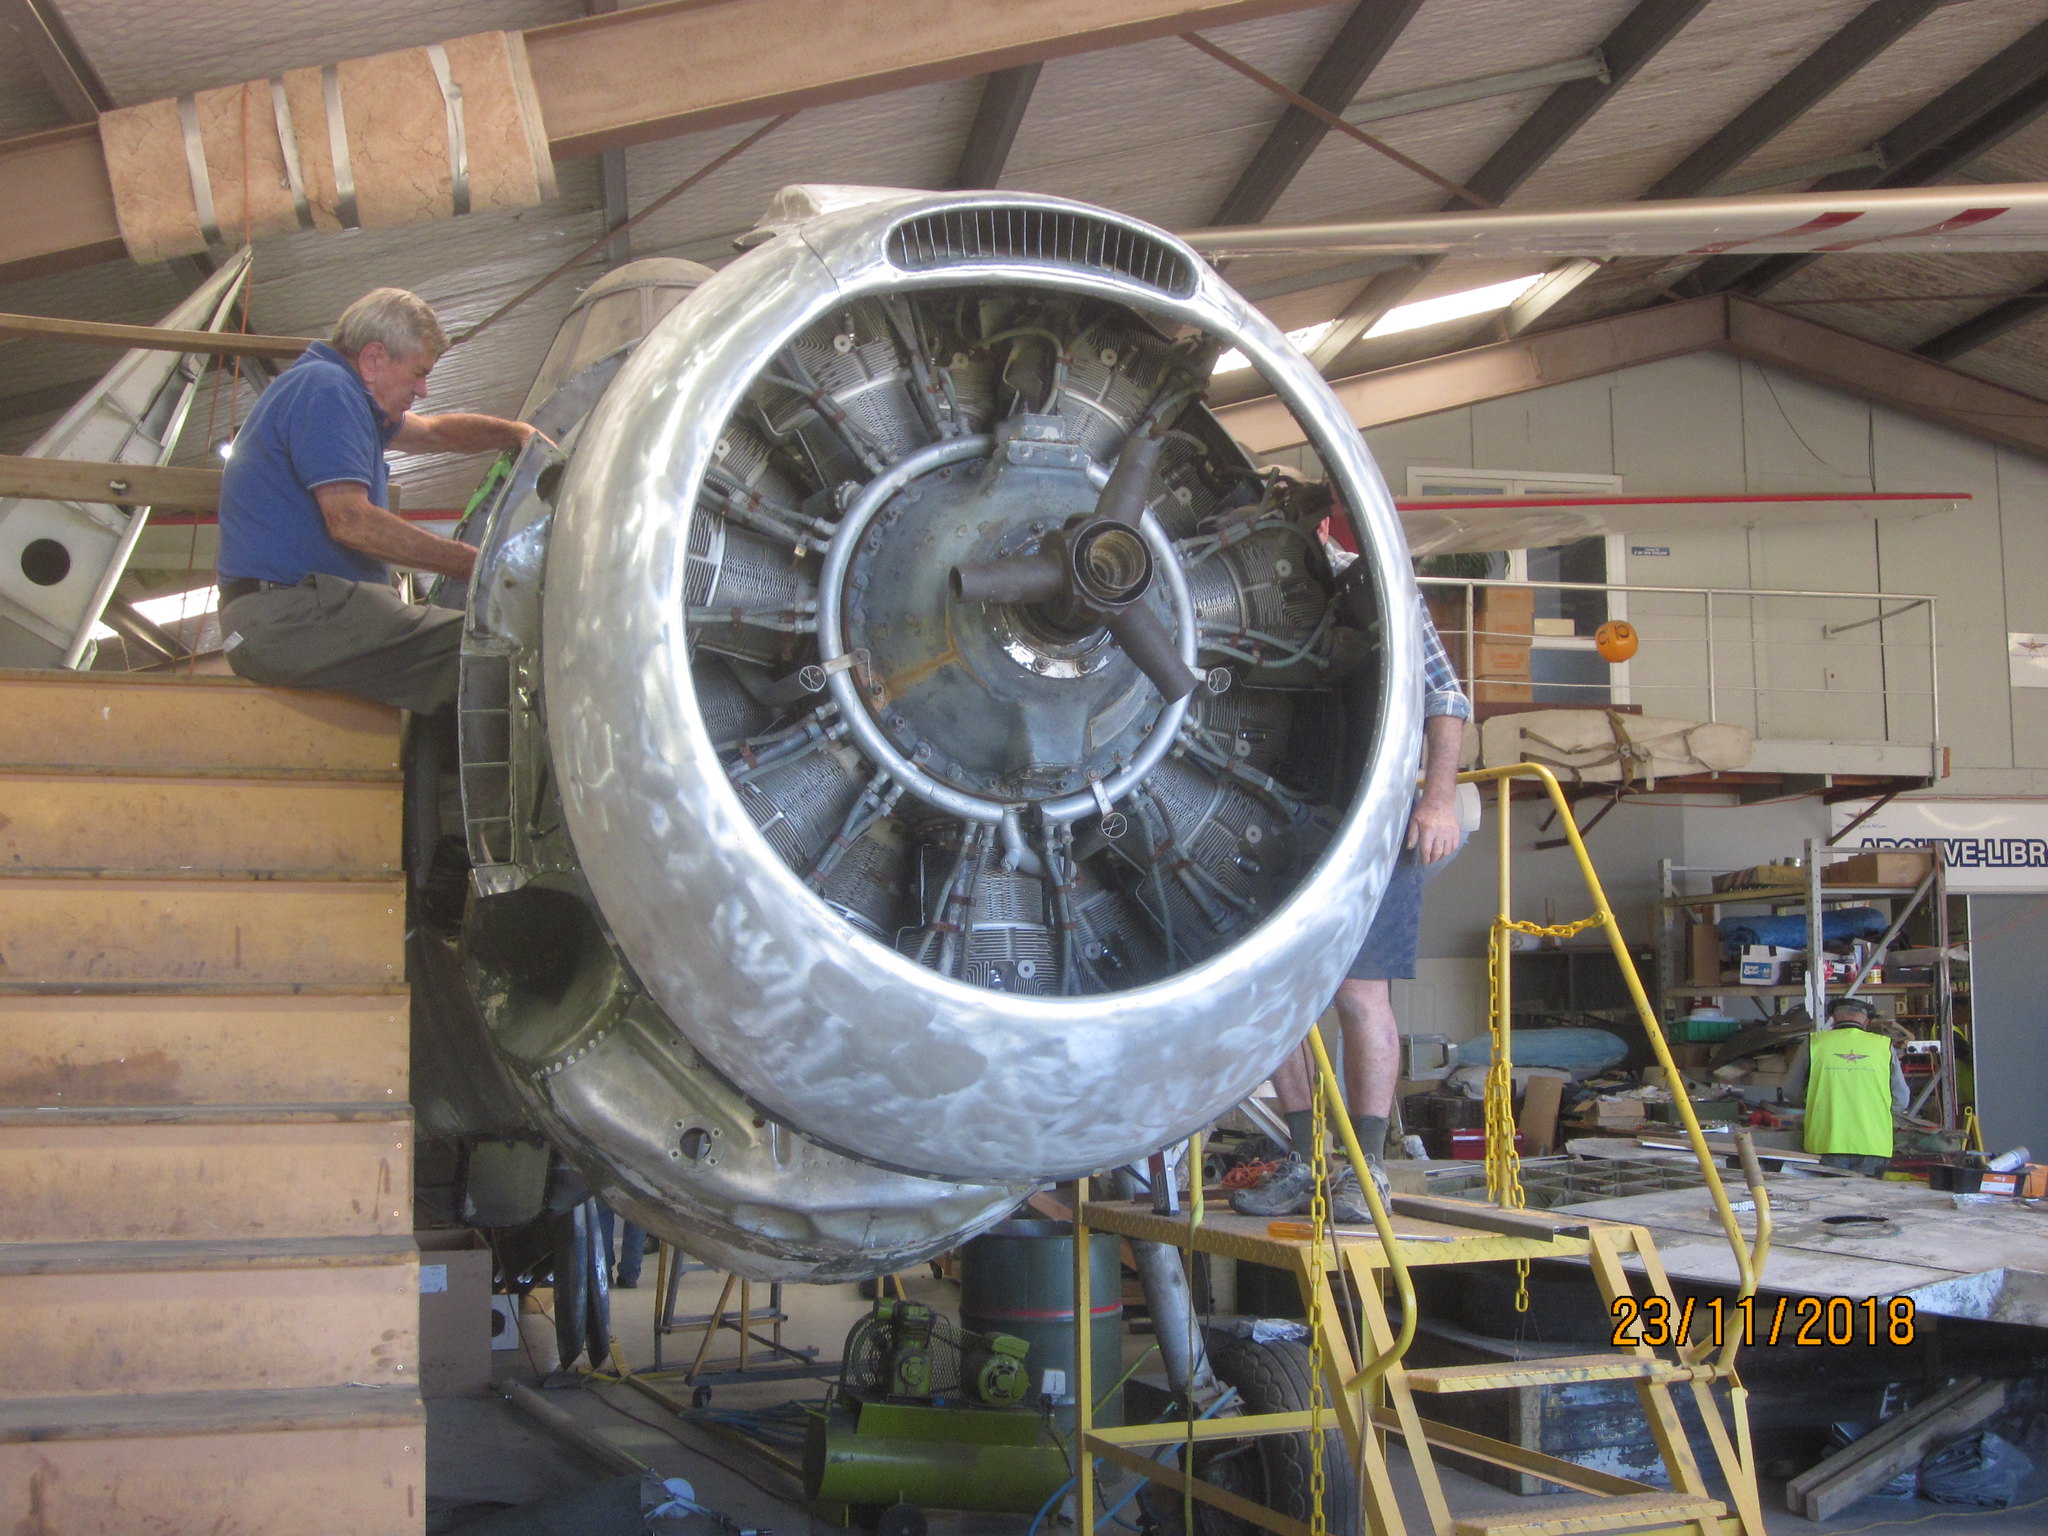 231118 003 231118 003 by Mike Feisst, on Flickr 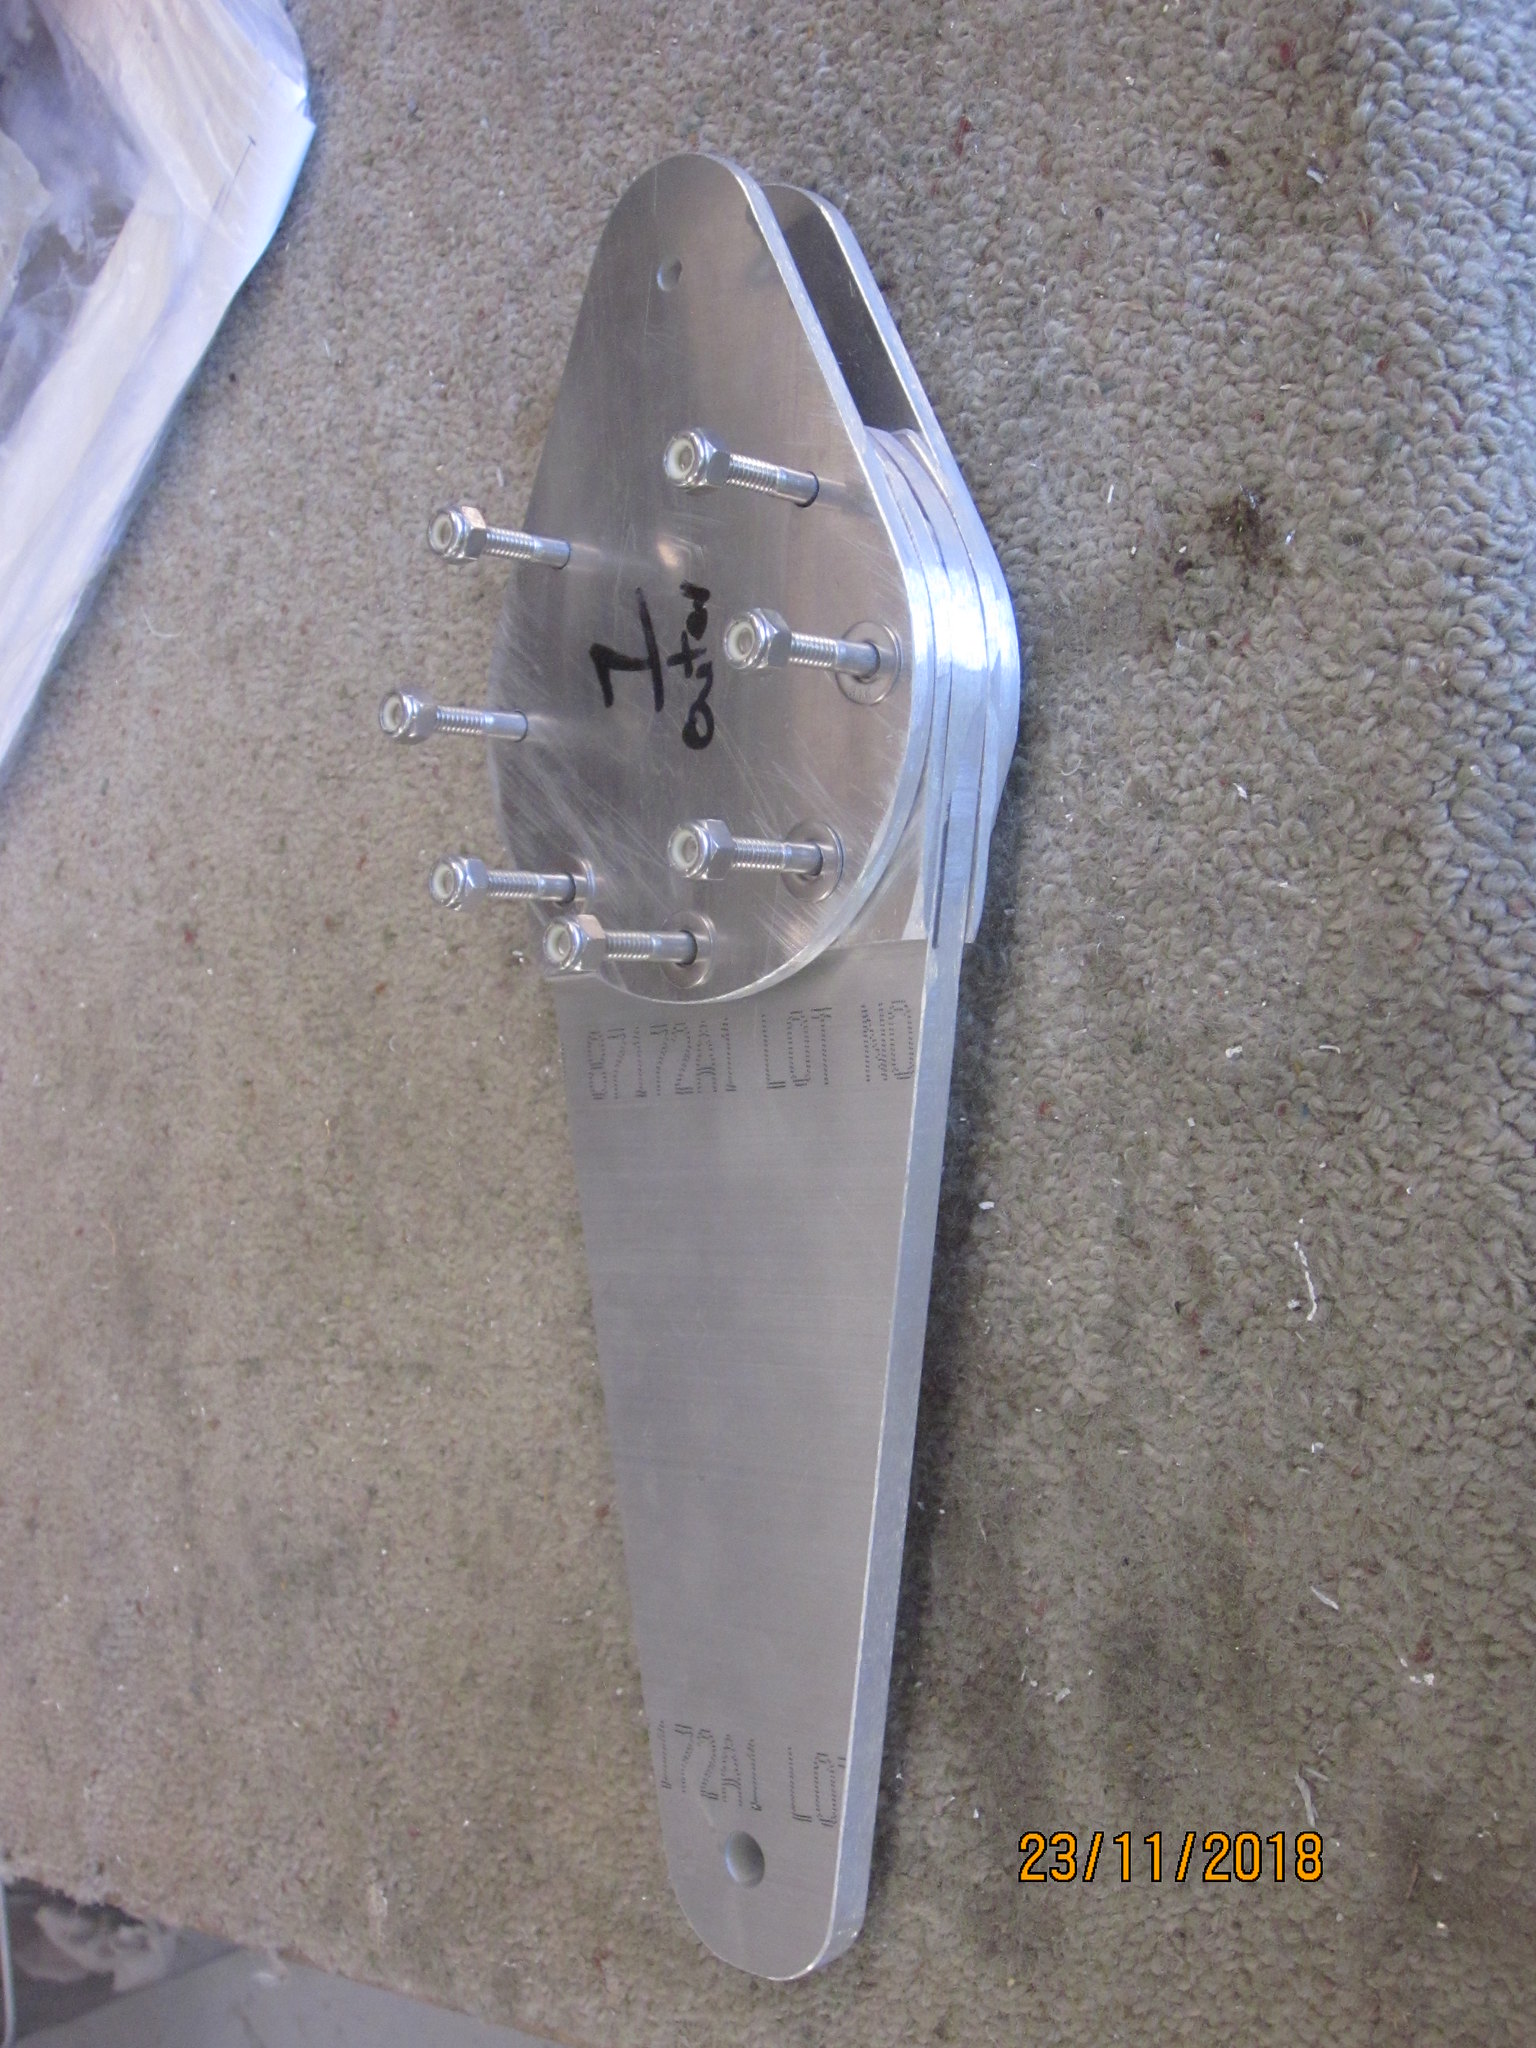 231118 005 231118 005 by Mike Feisst, on Flickr 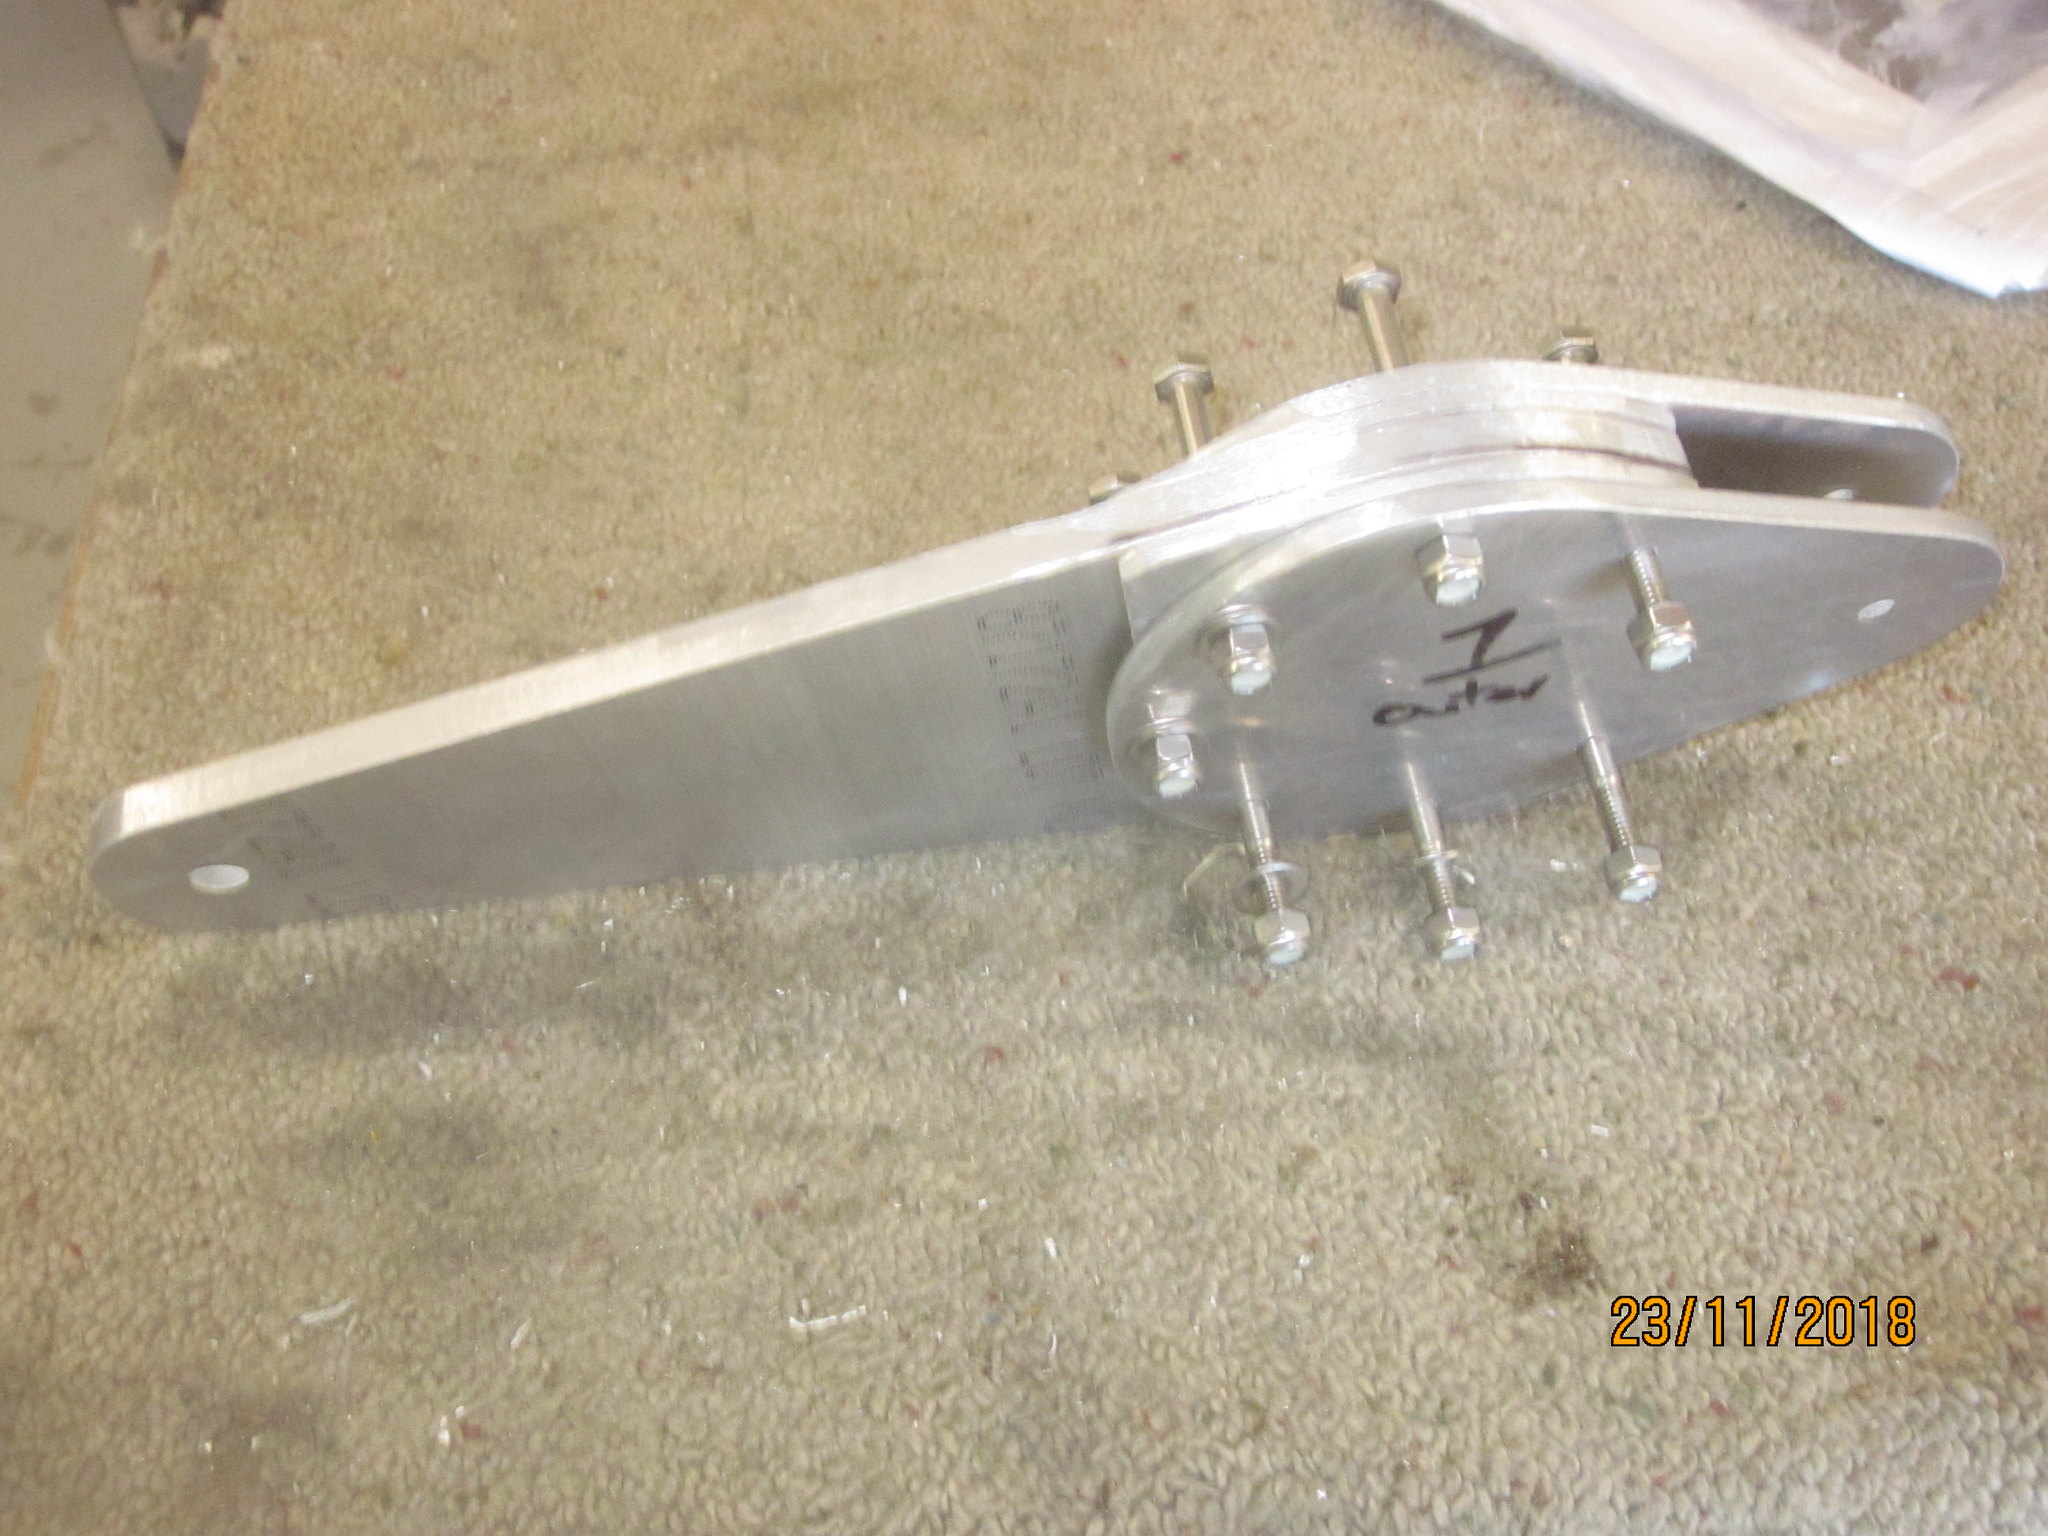 231118 006 231118 006 by Mike Feisst, on Flickr |
|
|
|
Post by kiwi285 on Nov 23, 2018 16:07:32 GMT 12
Have just found a couple of my photos of the elevator set up as we were putting it together on 2505. A photo is worth a thousand words. You might note that there is no thru spar for the tailplane halves. The two halves bolt onto a frame attached to the fin structure - doesn't seem very strong but it obviously works.  060116 (5) 060116 (5) by Mike Feisst, on Flickr 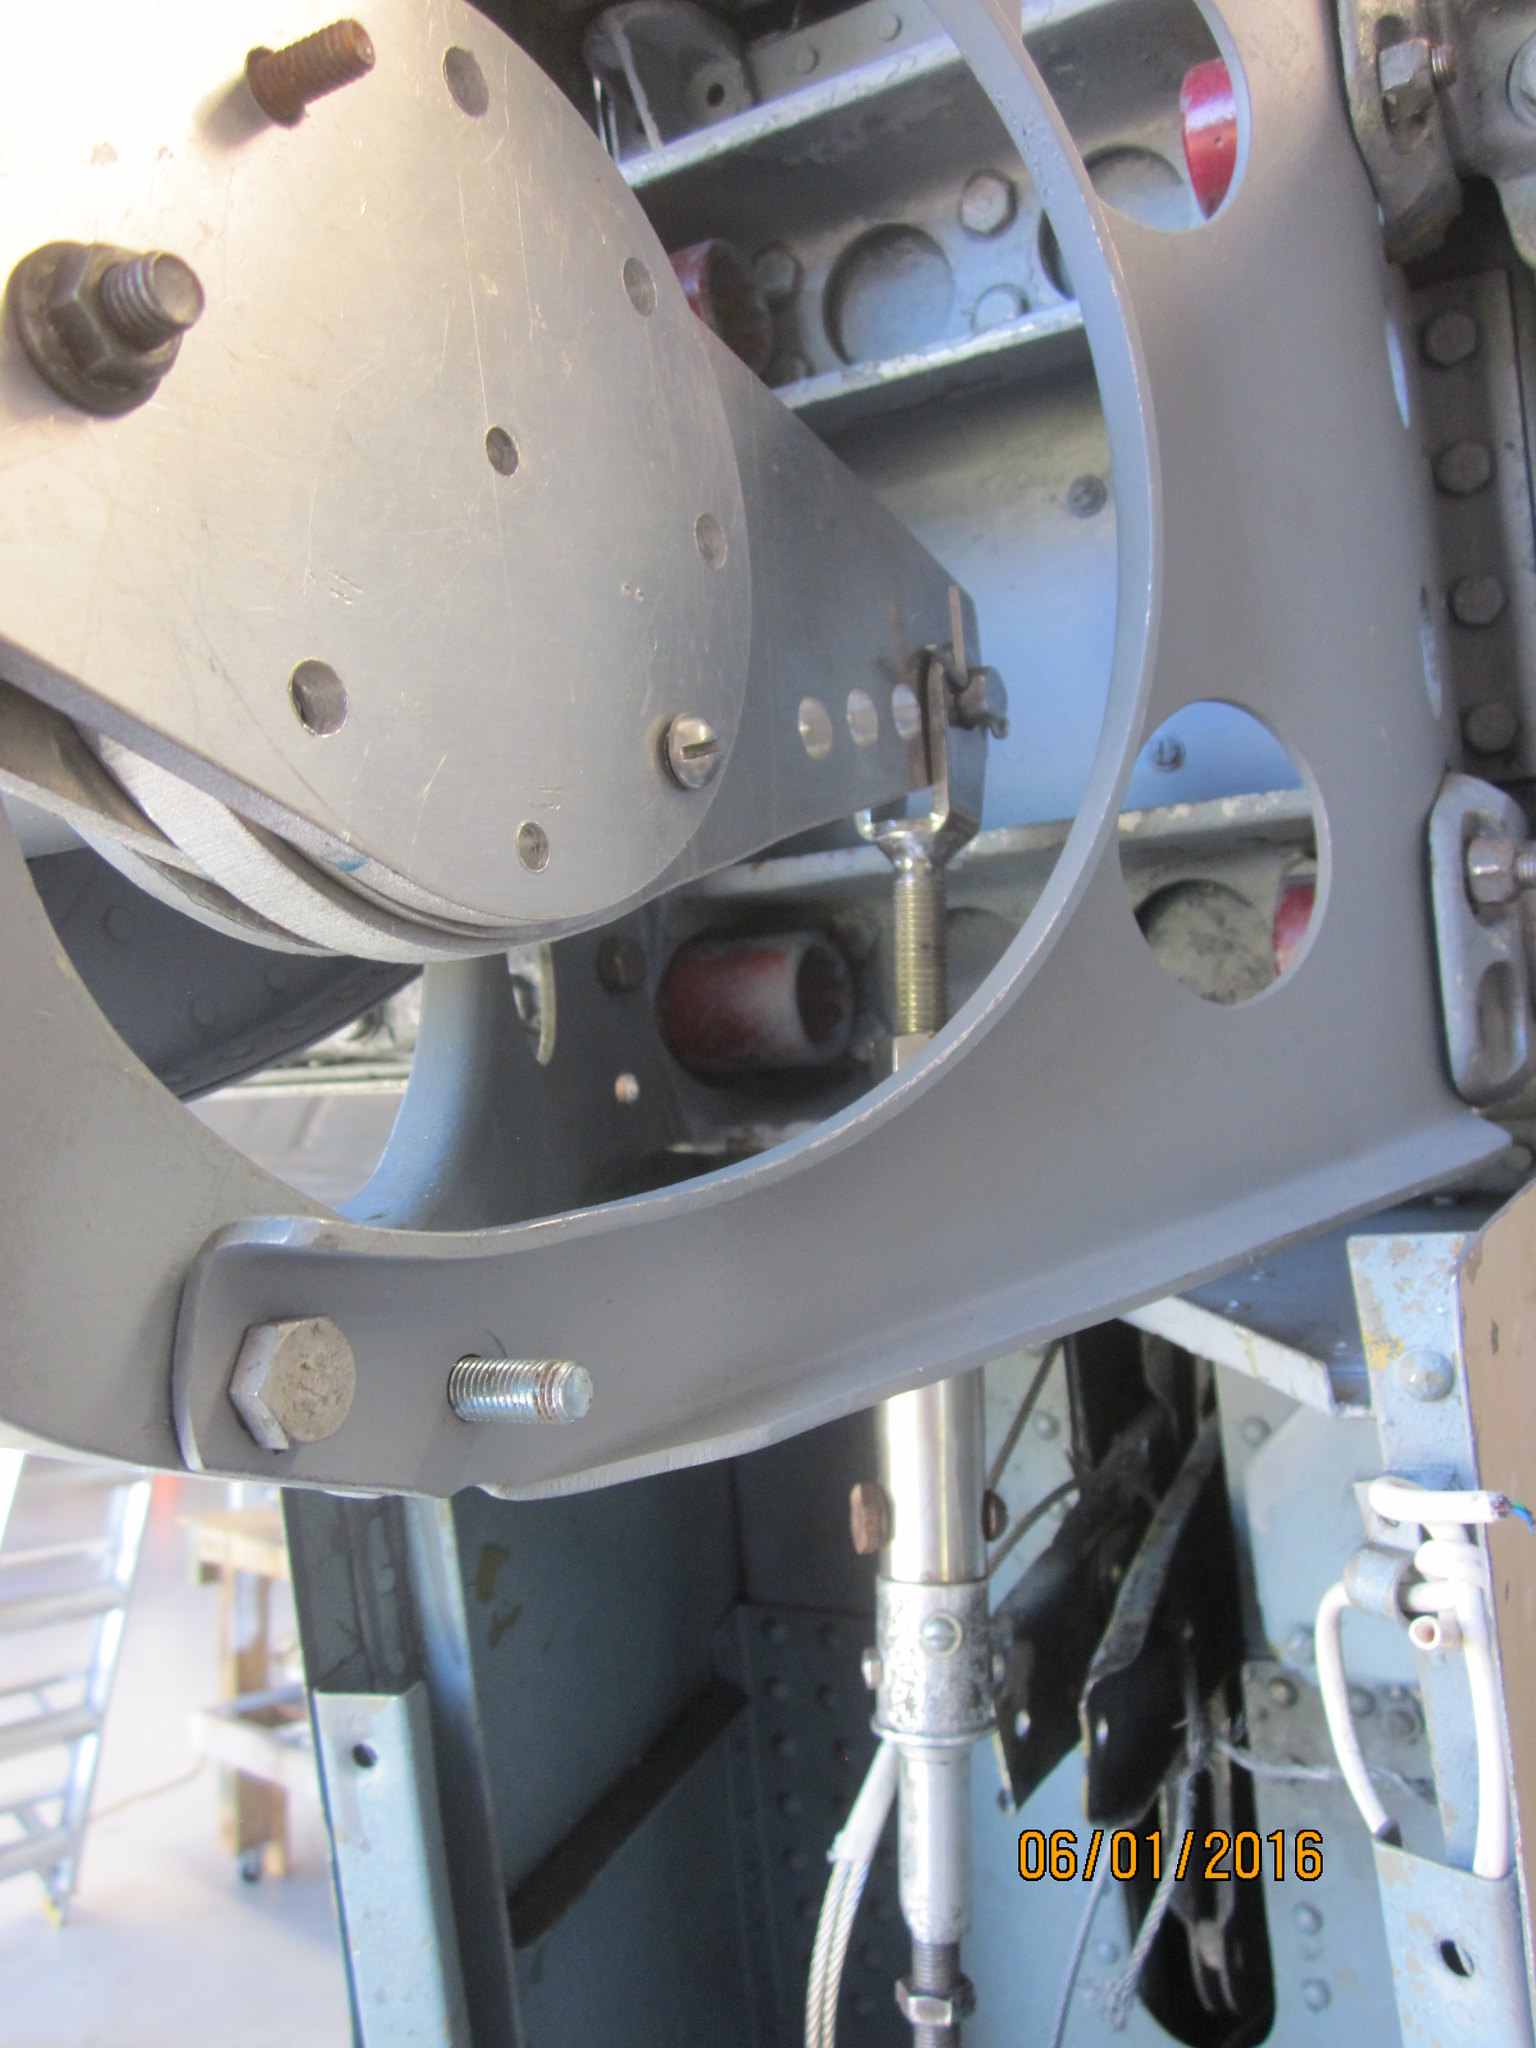 060116 (8) 060116 (8) by Mike Feisst, on Flickr  060116 (6) 060116 (6) by Mike Feisst, on Flickr |
|
|
|
Post by baz62 on Nov 24, 2018 8:49:06 GMT 12
Wow great progress! I see an oil tank on the firewall. Looks a bit smaller than the standard TBF tank I was wondering what it was from?
Miserable weather here in Christchurch so out to the hangar to do a bit on the Auster. Anthony is coming out too so I'll be getting the bits of Auster lift strut off him and get them sent to you next week.
|
|
|
|
Post by kiwi285 on Nov 24, 2018 12:28:13 GMT 12
Yes I think it is miserable round most of the country well into next week - oh well at least we aren't in drought conditions yet. Yes Baz, we seem to be making inroads into the tasks and the team is always so enthusiastic and keen to get on with it. Thanks you both very much for your help with the material from the Auster lift strut - turns out it is an also identical shape to the Yagi aerial struts on the Avenger and these gentlemen have found the necessary lengths and are in the process of sending them to us. Dave has already made an additional aerial array and is waiting to get his hands in the strut material so that he can progress the units. Without the help of people like Baz and Anthony the job would be so much harder and we would end up using wood or something similar to recreate the parts.
Dave and I have been pouring over the hazy copy of the rear compartment trying to figure out whether some of the parts we have been given are suitable for the rear compartment. Yesterday I received a couple of soft covered books on the Avenger from David Evans, a member of our local branch of the Royal Aeronautical Society and low and behold a stack of coloured and B & W photos of the aircraft in detail including the rear compartment. These books are the Detail and Scale and the Walk Round series on the Avenger and are gold for what we are doing.
We have some of the radar boxes but weren't sure where they might go and yesterday Dave showed me a box that he had been told was from the Avenger. It is a bomb intervalometer and is identical to the one in the photographs. We have been able to identify quite a few items that go into the compartment so we are going to have a ball. We even have a couple of the flare chutes that go in the back of the compartment. I have also been trying to find info on the warning placards that appear all over the turret so that we could reproduce them but no one that I have contacted seems to be able to help but guess what. Some of the photos in these books show the placards clearly enough to be able to read so on wet days like this I will be trying to use my computer to reproduce these. Keeps us out of mischief that's for sure.
|
|
|
|
Post by kiwi285 on Nov 24, 2018 13:04:16 GMT 12
Here are a couple of photos of the rear compartment showing how much gear was nailed to any spare space available. The flare chutes at the rear of the compartment are quite prominent. Studying the various photos makes it obvious that the fitouts were constantly evolving and sometimes it looks like a mix and match situation. It now appears that my tall box on the starboard side forward of the door is just a blank box (oh well). Next job is to make the support arm for the pitot head that fits on the port wingtip. I guess that shaped timber might be the answer. 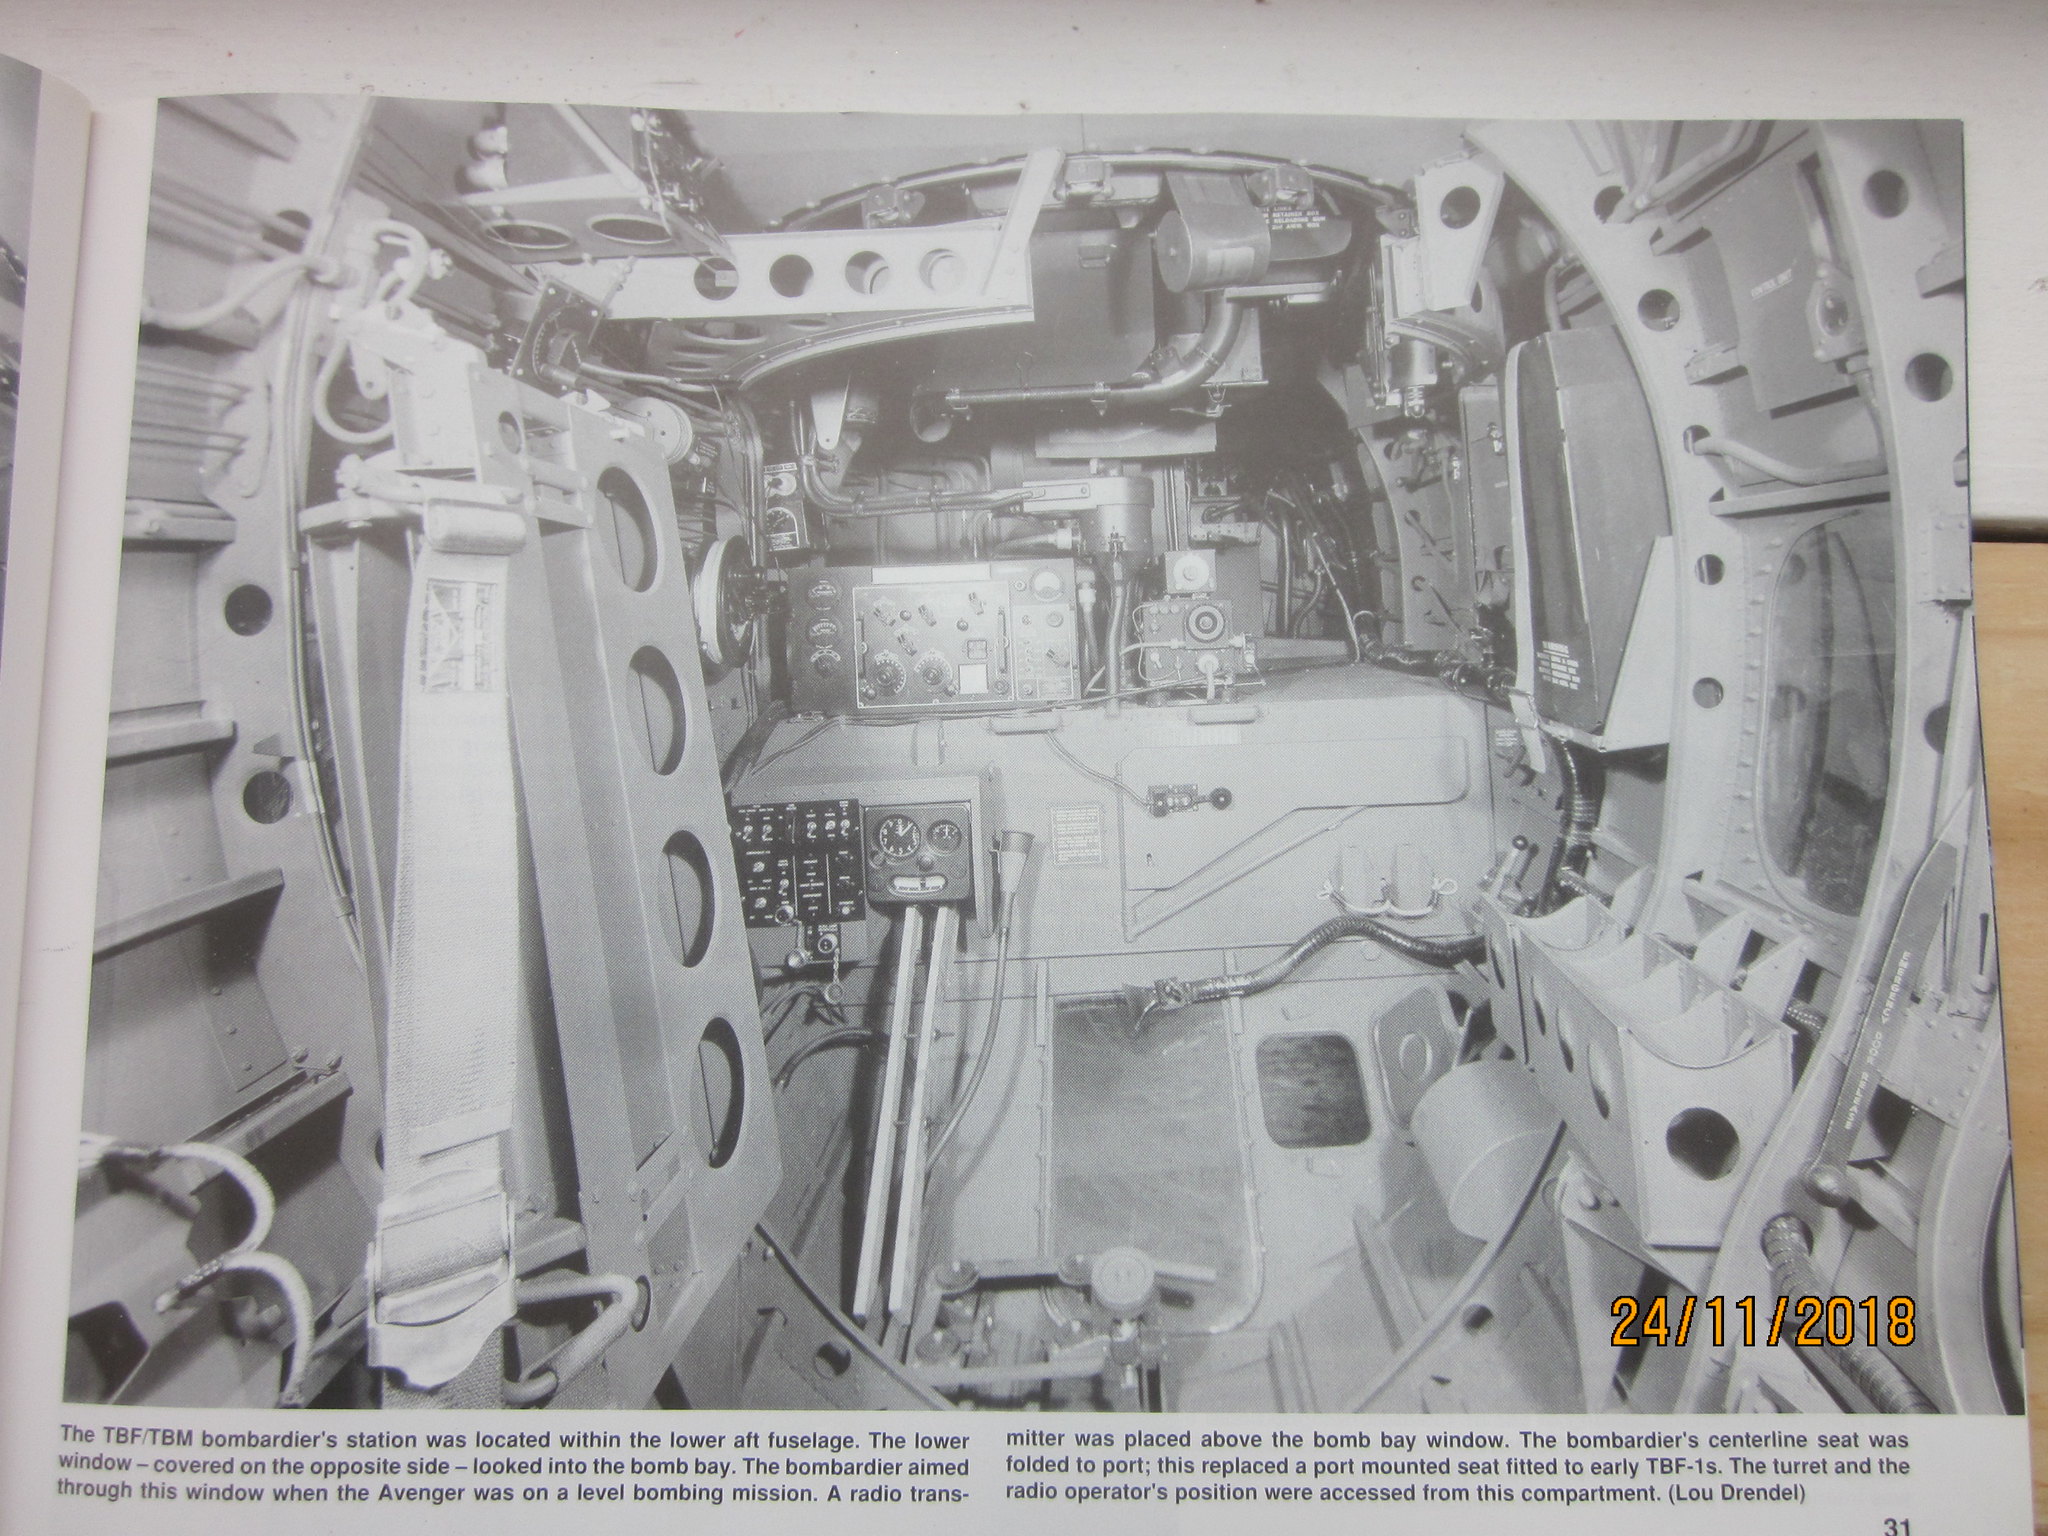 Avenger interior 002 Avenger interior 002 by Mike Feisst, on Flickr 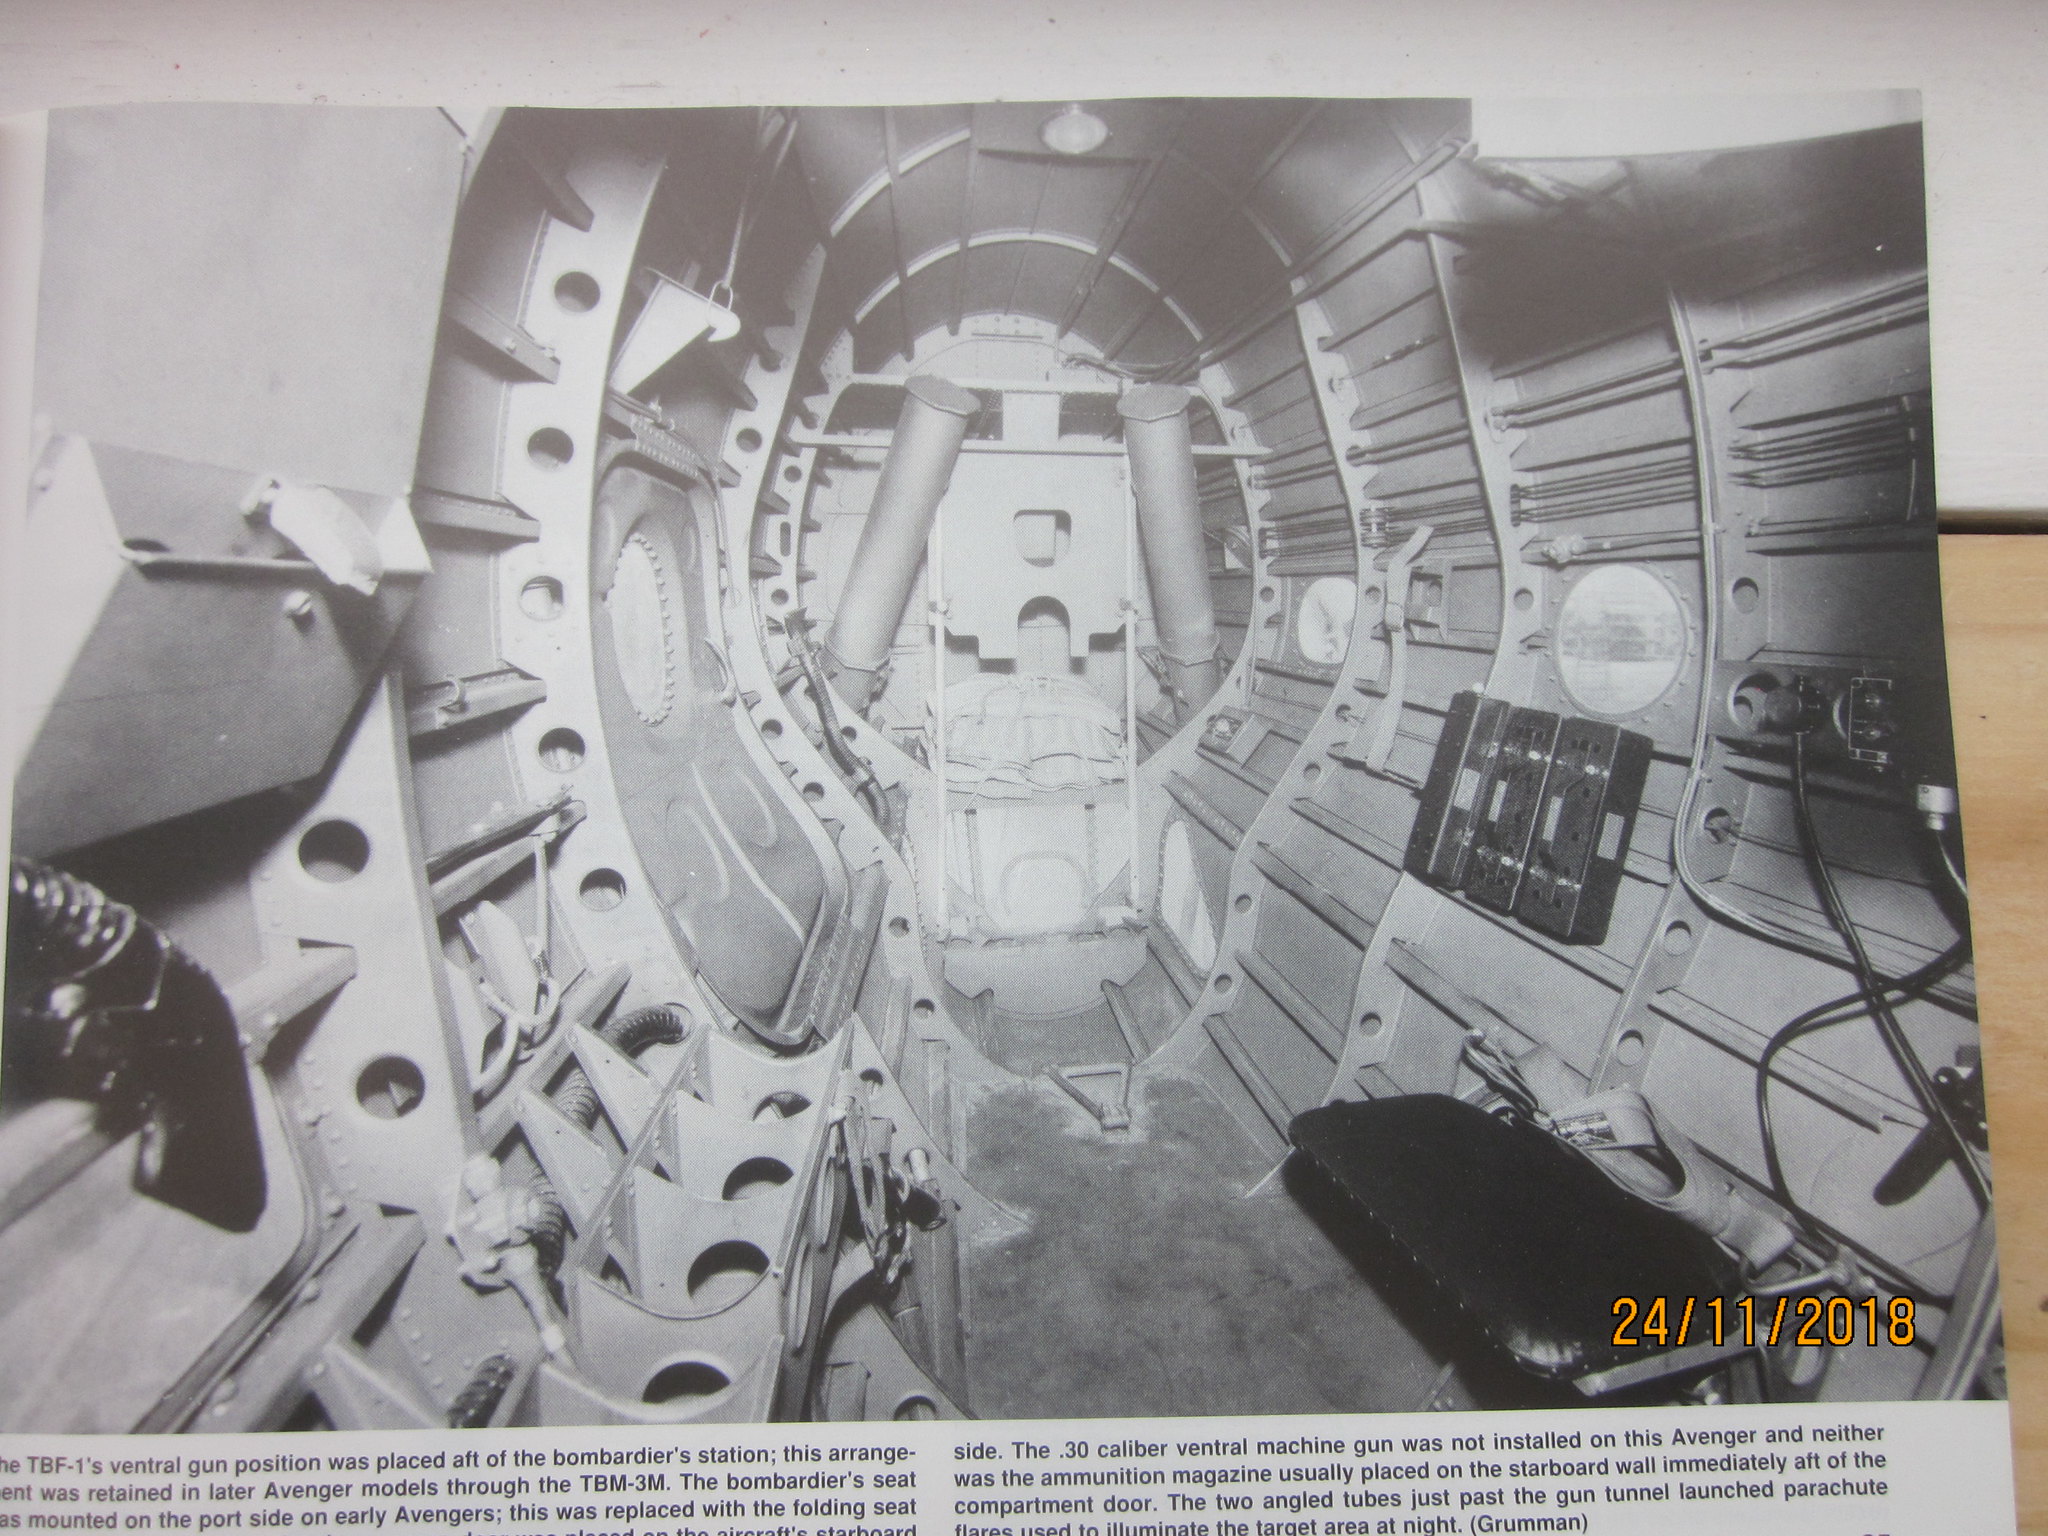 Avenger interior 008 Avenger interior 008 by Mike Feisst, on Flickr 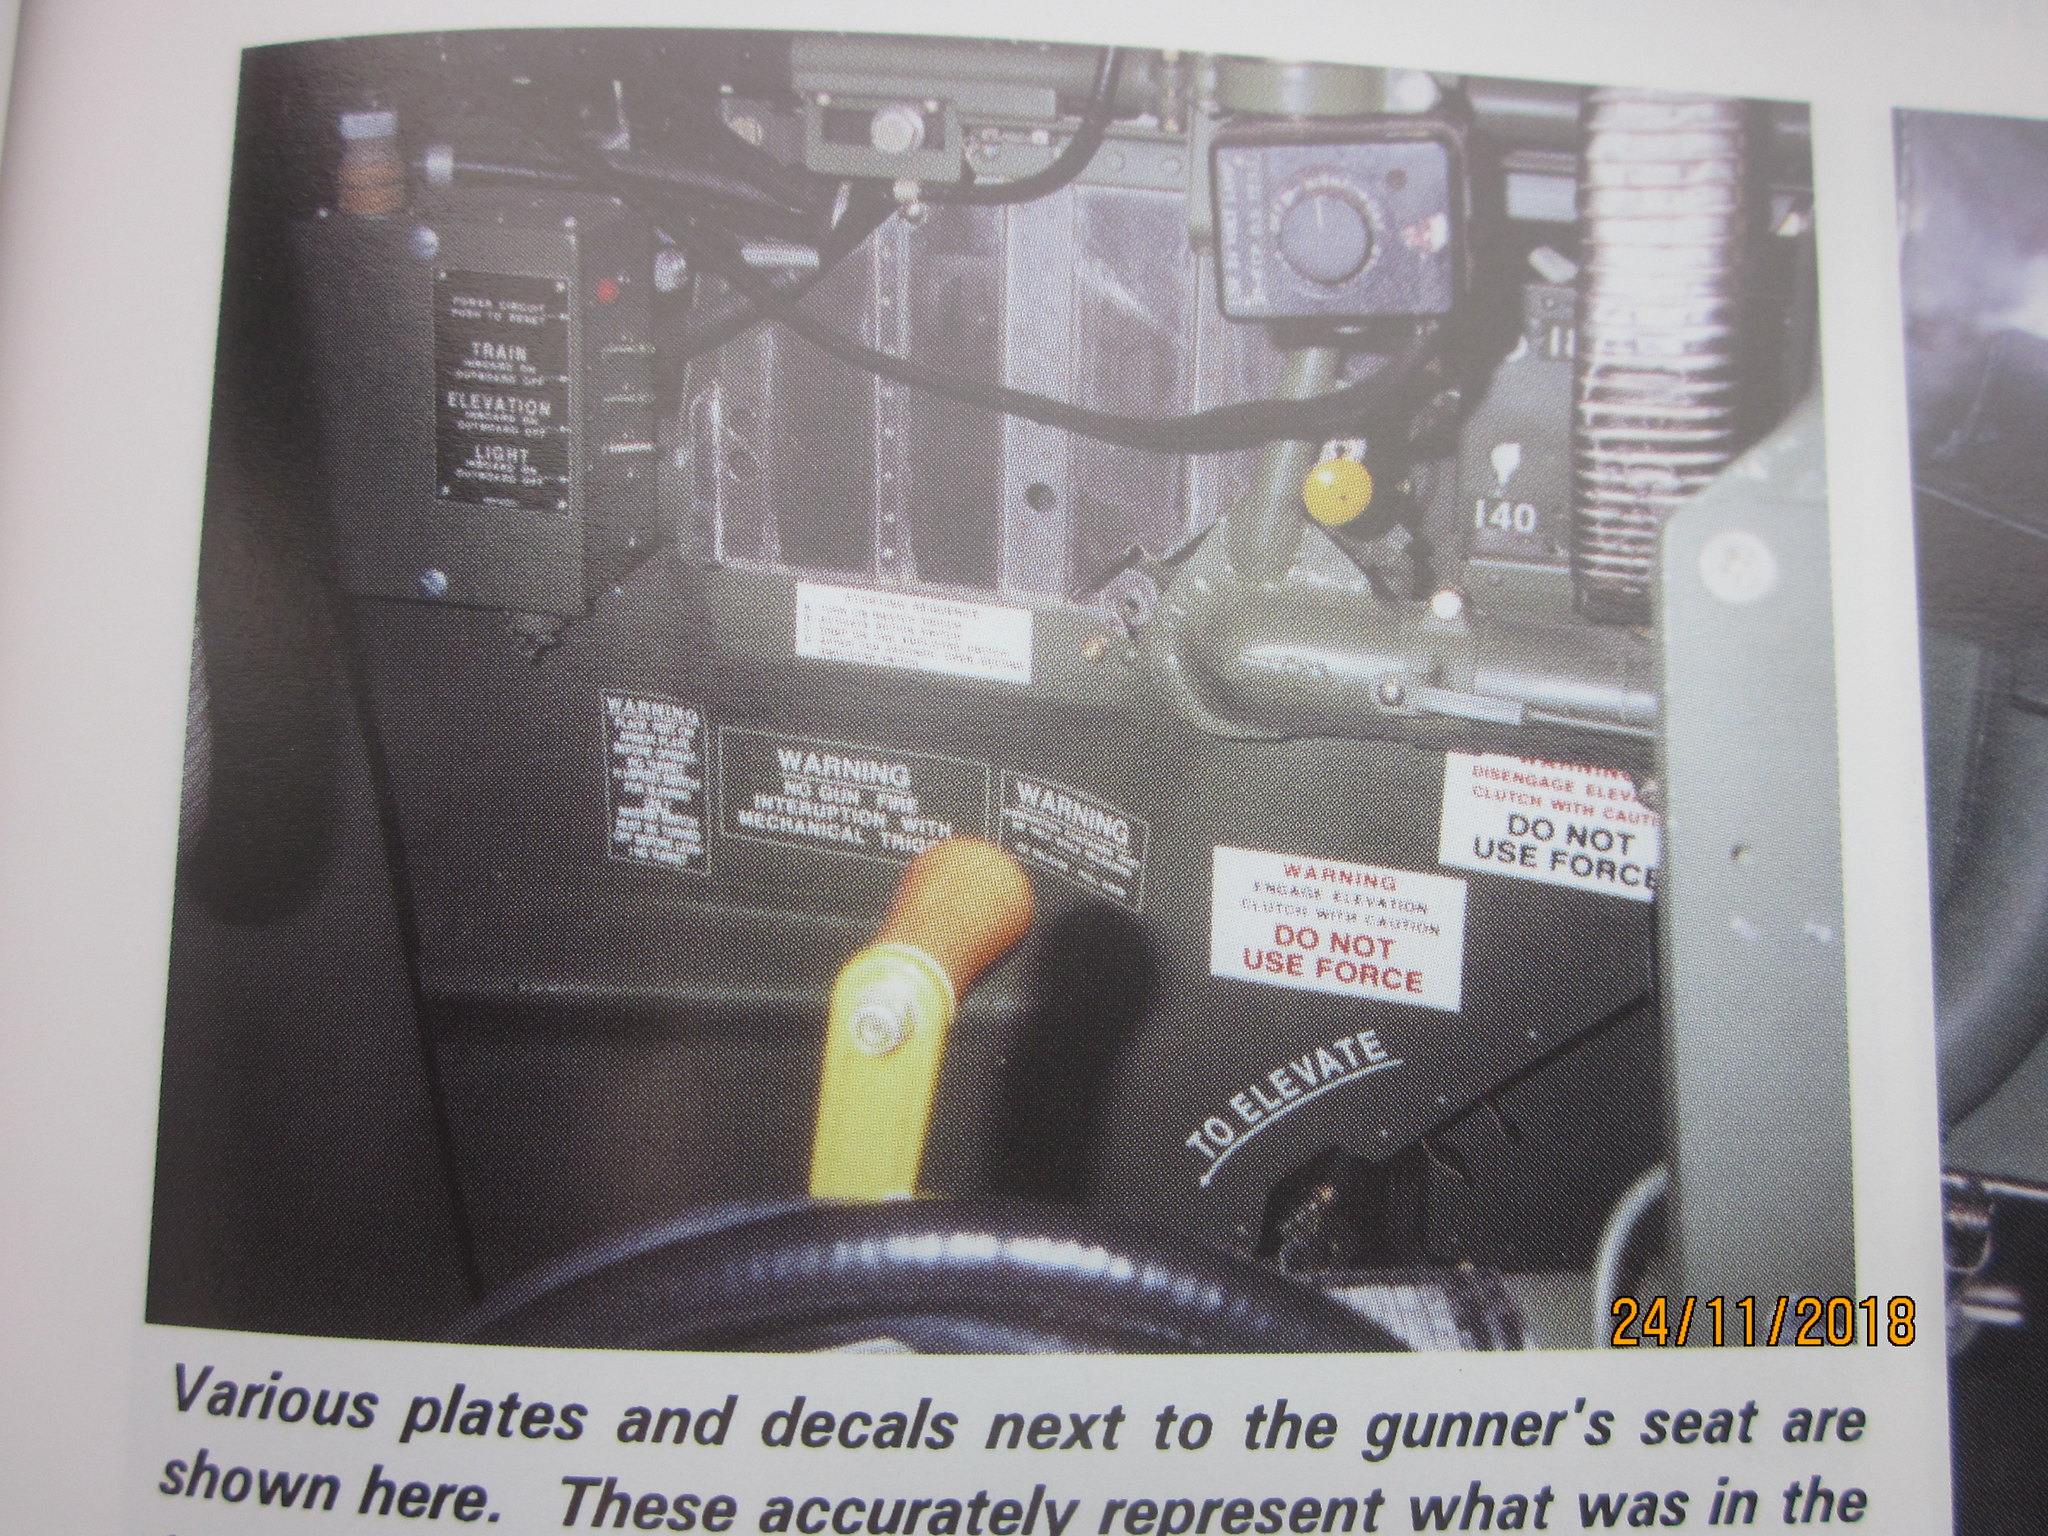 Avenger interior 013 Avenger interior 013 by Mike Feisst, on Flickr |
|
|
|
Post by agalbraith on Nov 24, 2018 14:02:21 GMT 12
Lengths are cut and in Baz's possession now. He was going to get them away Monday I think.
Seeing all this work makes me want to get my 32nd scale TBF-1C kit out and continue with it! I have removed all the surface detail on the fuselage and been rescribing correct panel lines and started slightly stressing the allu skin. The time might be right for me to get back to work on her whilst '39' is being worked on.
Keep up the great work team, and Baz and I are more than happy to help you all out where we can!
Cheers Anthony
|
|
|
|
Post by tbf25o4 on Nov 25, 2018 9:04:34 GMT 12
When we rebuilt NZ2504 at Wigram in the late 1970s, one of the best items we had for reference was an illustrated parts manual. Included in the manual were accurate drawings or photos of all the placards and decals and where they were applied. It could be a good avenue to approach the air force museum at Wigram to see if they still have the manual and to get images of the decals you require from the manual
|
|
|
|
Post by agalbraith on Nov 25, 2018 15:40:14 GMT 12
Thanks for that, I forget the Americans used Illustrated Parts Manuals.....so used to looking at British ones with just pages and pages of numbers!
|
|
|
|
Post by emron on Nov 25, 2018 16:54:24 GMT 12
Here are a couple of photos of the rear compartment showing how much gear was nailed to any spare space available. The flare chutes at the rear of the compartment are quite prominent. Studying the various photos makes it obvious that the fitouts were constantly evolving and sometimes it looks like a mix and match situation. It now appears that my tall box on the starboard side forward of the door is just a blank box (oh well). Next job is to make the support arm for the pitot head that fits on the port wingtip. I guess that shaped timber might be the answer. Avenger interior 002 by Mike Feisst, on Flickr Avenger interior 008 by Mike Feisst, on Flickr Avenger interior 013 by Mike Feisst, on Flickr Mike, the major components that are mounted on the left side of the bomb aimers position are: the bomb distributer which was used to set the sequence of bombs to be dropped, the intervalometer that controlled the separation, the clock, the trailing aerial reel above them and the intercom control box in front. Most of these are still common and you may them in the spares to be identified. |
|
|
|
Post by baz62 on Nov 25, 2018 17:03:17 GMT 12
Two bits of Auster lift strut ready to be packed and sent to you Michael. I am taking them into work in the morning to linish off the burrs from the cutting and wrapping them in corrugated cardboard ready to post. 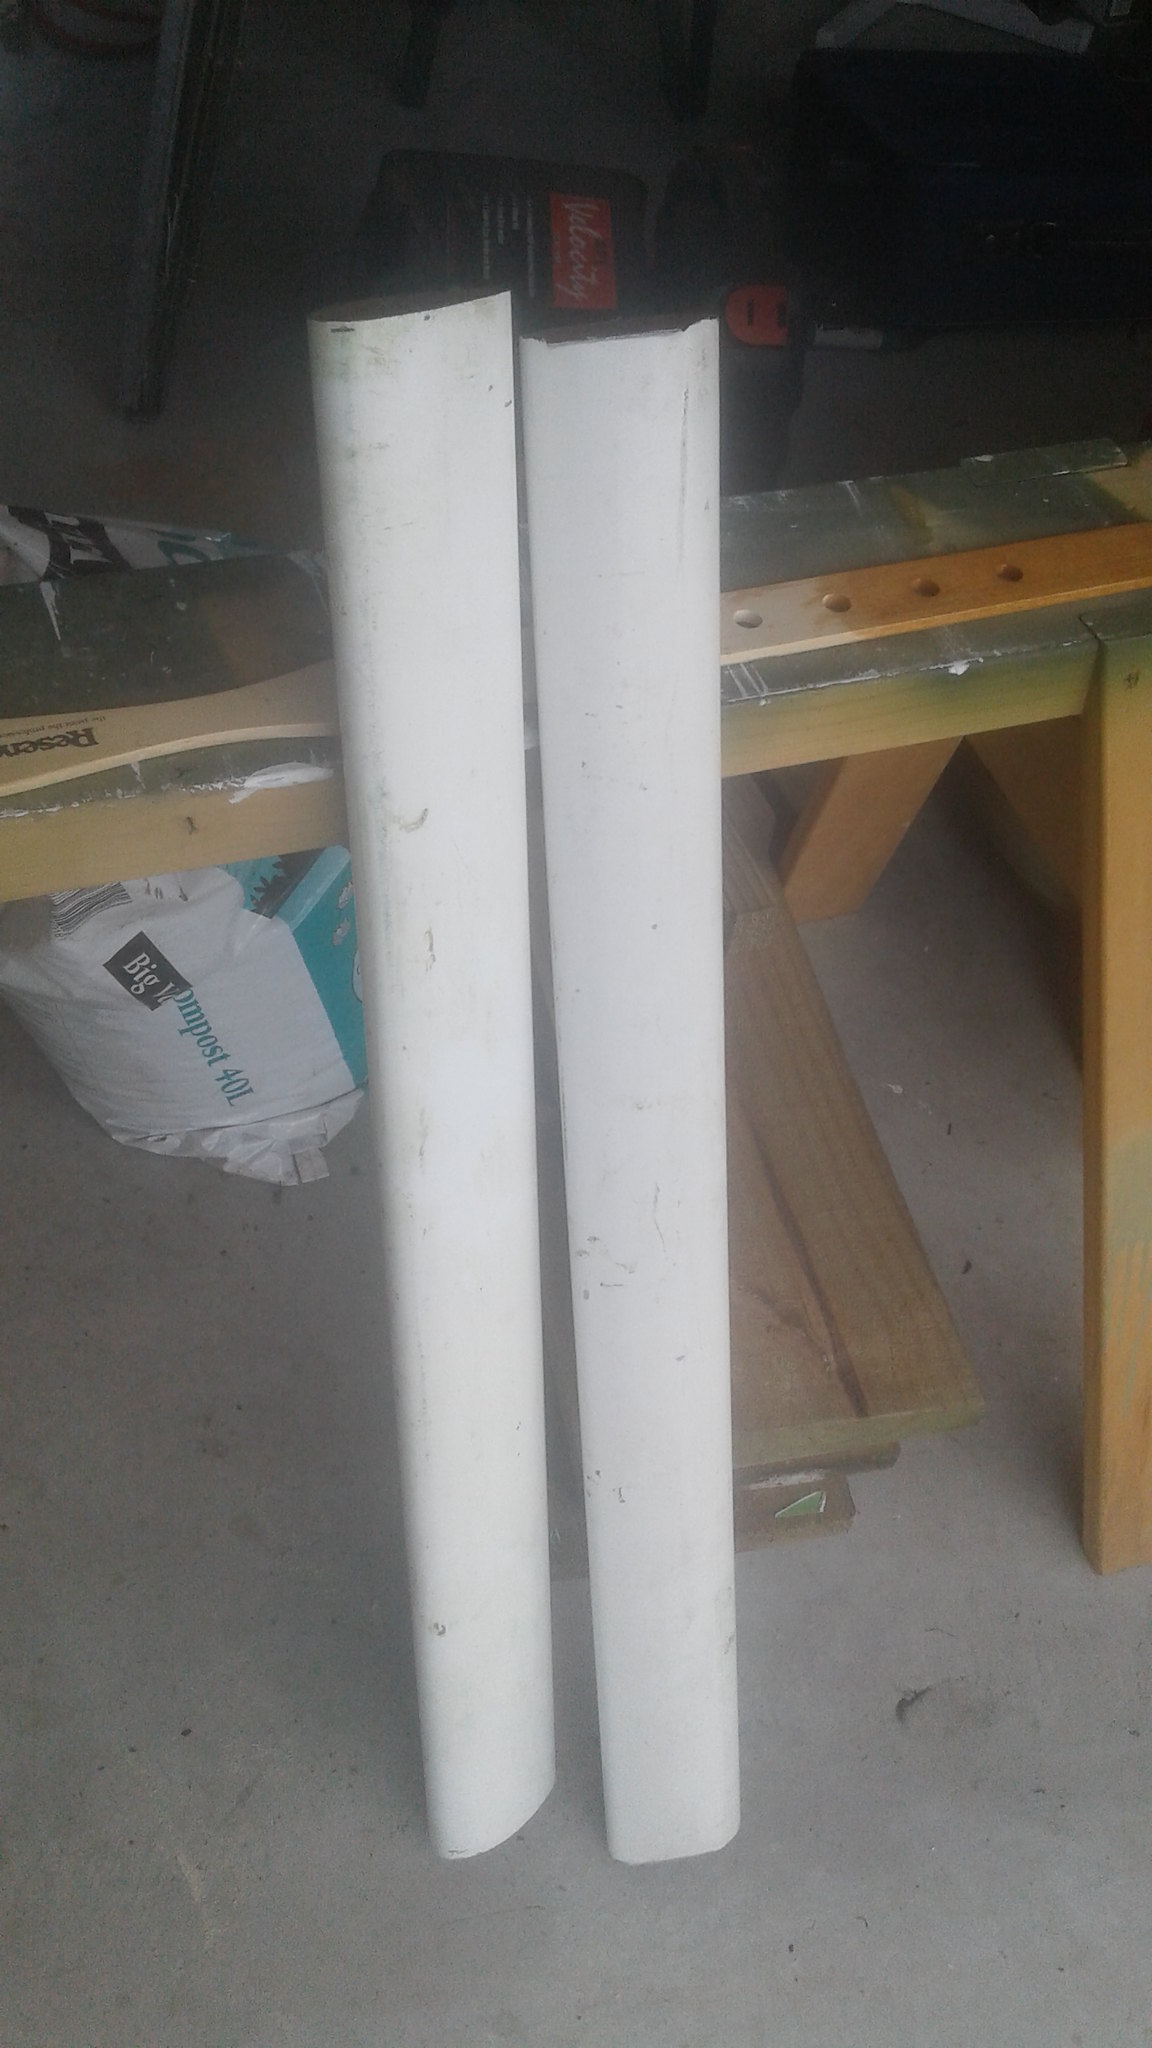 20181125_165906 20181125_165906 by Barry Tod, on Flickr |
|