|
|
Post by Dave Homewood on Dec 20, 2008 12:42:39 GMT 12
Your model is looking fantastic Anthony. More and more new white plastic and the original yellow id disappearing. It'll almost be a scratchbuild by the end.
|
|
|
|
Post by agalbraith on Dec 21, 2008 8:16:15 GMT 12
Thanks Dave
Yes mate the yellow is getting less and less. I finished the framework around the upper windscreen last night......phew, that was quite tricky to get everything to line up perfectly on all angles. Will posta a pic later tonight.
Not sure what fuselage details to do next as there just seems so much to do/make.
Cheers
Anthony
|
|
|
|
Post by agalbraith on Dec 21, 2008 17:38:26 GMT 12
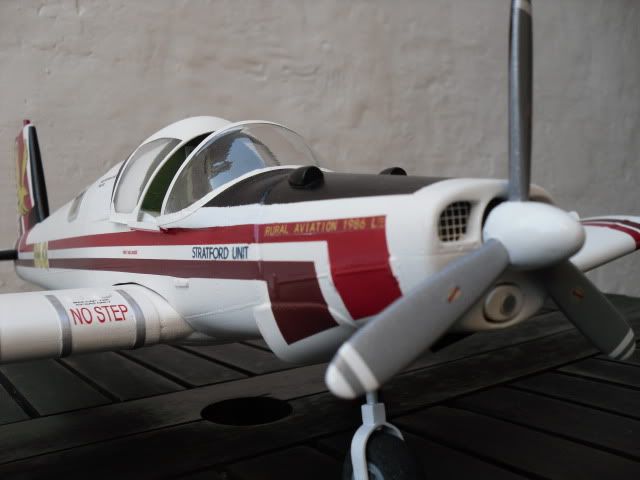
Hi guys, quick update.... I am trying to decide when I rescribe her wether to use my "Rosie the Riveter" or try these Archer rivet decals, any thoughts. I have never seen the decals before, are they any good? Quickly snapped a couple of pics of the upper windscreen framework finished, quite happy with it as it turned out to be quite a tricky job. 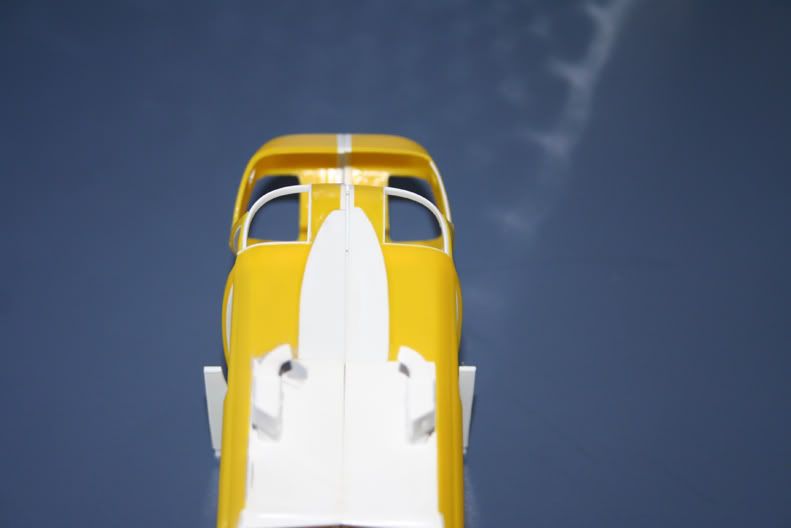 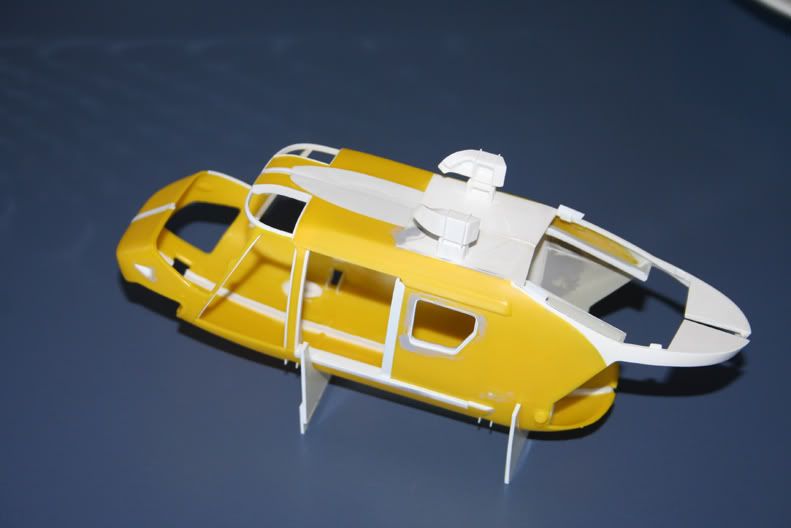 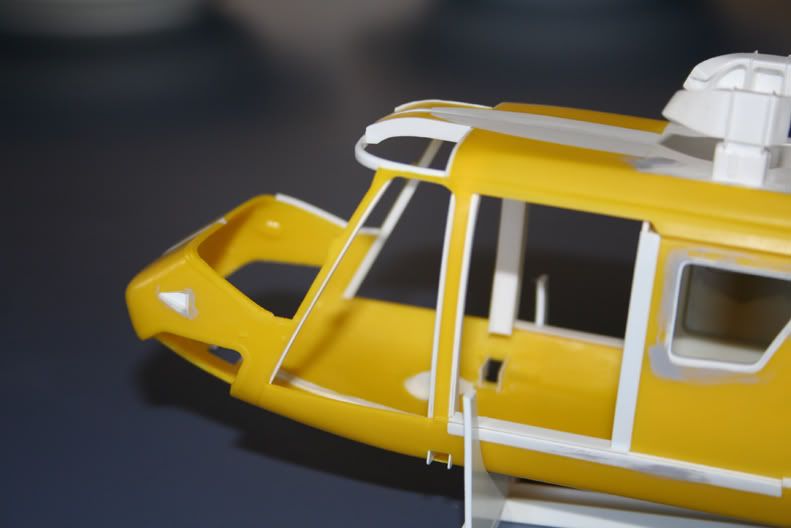 Cheers for now Anthony |
|
|
|
Post by Dave Homewood on Dec 21, 2008 18:00:56 GMT 12
I've never heard of decals for rivets. Maybe someone on Hyperscale has used them, and can advise.
|
|
|
|
Post by agalbraith on Jan 4, 2009 20:34:49 GMT 12
Well I had a good amount of time working on the BK this past few days and got a lot done.....for me anyway. First up was the upper door track . My kits moulded on fairing had quite an uneven line where it met the fuse. First up I scribed a line 4.5mm up from the lower edge of the fairing and scribed the panel line with an upward kink near the front(5.5mm back from the upper eyebrow window). Then another line 1mm lower was scribed. This second line runs across the top edge of the fairing and will serve to evenup/sharpen the point where the fairing meets the fuse. Then I flodded this line with Mr Surfacer and began the ardious task of blending it all together to accurately represent how the track should look. This took me ages and was a little more tricky thanI thought to get looking right. 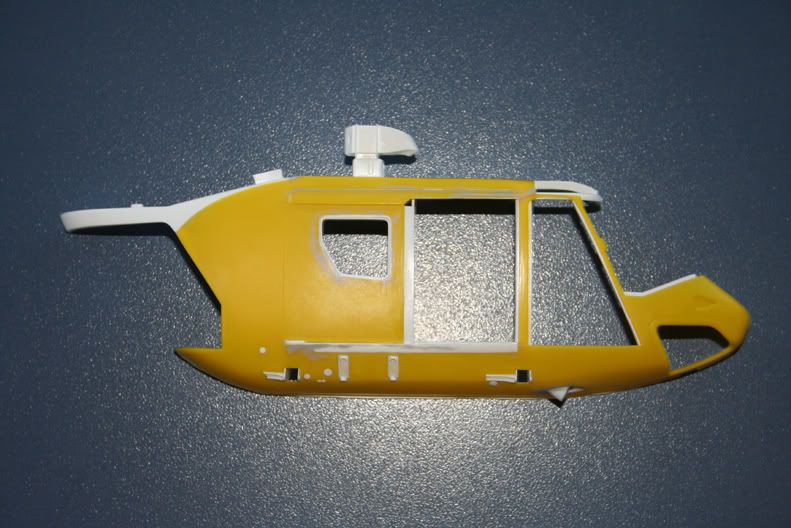 Next up was the heavy gauge alloy plates rivetted to the side where the winch brackets attach. These are percular the the NZ machines and had been measured up prior to being made. I used 10 thou card and then it was sanded/buffed down to a more appropiate thickness that looked "right" and Mr Surfacer brushed around the edges to slightly blend it all together and buffed back 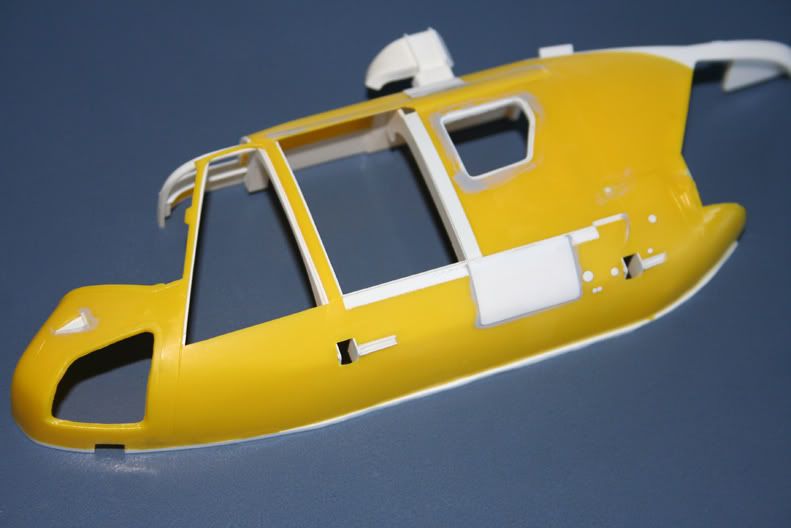 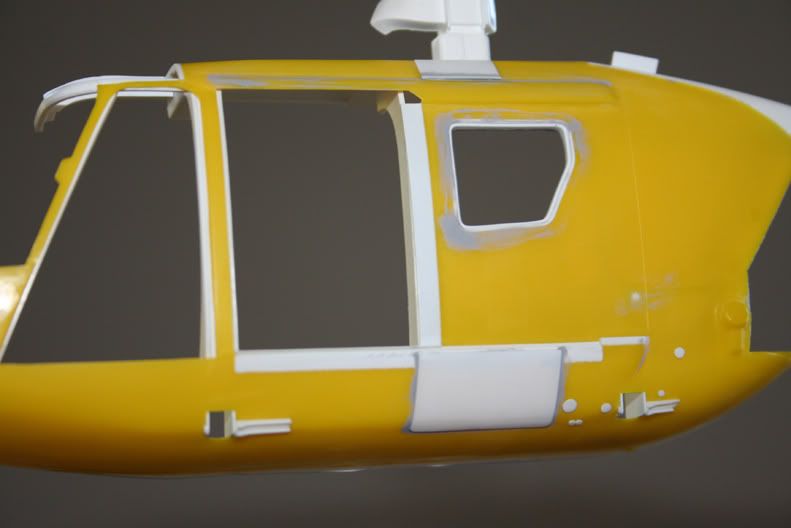 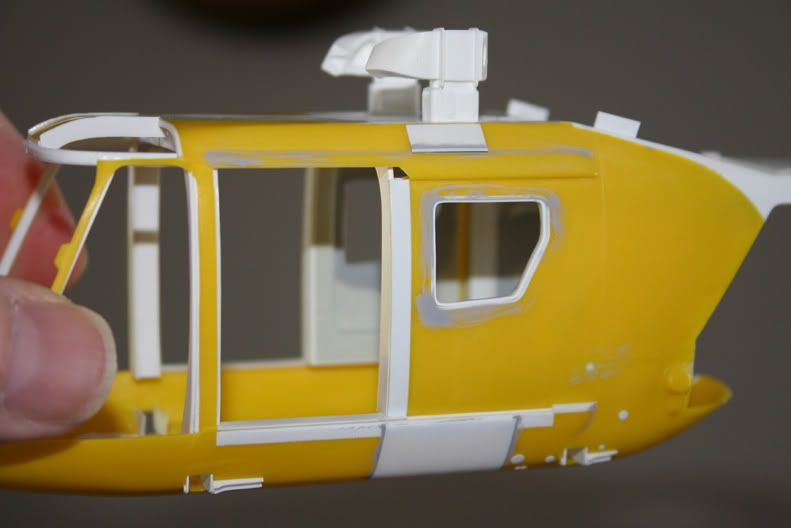 Then the clips for the mounting of the oxygen bottle was next up. My measurements were scaled back and this area was made. This part is to be sprayed red when the airframe gets painted also. 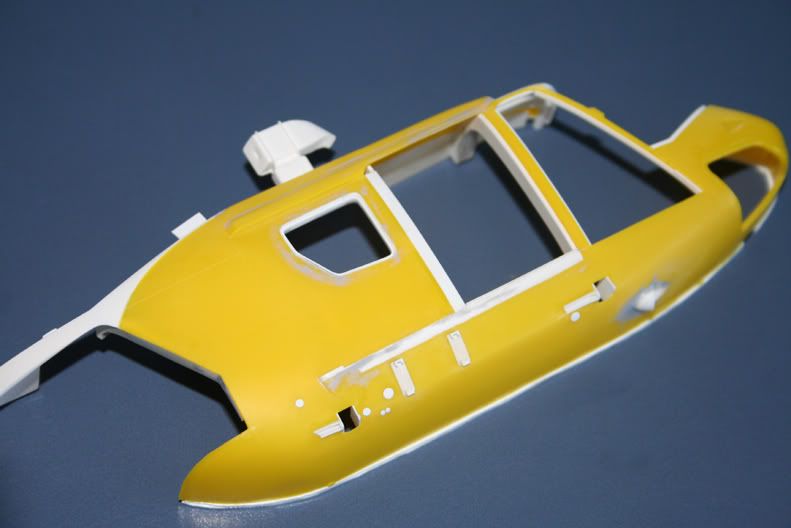 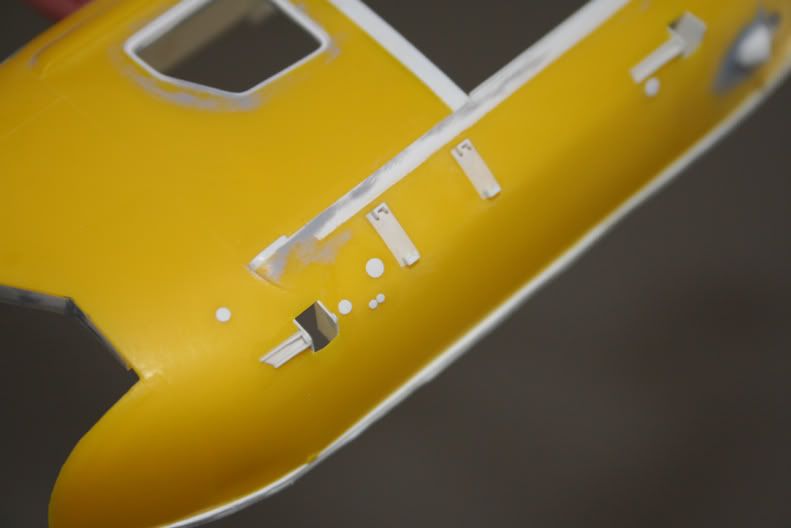 Then the part that slightly daunted me was all the many many drains/vent tubes dotted all over the lower fuselage. I measured up all their positions and used my Waldron punch and die set and using the 1,2 & 3 sizes I punched all the appropiate diameters and MEK'd them to the fuse in their respective locations. They still need their centres drilled out and various diameter hypodermic tubing inserted. Finally I started rescribing the fuse(you probably cant see that with my crappy photography), I now have all the major panels scribed ready for the hatches etc to be next. As you can see, the rear strakes behind each of the skid openings have been made along with the little circular plates on the front surfaces. I dont think I have missed anything, so I will let the photo's speak for themselves. 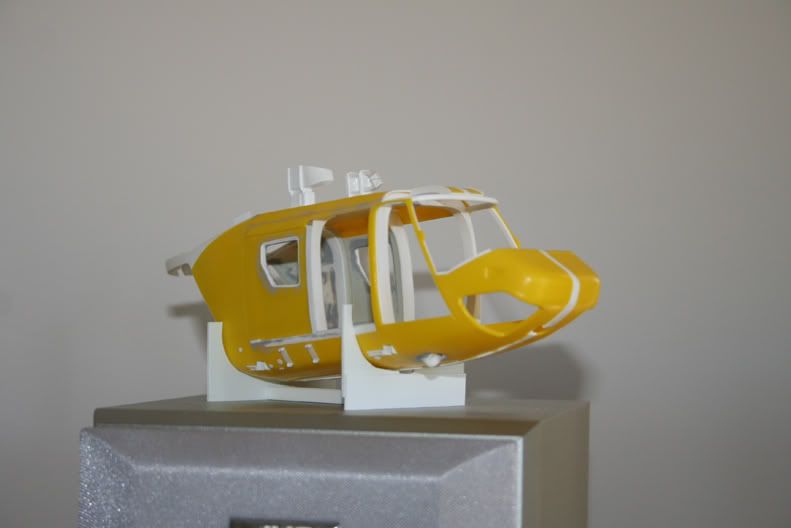 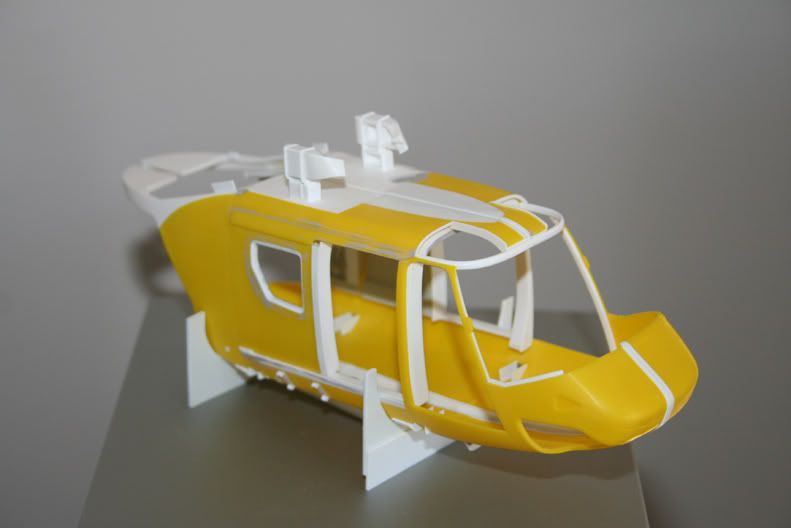 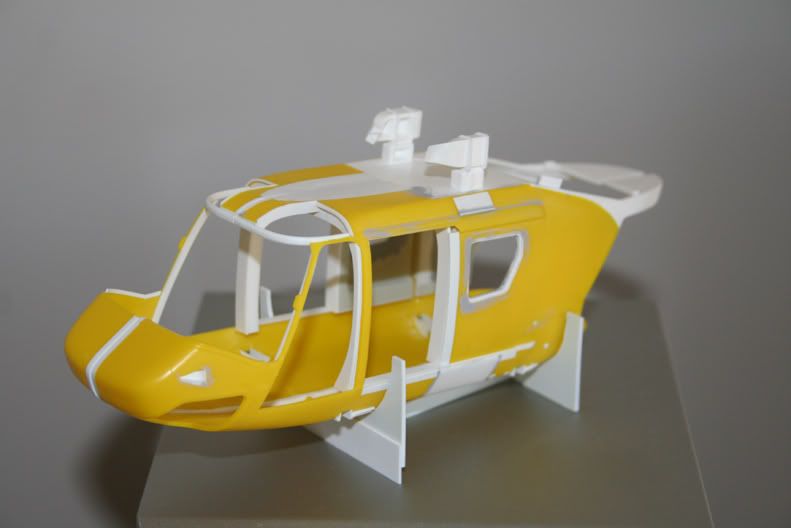 She is starting to take shape now and these details are starting to make her look a little more interesting/busy. I have a little more tidying to do on the port forward door track fairing to do.....and I must do that other nose NACA intake sometime! Thanks for looking Cheers Anthony |
|
|
|
Post by baz62 on Jan 5, 2009 15:46:10 GMT 12
Anthony if this is the kind of detail you achieve on a model then your Auster is going to win awards mate!! Great stuff!
Barry
|
|
|
|
Post by flyjoe180 on Jan 6, 2009 10:15:40 GMT 12
Coming along nicely.
|
|
|
|
Post by agalbraith on Jan 8, 2009 13:41:52 GMT 12
Thanks Guys
Baz, yes mate, I plan on being very fussy with my Auster too!
Cheers
Anthony
|
|
|
|
Post by corsair67 on Jan 8, 2009 14:21:35 GMT 12
Really nice work, Anthony.  How many kits did Santa bring you?  |
|
|
|
Post by agalbraith on Jan 15, 2009 18:20:18 GMT 12
Thanks for that. Well, as I mentioned earlier I went down to take a few shots/measurements off the BK and noticed that the upper door track was more complex than it looks in photo's.   My scribed lines on the top of the track just didnt look right, so I scraped a horizontal track for a strip of .010 x .020" plastic card to neatly sit in it., then I basically went right around the track with a curved end piece. After that I placed a strip along the lower face of the rear track (there is a ridge running along there) after that another piece of .010 x .020" strip was glued along the bottom edge of the front half with a final angled piece up by the door. Hopefully this pic illustrates it better than I can explain. 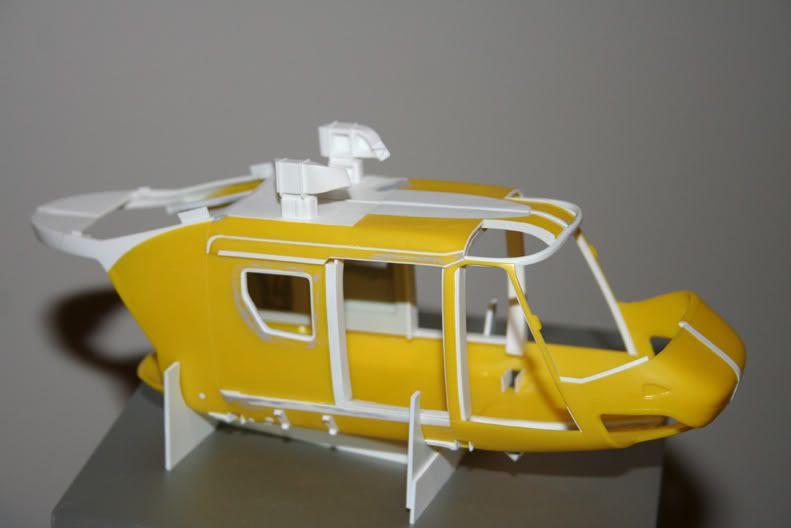 This now gave me positive lines to blend in with filler to portray the subtle curves. The wider strip on the rear front face had the top bevelled in and Mr Surfacer 1200 was then brushed around it all to smooth it off. This actually took several applications until I was satisfied it was perfectly even and looked just like the real thing. Next up is the gutter running along the lower edge. This really had me puzzled as I really didnt know how to accurately portray this. Finally after much gazing at photos I found some .020 / 0.50 round rod (Plastruct). I taped a length on my cutting mat and passed over it a few times to put a small flat on one side. This was then bent to shape and glued as I went. These pics should illustrate how I did that part. 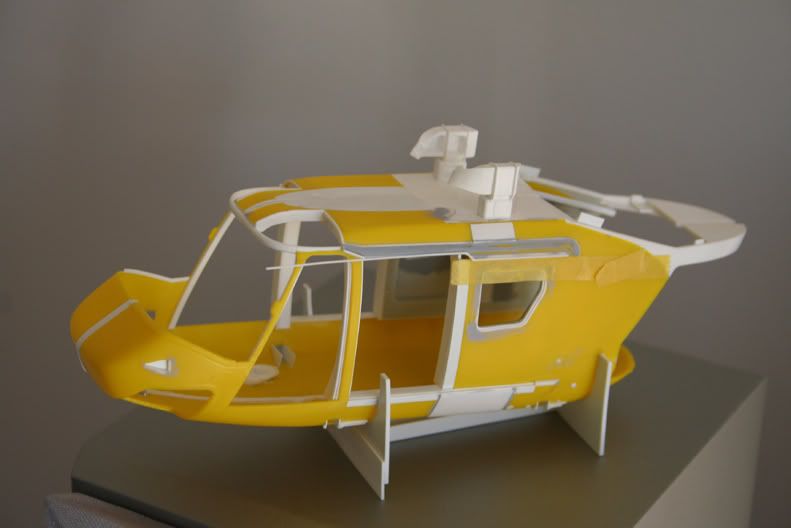 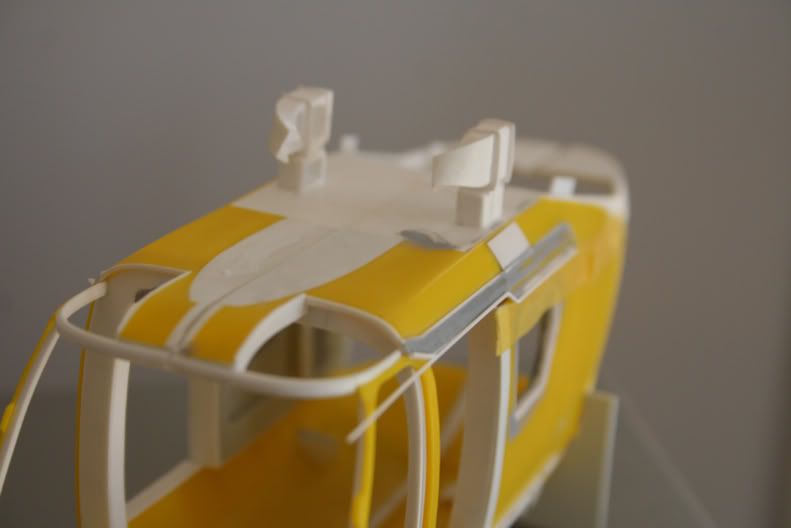 Once this was carefully glued on (flat side to fuse) I rubbed it back with fine emery paper and contoured it to the right profile. I also thinned the card edges of the track to give an accurate scale thickness to the panel. And this is one side finished. I am just working at finishing the stbd side at the moment. 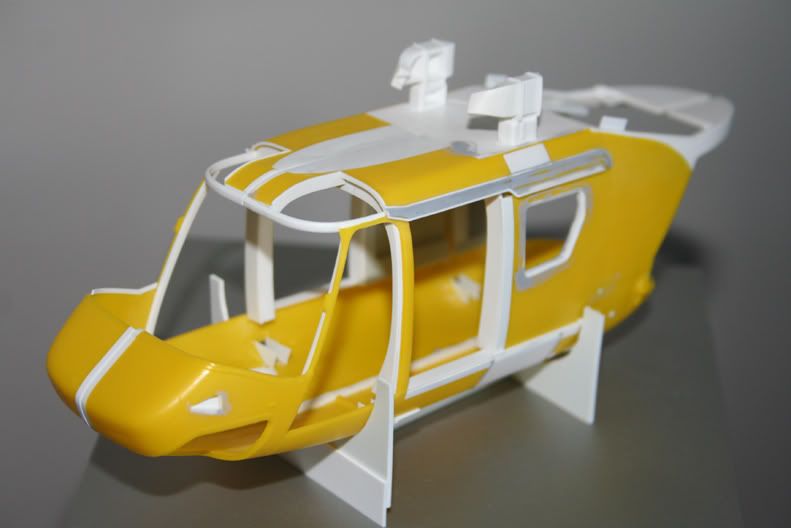 This really took me a LOT longer than I thought it would, but I am really happy at how it looks now and am glad I did it. Thanks for looking guys Cheers Anthony |
|
|
|
Post by Fletcher400 on Jan 17, 2009 10:42:58 GMT 12
Hey Anthony, Ive been following this thread for awhile and the model is looking absolutely brilliant so far
Cheers
Alan
|
|
|
|
Post by agalbraith on Jan 18, 2009 12:28:16 GMT 12
Hi Alan
Much appreciated mate. It is definately a labour of love, and one of the few models I really want to go to town on.
Cheers
Anthony
|
|
|
|
Post by Dave Homewood on Jan 18, 2009 16:09:49 GMT 12
The latest update looks great Anthony. It's progressing well.
|
|
|
|
Post by Craig Sargent on Jan 22, 2009 13:09:13 GMT 12
Don't waqnt to post too often, because I know I'll run out of superlatives before it is finished otherwise, but that is some very precise and neat work. Just wonder how old I'll be when it's done (kidding). Watching with interest.
|
|
|
|
Post by agalbraith on Jan 30, 2009 19:29:44 GMT 12
Thanks guys......ha ha, wouldnt mind finishing it in my lifetime too!! Well, I have been busy making the other sliding door as well as a few extra details making them fit nicely. But I have just spent the last hour or so making the upper sliding door track at the forward end. I wasnt sure how to go about it, but when you break it down it isnt too bad after mindlessley staring at photos for ages. There is a fine channel the door runs along, the channel I had was too chunky even though it was quite small, so I used an "L" section and scraped/sanded it back even smaller with thinned edges, then got a piece of 10thou card and glued it on the back, effectively giving it an h section. This works well as there is a panel in behind the channel (ha), this will all be sprayed satin black eventually. This is the first one....looks ok to me and am happy how it turned out. Off to start the other side now before I forget how I did it.... 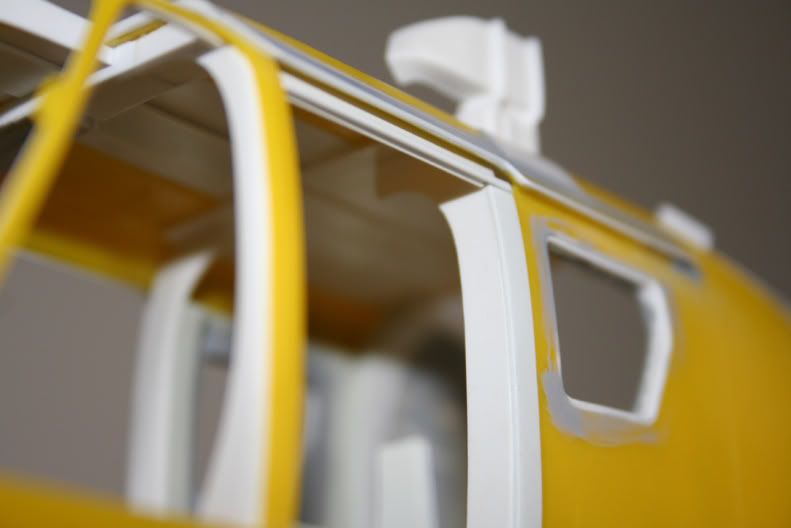 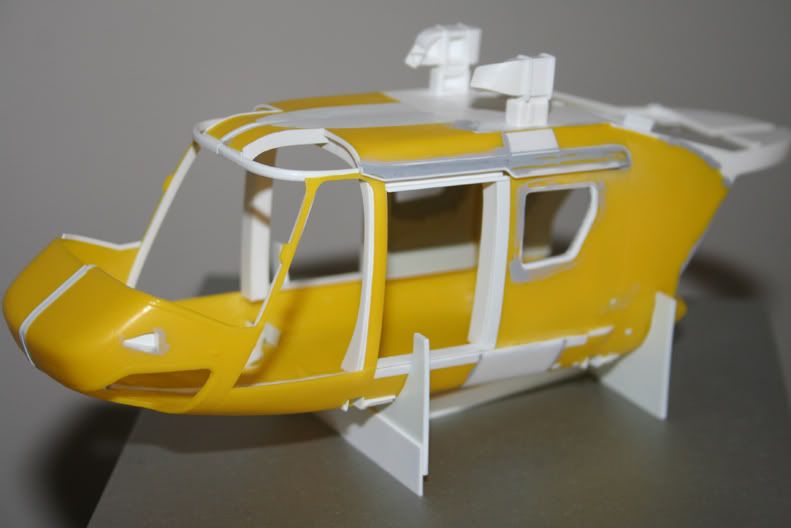 Thanks for looking Cheers Anthony |
|
|
|
Post by kiwichappers on Feb 11, 2009 20:37:39 GMT 12
Anthony, great work and as ever inspirational and somewhat humbling. Thank you for the posts and explainations of the work.
|
|
|
|
Post by flyjoe180 on Feb 12, 2009 17:04:45 GMT 12
The detail is amazing.
|
|
|
|
Post by agalbraith on Feb 12, 2009 22:04:38 GMT 12
Thanks Guys
Much appreciated. I am home now from my trip and am keen to have another go at it this weekend.
Cheers
Anthony
|
|
|
|
Post by agalbraith on Feb 24, 2009 19:22:49 GMT 12
Well I have been back a little while now and believe it or not I have actually been working on the BK. I have been concentrating my efforts on the front fairing (in front of the engine cowl). I still wasnt convinced that I had the shape 100% correct......so down to see the real one again with my part! I was correct the sides needed to be a little flatter and the front 1/3rd has a ridge down the centre.. Back home I go and re-contoured the fairing....now I was happy with it! 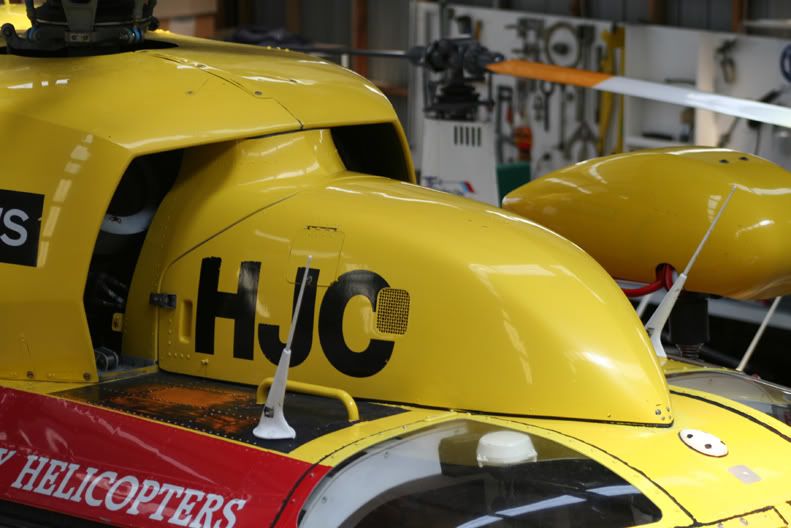 There is a panel line that seperates the front and rear sections. Firstly I tried rescribing it but that was ugly due to all of the superglue/filler in it. Even with using a razor saw blade as well as a scriber, it came out uneven and chipped a little. So I ended up getting my razor saw and cutting it in the 2 sections which was quite tricky for me due to the angles in it and keeping it all even. Once I had the 2 halves I shimmed the 2 faces with plastic card and carefully sanded/shimmed/sanded/sanded/tested/shimmed/sanded.......... What a tedious job, but finally I had two matching surfaces. I buffed the edgesto round them off slightly as per the original and MEK'd the 2 together. When dry I sanded and polished the whole thing to even it all up. I am working on the top of the fairing now, I have re-shaped it (again!) and am building the top up to match the lower inside cowl profile. 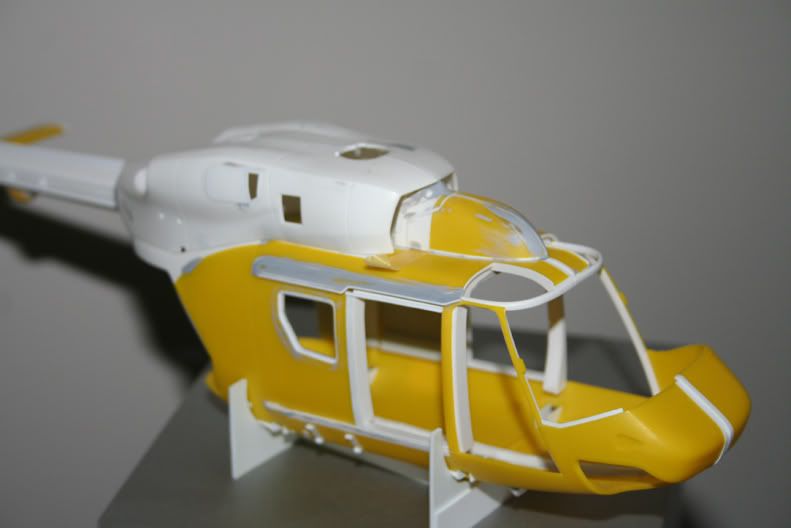 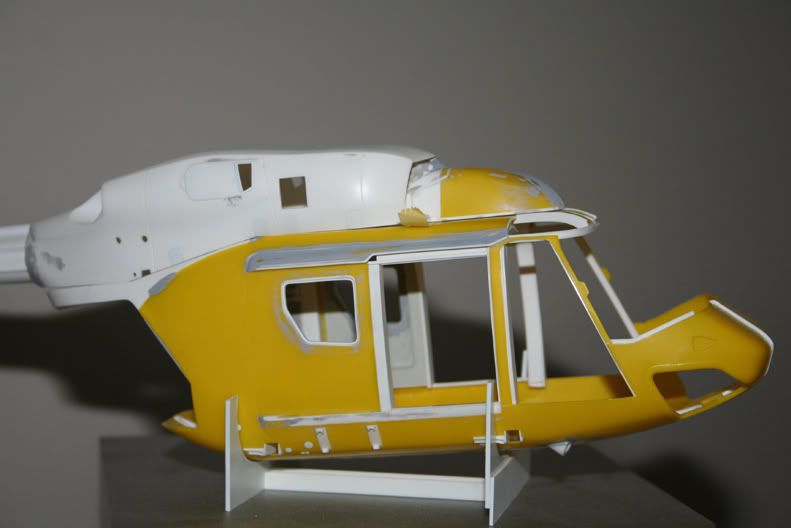 All that is left to do now is open the square up on the sides and add mesh as well as other details on it. I know it dosent look like much but it actually took me 3 or 4 days to get right!!! Cheers for dropping by, sorry my progress isnt faster. Anthony |
|
|
|
Post by mstokes on Feb 25, 2009 16:38:33 GMT 12
Hi Anthony, great work on this mate! Phenomonal amount of detail in this chopper, would love to see it when complete.
|
|