As Bruce said, basic modelling tips could fill volumes.
Some I have thought of
Rules :
1) Modelling is Fun
2) See No.1
Seriously though
Steps to follow are much as Bruce has said, all valid points, with
some additional ones I can think of.
Find an old model and experiment, such as painting scribing etc if it becomes your hangar queen so be it.
Depending on how "Accurate" you want your model to be
look at pictures/real thing to gauge how/what/where/why.
Learn, to go step by step (What I mean step by step, is a part of your model at a time) don't rush, if you study things out then
apply the glue etc you'll do fine.
Important Modellers litany Dry fit, dry fit, glue.
I use elastic bands to hold large parts together some modellers
use clamps etc.
Keep a supply of toothpicks they are great to apply tiny bits of cement to tiny parts, also good to attach small parts to with blue tack when touching up paint after removing from the sprue
Get some good tweezers great to help fit small parts also,
I have various types, the most used are the needle tip.
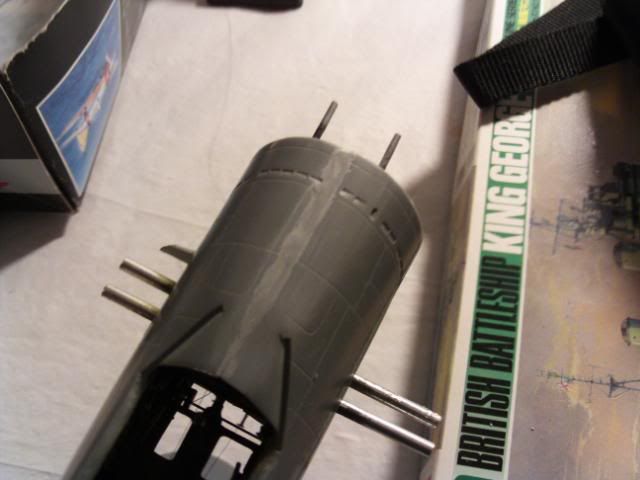
When filling seams scratches etc or the occasional oops. when scribing, I use Tamiya putty applied with an old model knife blade or scrap plastic, let it dry some, then using nail remover (with acetone) I use "Q" tips soaked in the nail remover to smooth out the putty. This cuts down the amount of sanding, then sand with fine grade and water, comes out really well (and nice smelling model too.....)
see photo
 Brush Painting
Brush painting can be just as effective as spraying, I have
seen some awesome models that have been hand painted.
Some tips for brushing
Wing/Horizontal stabillizers brush in the direction of leading edge to trailing edge
Fuselage nose to tail
Use steady strokes
DecalingUse a gloss clear coat (or gloss paint) to assist decal placement and it helps covering the decal film.
Cover with semigloss or matt clear coat to seal the decals.
WeatheringWeathering
important note study your aircraft type and look at what type of weathering it may have.
Late WWII USN aircraft on carriers in Overall Glossy Sea Blue did not have much in the way of chipping, but types like the F6F Hellcat could have massive amounts of exhaust staining.
On aircraft that has chipping, a small brush with aluminum/silver paint wiped clean can be used to dry brush around panels/leading
edges etc
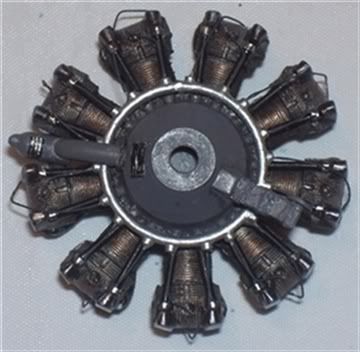
Dry brushing can be used to 'Highlight" parts as in the cockpit or engine, as in the "bronzing" of this Buffalo engine
 Canopy Frames
Number of different ways to approach this
1) cut tape to fill in area between frames and paint, remove
tape
2) paint decalling stripe and place on as frames
3) (my favourite) smooth out kitchen foil paint on one side
interior cockpit colour, then the opposite side exterior colour,
cut into thin strips (wide enough to cover frames) then fix with
either Krystal clear or white glue. With some practice you can do
curves as well
One last important note
If building Spitfires, Mk I's they did not have crowbars on the cockpit
door till 1941 ;D
Hope that helps
Regards
Alan