Post by Bruce on Mar 28, 2015 15:18:19 GMT 12
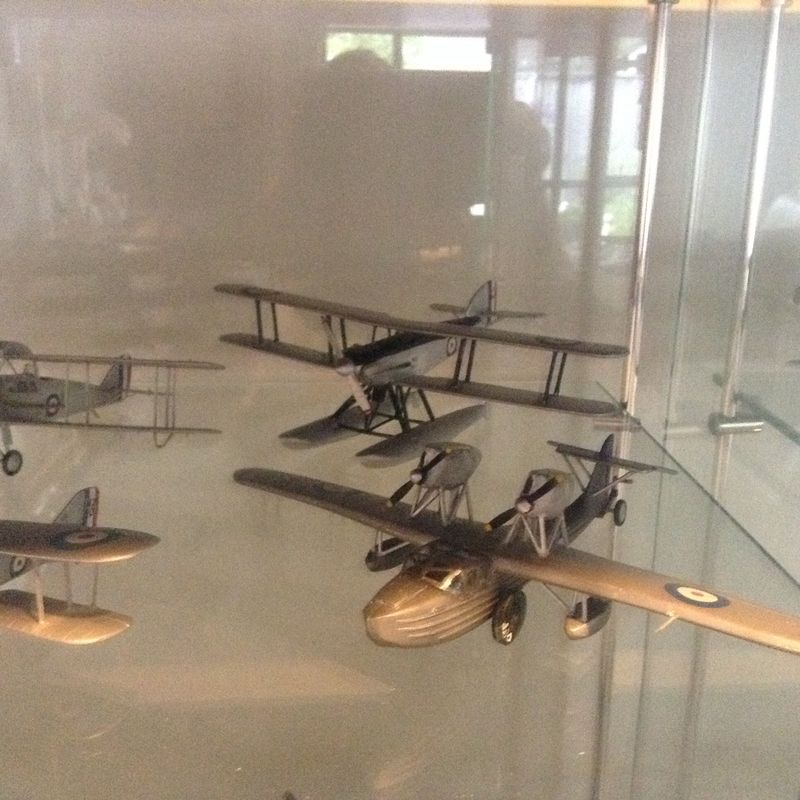
A type missing from my collection of 1/72 RNZAF machines is the Saunders - Roe Cutty Sark. As there is no kit available for this obscure but rather attractive little 1930s Flying Boat, I decided I would scratch build one using the resin cast method - my second model using this technique. It essentially requires building the model 4 times - Patterns, moulds, Casting and assembly. As I took photos of the important stages I'll post them here for your info.
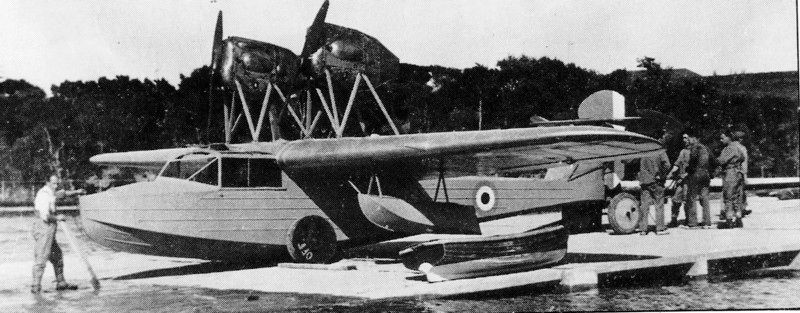
The NZPAF aircraft was based at Hobsonville for a few years from 1930 and served as a general purpose flying boat for the small operation there at the time. Although I have heard the serial number L3 applied to this aircraft, I cant find any photos of it as such, and it appears to have flown without any identifying numbers for at least part of its career. Although the Cutty Sark was an amphibian, this example did not have a wheeled undercarriage fitted and it was operated as a pure flying boat with beaching gear.
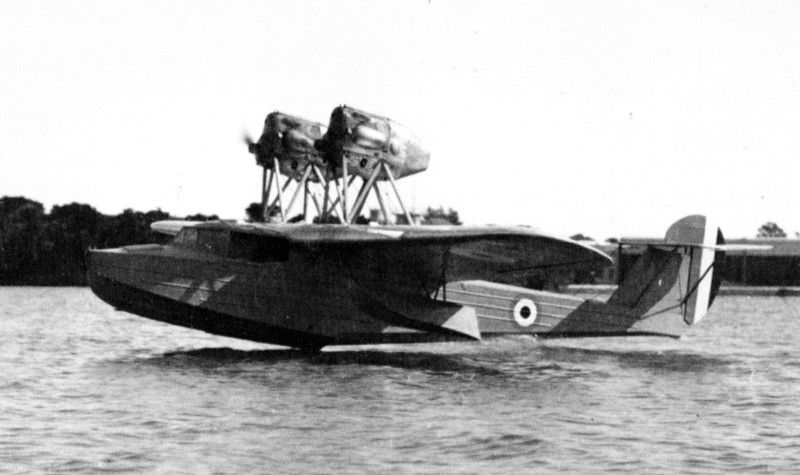
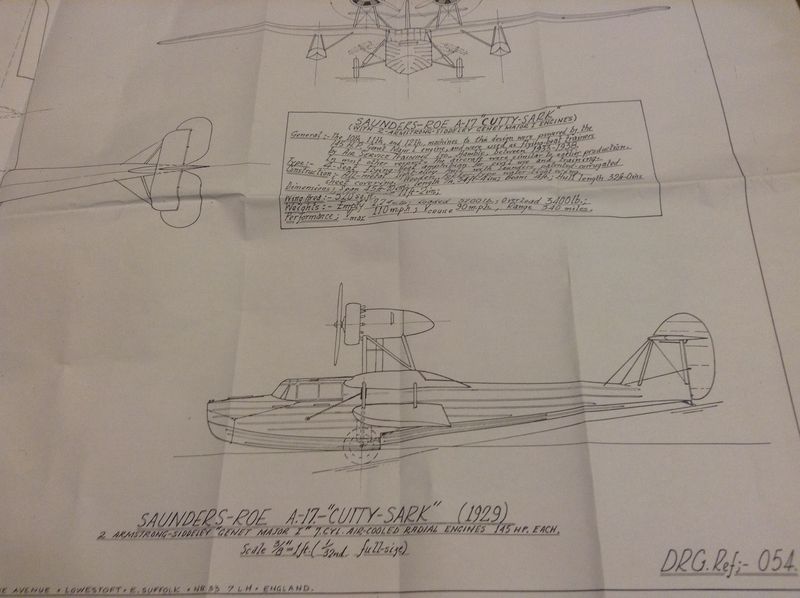
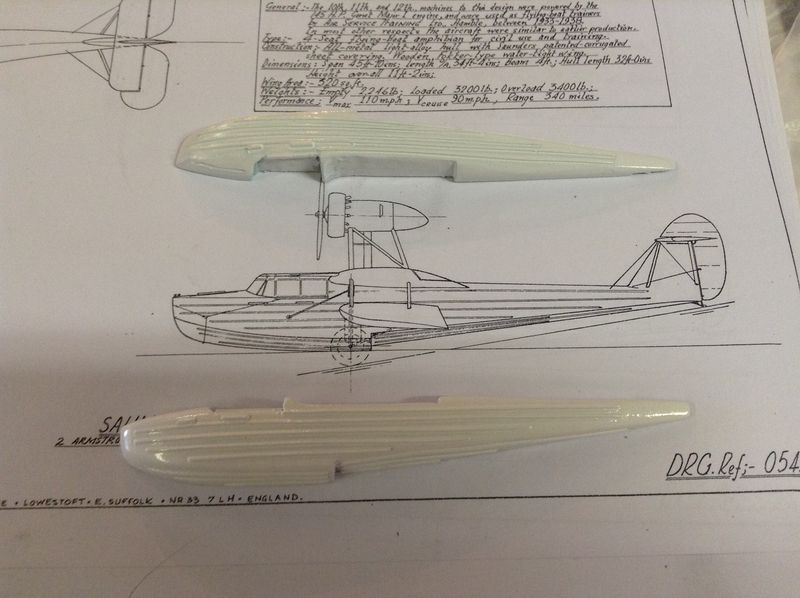
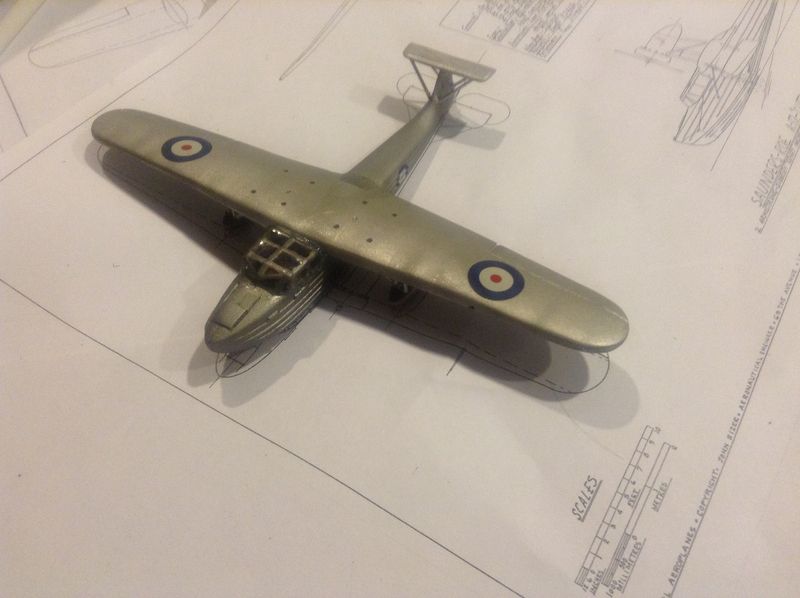
To start the model I purchased a set of John Sizer drawings from the UK. these were in 1/32 scale so I had them scanned and reduced 44% to 1/72. Comparing the drawing to the photo references I noticed a few errors and corrected these. The drawings also showed a Genet Major engined example, rather than one with ABC cirrus engines, so I worked off the photos for these parts.
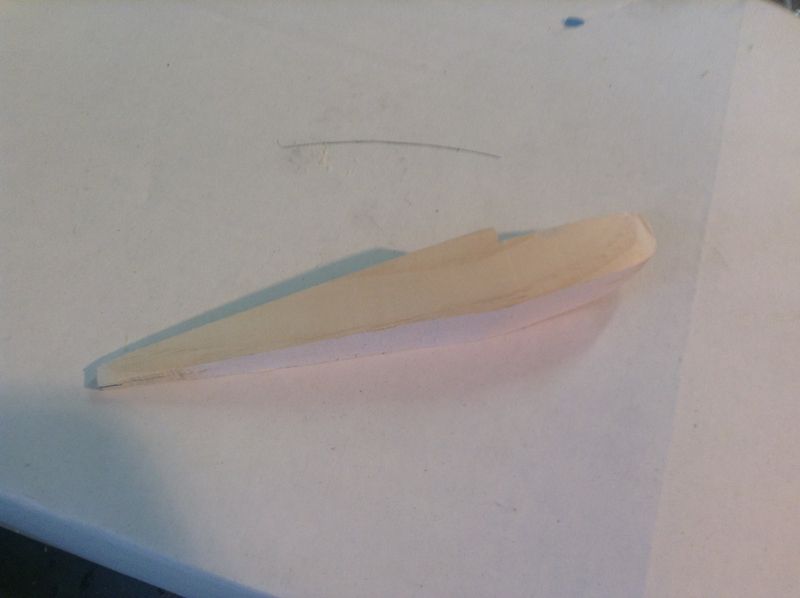
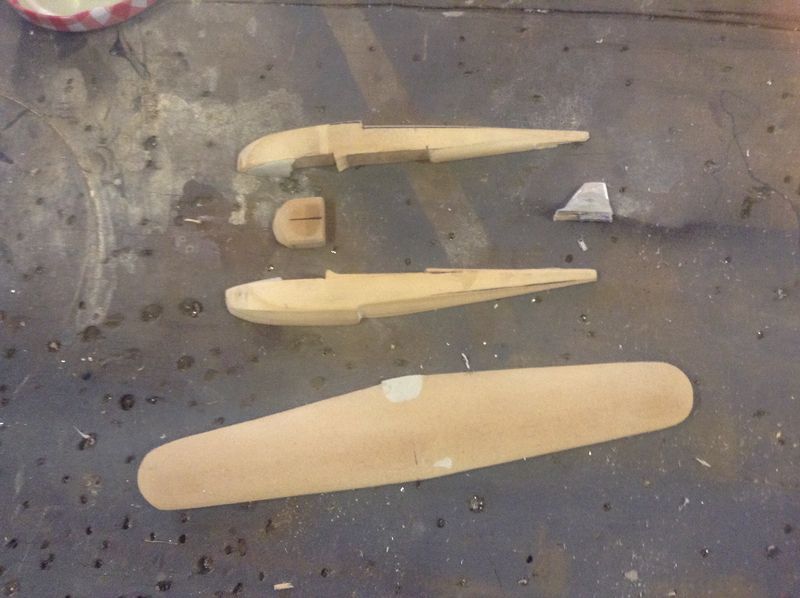
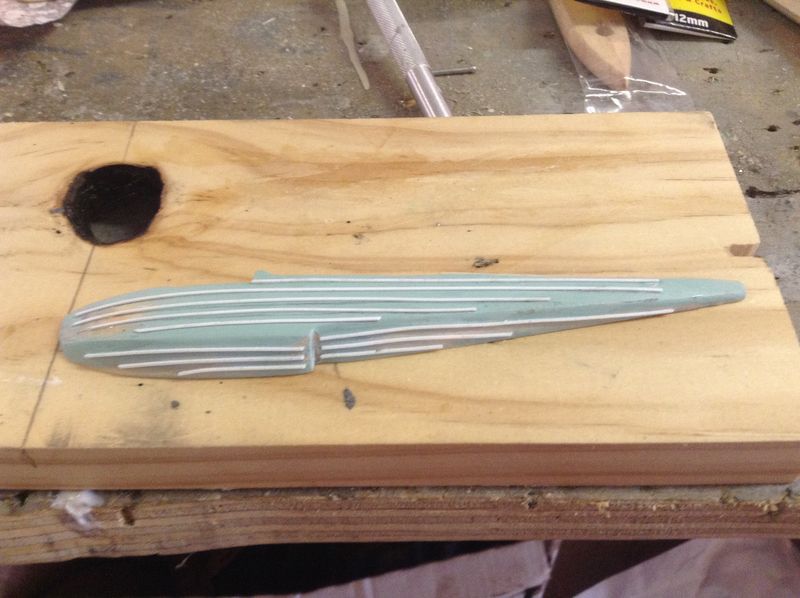
The fuselage shape was carefully bandsaw cut out of 2 Pieces of clear pine tack-glued together, then shaped on a belt sander and sanding block.
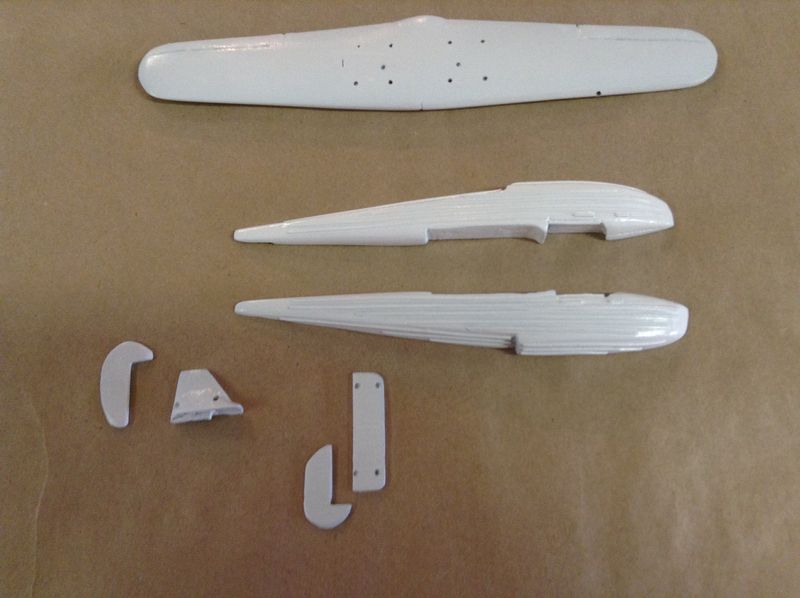
the wings were likewise cut and sanded from 6mm MDF. The Blanks were then sealed with resin and further sanded to tha smooth finish. The tail feathers were carved out of aluminium plate and various fairings added using Knead it putty. everything was then sprayed with spray filler and further polished.
The SARO external stringers (a feature of many SARO designs including the Black Knight rocket and Wasp Helicopter!) were made from "evergreen" plastic strips carefully glued in place.
All the patterns were eventually finished with a coat of High gloss Acrylic Laquer - the surface finish shows in the final castings...
It was then a case of making up the silicone moulds for each component. My initial attempt wasnt great as the Silicone moulding rubber I was using was too thick and didnt conform well to the pattern surfaces. It also didnt mix well so there were bits that didnt get any hardeener, and so didnt cure, and there were lots of air bubble voids which would leave lumps in the finished castings. I therefore had to buy some better, but substantially more expensive rubber mix!
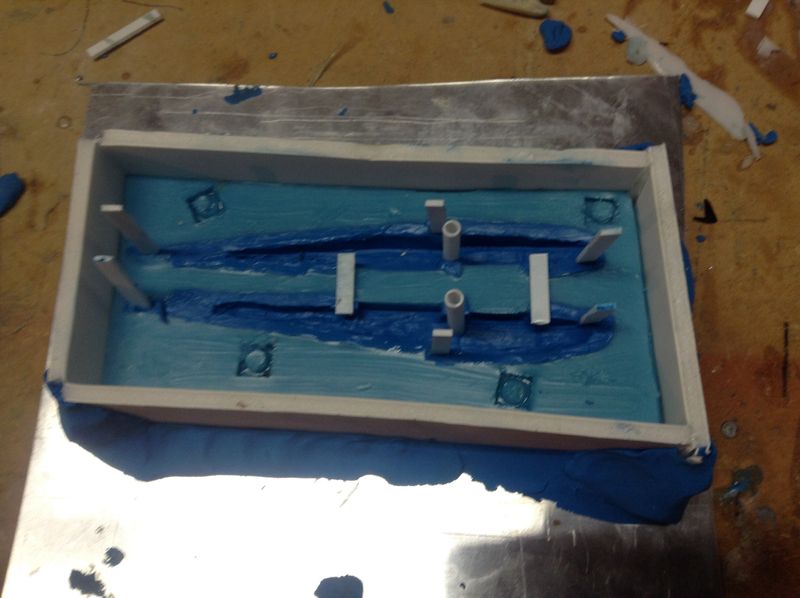
the fuselage halves were cast in one two piece mould. the patterns were cast in one half, then the mould coated with release agent to make the other half. To make the hollow interior, the patterns were removed and the inside built up with Plasticene, which would make the void later filled with resin. Fillers and vents were added to allow the resin in and the air out, and the second half of the mould poured:
once the Silicone had set, the moulds were parted and the patterns removed. It was then time to actually cast the resin. In this instance the Fuselage pour went perfectly and the finished casting was etremely good.
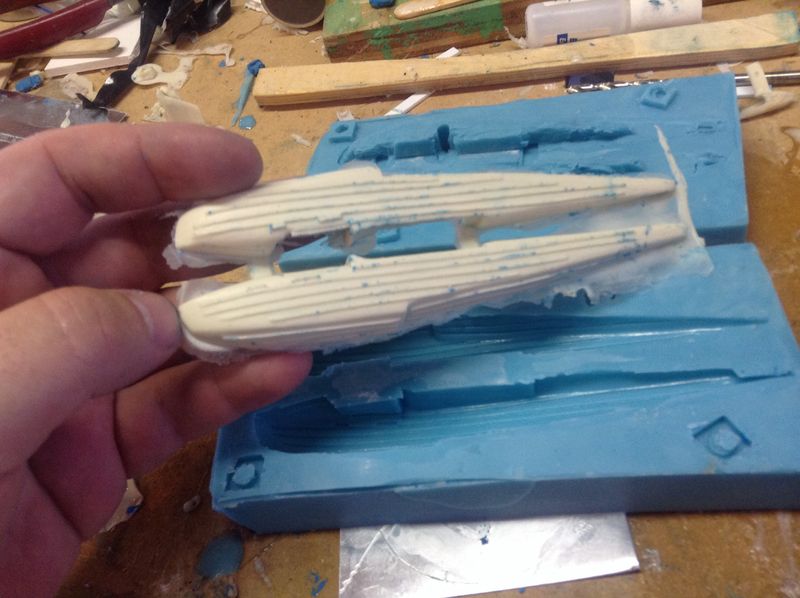
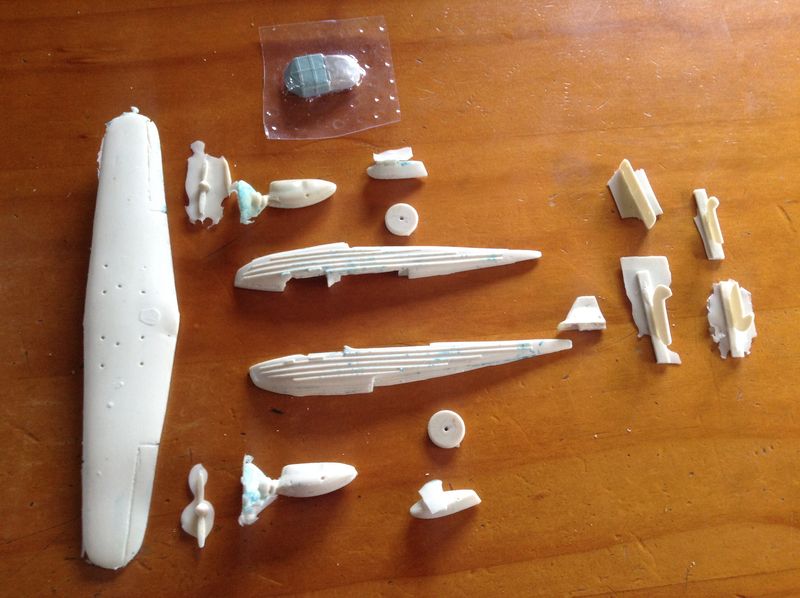
Casting produced a full set of resin parts - some shown here as cast, before tidying up. I vac formed the cockpit canopy over a similar wooden pattern.
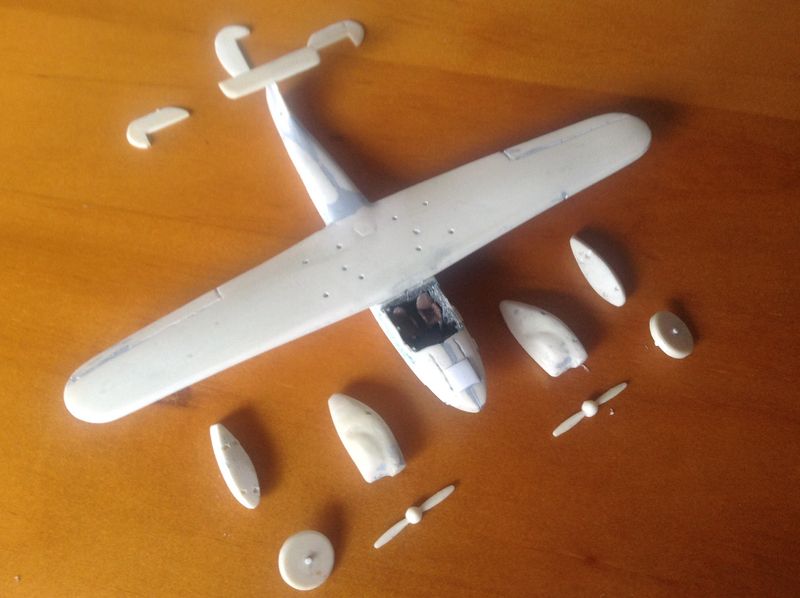
Assembly proceeded from there like any other resin kit. Parts glued together OK and a little filling was required to get everything smoothly faired in. the cockpit detail was built up from Evergreen plastic and some old DH Rapide seats from my bits box.
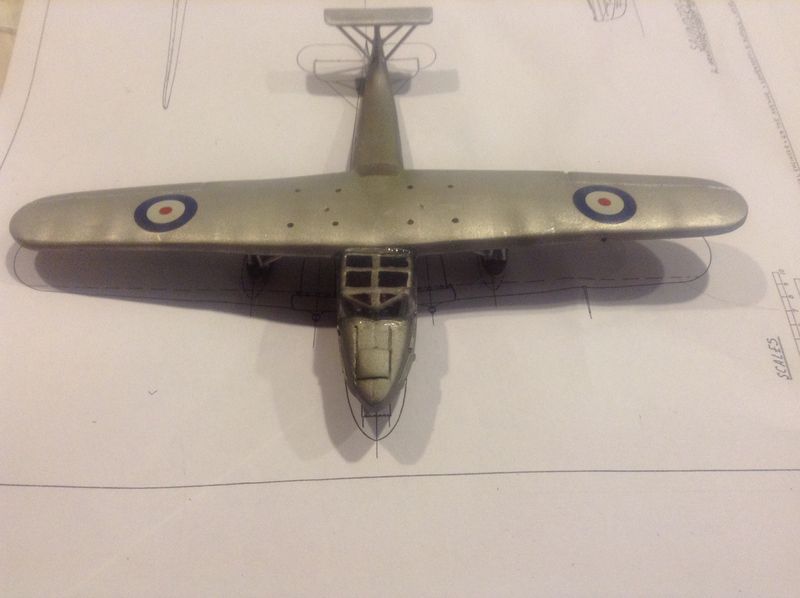
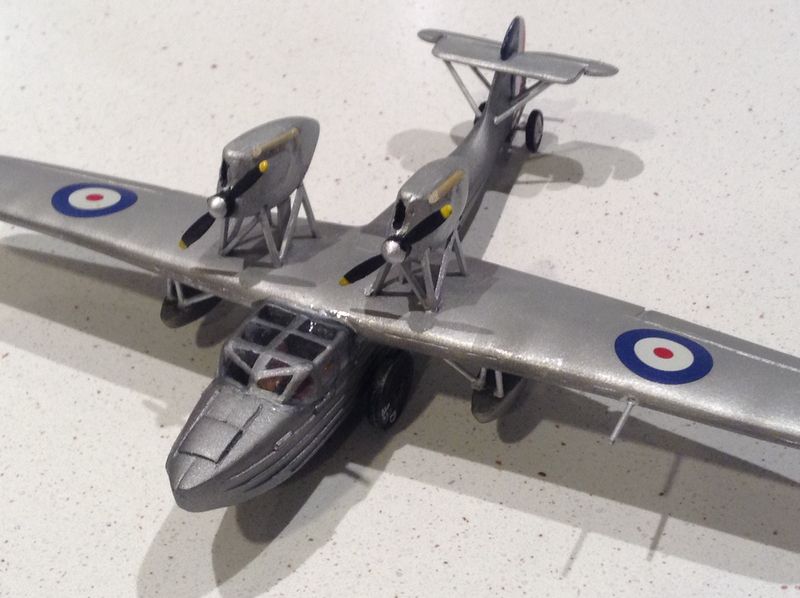
Once the main assembly was complete it was airbrushed in aluminium and silver and Modeldecals Generic pre-war roundels applied.
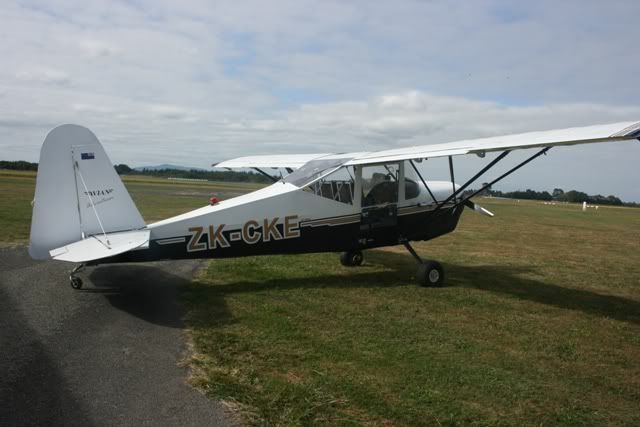
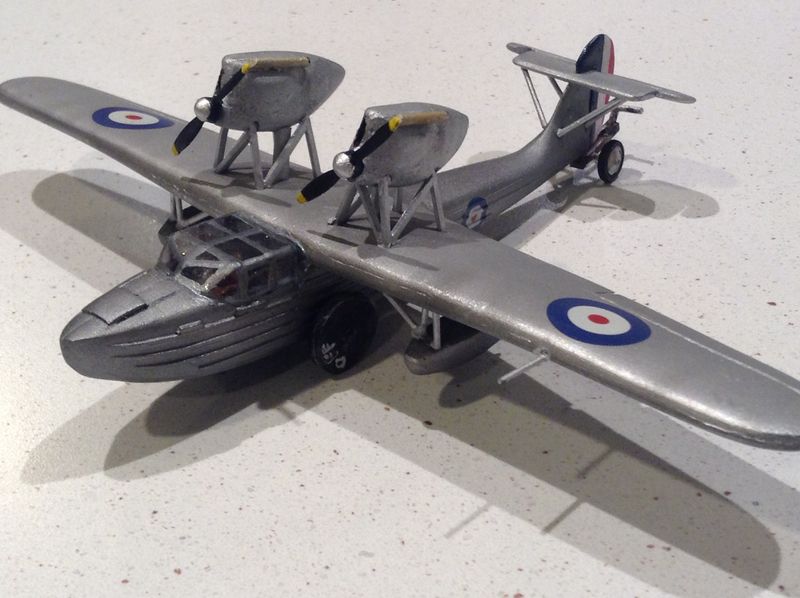
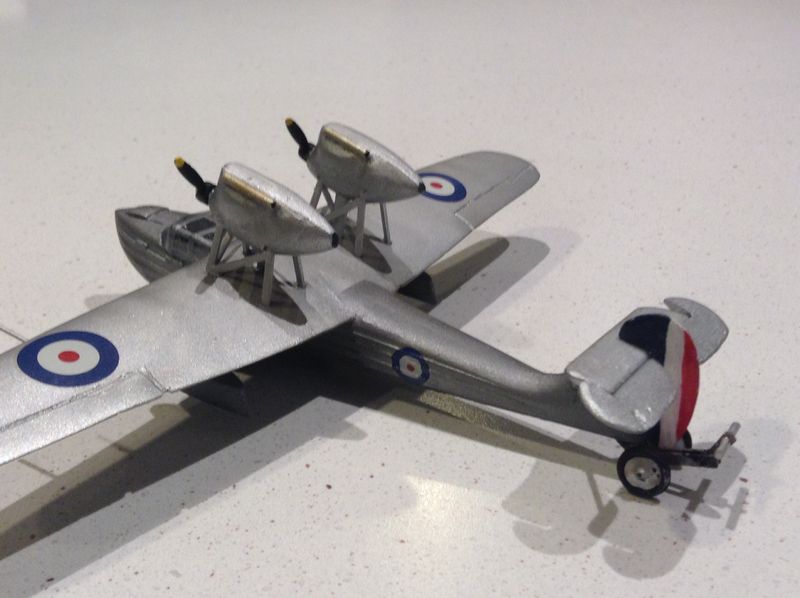
Finally the tricky engine installation was done, using struts from evergreen plastic strips sanded to aerofoil shape. not to difficult using fast setting super glue! Tail feathers were added (note the Rudder stripes had blue leading before approx 1936...) along with the beaching gear (which reminds me of Buzzy bee!) and the tail dolly built up from plastic strip and some Gloster Grebe mainwheels. The result was a finished model:

I am really happy with the result and it is great to see another "missing" type in the collection. I wont think how much this actually cost by the time the resin and Silicone was factored in, but I may sell the moulds to a well known Resin modeller to possibly do a production run in the future - I cant be bothered now I've got my one made!
The NZPAF aircraft was based at Hobsonville for a few years from 1930 and served as a general purpose flying boat for the small operation there at the time. Although I have heard the serial number L3 applied to this aircraft, I cant find any photos of it as such, and it appears to have flown without any identifying numbers for at least part of its career. Although the Cutty Sark was an amphibian, this example did not have a wheeled undercarriage fitted and it was operated as a pure flying boat with beaching gear.
To start the model I purchased a set of John Sizer drawings from the UK. these were in 1/32 scale so I had them scanned and reduced 44% to 1/72. Comparing the drawing to the photo references I noticed a few errors and corrected these. The drawings also showed a Genet Major engined example, rather than one with ABC cirrus engines, so I worked off the photos for these parts.
The fuselage shape was carefully bandsaw cut out of 2 Pieces of clear pine tack-glued together, then shaped on a belt sander and sanding block.
the wings were likewise cut and sanded from 6mm MDF. The Blanks were then sealed with resin and further sanded to tha smooth finish. The tail feathers were carved out of aluminium plate and various fairings added using Knead it putty. everything was then sprayed with spray filler and further polished.
The SARO external stringers (a feature of many SARO designs including the Black Knight rocket and Wasp Helicopter!) were made from "evergreen" plastic strips carefully glued in place.
All the patterns were eventually finished with a coat of High gloss Acrylic Laquer - the surface finish shows in the final castings...
It was then a case of making up the silicone moulds for each component. My initial attempt wasnt great as the Silicone moulding rubber I was using was too thick and didnt conform well to the pattern surfaces. It also didnt mix well so there were bits that didnt get any hardeener, and so didnt cure, and there were lots of air bubble voids which would leave lumps in the finished castings. I therefore had to buy some better, but substantially more expensive rubber mix!
the fuselage halves were cast in one two piece mould. the patterns were cast in one half, then the mould coated with release agent to make the other half. To make the hollow interior, the patterns were removed and the inside built up with Plasticene, which would make the void later filled with resin. Fillers and vents were added to allow the resin in and the air out, and the second half of the mould poured:
once the Silicone had set, the moulds were parted and the patterns removed. It was then time to actually cast the resin. In this instance the Fuselage pour went perfectly and the finished casting was etremely good.
Casting produced a full set of resin parts - some shown here as cast, before tidying up. I vac formed the cockpit canopy over a similar wooden pattern.
Assembly proceeded from there like any other resin kit. Parts glued together OK and a little filling was required to get everything smoothly faired in. the cockpit detail was built up from Evergreen plastic and some old DH Rapide seats from my bits box.
Once the main assembly was complete it was airbrushed in aluminium and silver and Modeldecals Generic pre-war roundels applied.
Finally the tricky engine installation was done, using struts from evergreen plastic strips sanded to aerofoil shape. not to difficult using fast setting super glue! Tail feathers were added (note the Rudder stripes had blue leading before approx 1936...) along with the beaching gear (which reminds me of Buzzy bee!) and the tail dolly built up from plastic strip and some Gloster Grebe mainwheels. The result was a finished model:
I am really happy with the result and it is great to see another "missing" type in the collection. I wont think how much this actually cost by the time the resin and Silicone was factored in, but I may sell the moulds to a well known Resin modeller to possibly do a production run in the future - I cant be bothered now I've got my one made!