|
|
Post by Mustang51 on Jun 26, 2017 9:48:32 GMT 12
Very cathartic moment on Sunday drilling apart the tailplane for my "Dog". Have not been able to work on it for a long while and it was good to be doing something again. Three hours and all that was there was a pile of ribs, spars, skins and leading edges. Now to pull them apart individually, treat the small bits of corrosion, cut and drill new skins, prime, paint and rivet it back together again!
|
|
|
|
Post by planecrazy on Jun 26, 2017 10:06:52 GMT 12
Be great to see some pictures if you get the opportunity.
|
|
|
|
Post by Mustang51 on Jun 26, 2017 11:20:05 GMT 12
planecrazy, I have to admit I am "challenged" in doing that........ I'll have to find a three year old !
|
|
|
|
Post by craig on Jun 26, 2017 17:07:57 GMT 12
Come on! If I can do it, so can you......
|
|
|
|
Post by Dave Homewood on Jun 26, 2017 21:32:43 GMT 12
Hahaha.
|
|
|
|
Post by Mustang51 on Jun 27, 2017 10:18:36 GMT 12
Did not think that there would be all that amount of interest in the Dog's rebuild. From now on I shall try to post more as I go.... and see if I can get some pics out there.
|
|
|
|
Post by isc on Jun 27, 2017 15:51:01 GMT 12
All pics are good, wish I could work out the posting system too. isc
|
|
|
|
Post by Mustang51 on Jun 27, 2017 15:59:03 GMT 12
isc...... a fellow dinosaur...... greetings!
|
|
|
|
Post by isc on Jun 27, 2017 21:20:20 GMT 12
Yep, and ex Rex Cessna type from Dunedin mid 60s. isc
|
|
|
|
Post by Dave Homewood on Jun 27, 2017 22:41:27 GMT 12
|
|
|
|
Post by Deleted on Jun 28, 2017 15:42:27 GMT 12
Did not think that there would be all that amount of interest in the Dog's rebuild. Bird Dogs? Good. Restoration threads? Good. Ando? Good! I'm very pleased to have stumbled upon this thread, fantastic! And don't be afraid to go into too much detail - I'm sure I'm not the only one curious to learn more about the type and restoration in general. |
|
|
|
Post by baz62 on Jun 28, 2017 17:02:27 GMT 12
Ando you've only got to look at my restoration thread. Nearly 51000 views and that's just a civilian Auster. It's not just what the aircraft actually is its following someones progress and perhaps learning something at the same time. It also helps the restorer with some much needed encouragement at times.
|
|
|
|
Post by Dave Homewood on Jun 28, 2017 19:30:33 GMT 12
Baz is spot on, and I am sure these progress threads also help with contact from others who have parts or other ways to assist too.
Ando has an issue with his computer when it comes to posting photos, so I will happily post any update photos he takes and sends through for him on this thread.
|
|
|
|
Post by Mustang51 on Jul 6, 2017 16:29:55 GMT 12
Looks like I've been "Bucketed"
|
|
|
|
Post by isc on Jul 6, 2017 21:55:01 GMT 12
On the "C-180 " thread I tried again to put up a photo, and if you click on all the garbage you get a photo of C-180 BKG, but then if you get clicking on the photo you can go through the album, Tom Mullqueen in the engine shop, Sam Sands with a paint gun and a C-185, plus others.isc
|
|
|
|
Post by Mustang51 on Jul 7, 2017 11:48:06 GMT 12
In the absence of any pics just now and my with avatar anonymity a slight update. Last weekend, knowing that we may soon loose direct access to the bead blaster, I drilled apart the elevators completely down to their constituent components. They have a steel spar section that attaches to the main aluminium spar and this had some signs of corrosion so both came out and were blasted immediately and primed. Have bead blasted all the other components and shall start to prime after alodine treatment then its a colour topcoat for the interior parts for further protection. Outside will remain in primer till more bits ready for the final coat of colour before markings are applied. Have to make a new main upper skin for the Starboard elevator as it has been hammered by hail. The current one is ok to fly but just wont cut it in the looks department. Some repairs also needed on the tailing edge of the lower skin as it has a bit of hangar rash. Simple fix as I have old spare flap skins that are undamaged and just have to apply the repair as required by the structural repair manual. Very simple really. Flaps are ready to go apart from application of two fabric patches to the inboard end ribs. This is just cosmetic to keep any birds out. Won't cause water build-up and corrosion later as the trailing edge of the ribs is open where the fluted skins are riveted together. Now just a lot of alodine treating, priming and interior surface painting before they go back together. Next cab off the rank shall be the tailplane that needs new skins, spar disassembly to check for corrosion under the stiffeners and attach fittings and it gets the same treatment. Have just made the right wing flap shroud skin which is the last one to be cut and formed before the right wing can be riveted back together.
|
|
|
|
Post by Deleted on Jul 7, 2017 16:52:34 GMT 12
Thanks for the update! I'm jealous - not a word of a lie, that all sounds like great fun. Never thought I'd miss prepping sheet ali for alodine!
|
|
|
|
Post by Dave Homewood on Jul 7, 2017 18:59:25 GMT 12
You have a project waiting for you to start rebuilding, Zac. Get to it.
|
|
|
|
Post by Dave Homewood on Aug 3, 2017 14:23:10 GMT 12
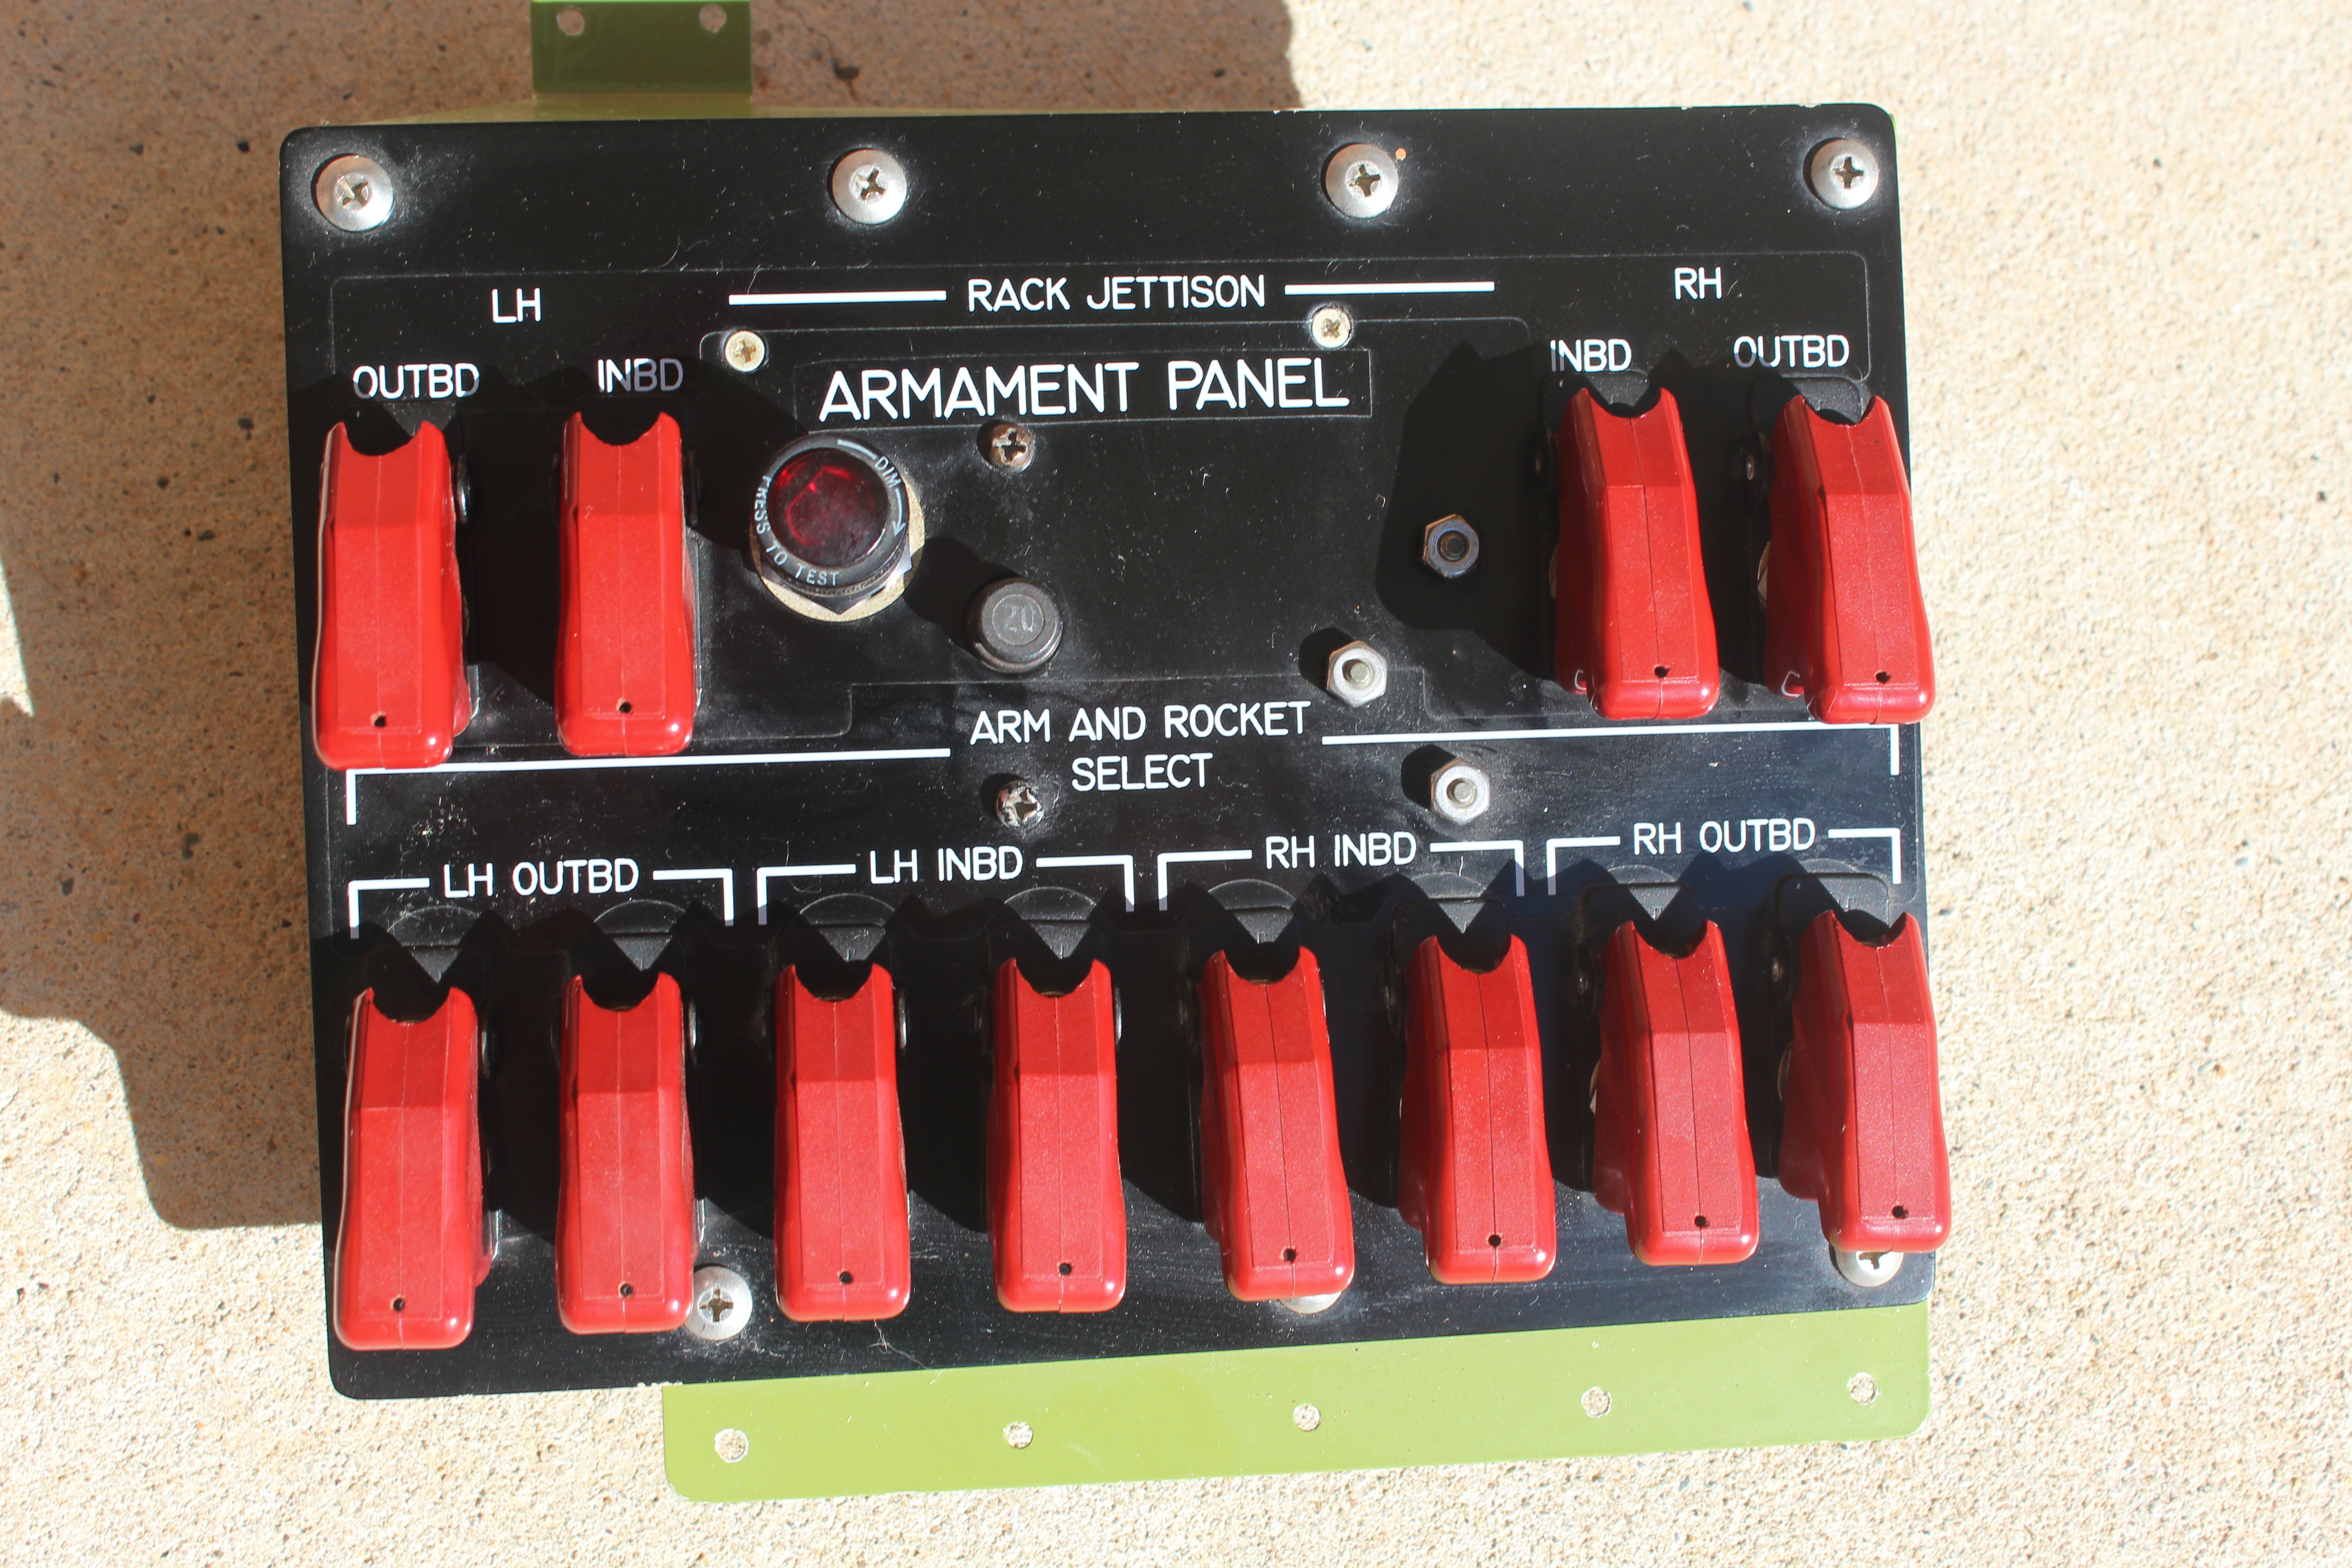
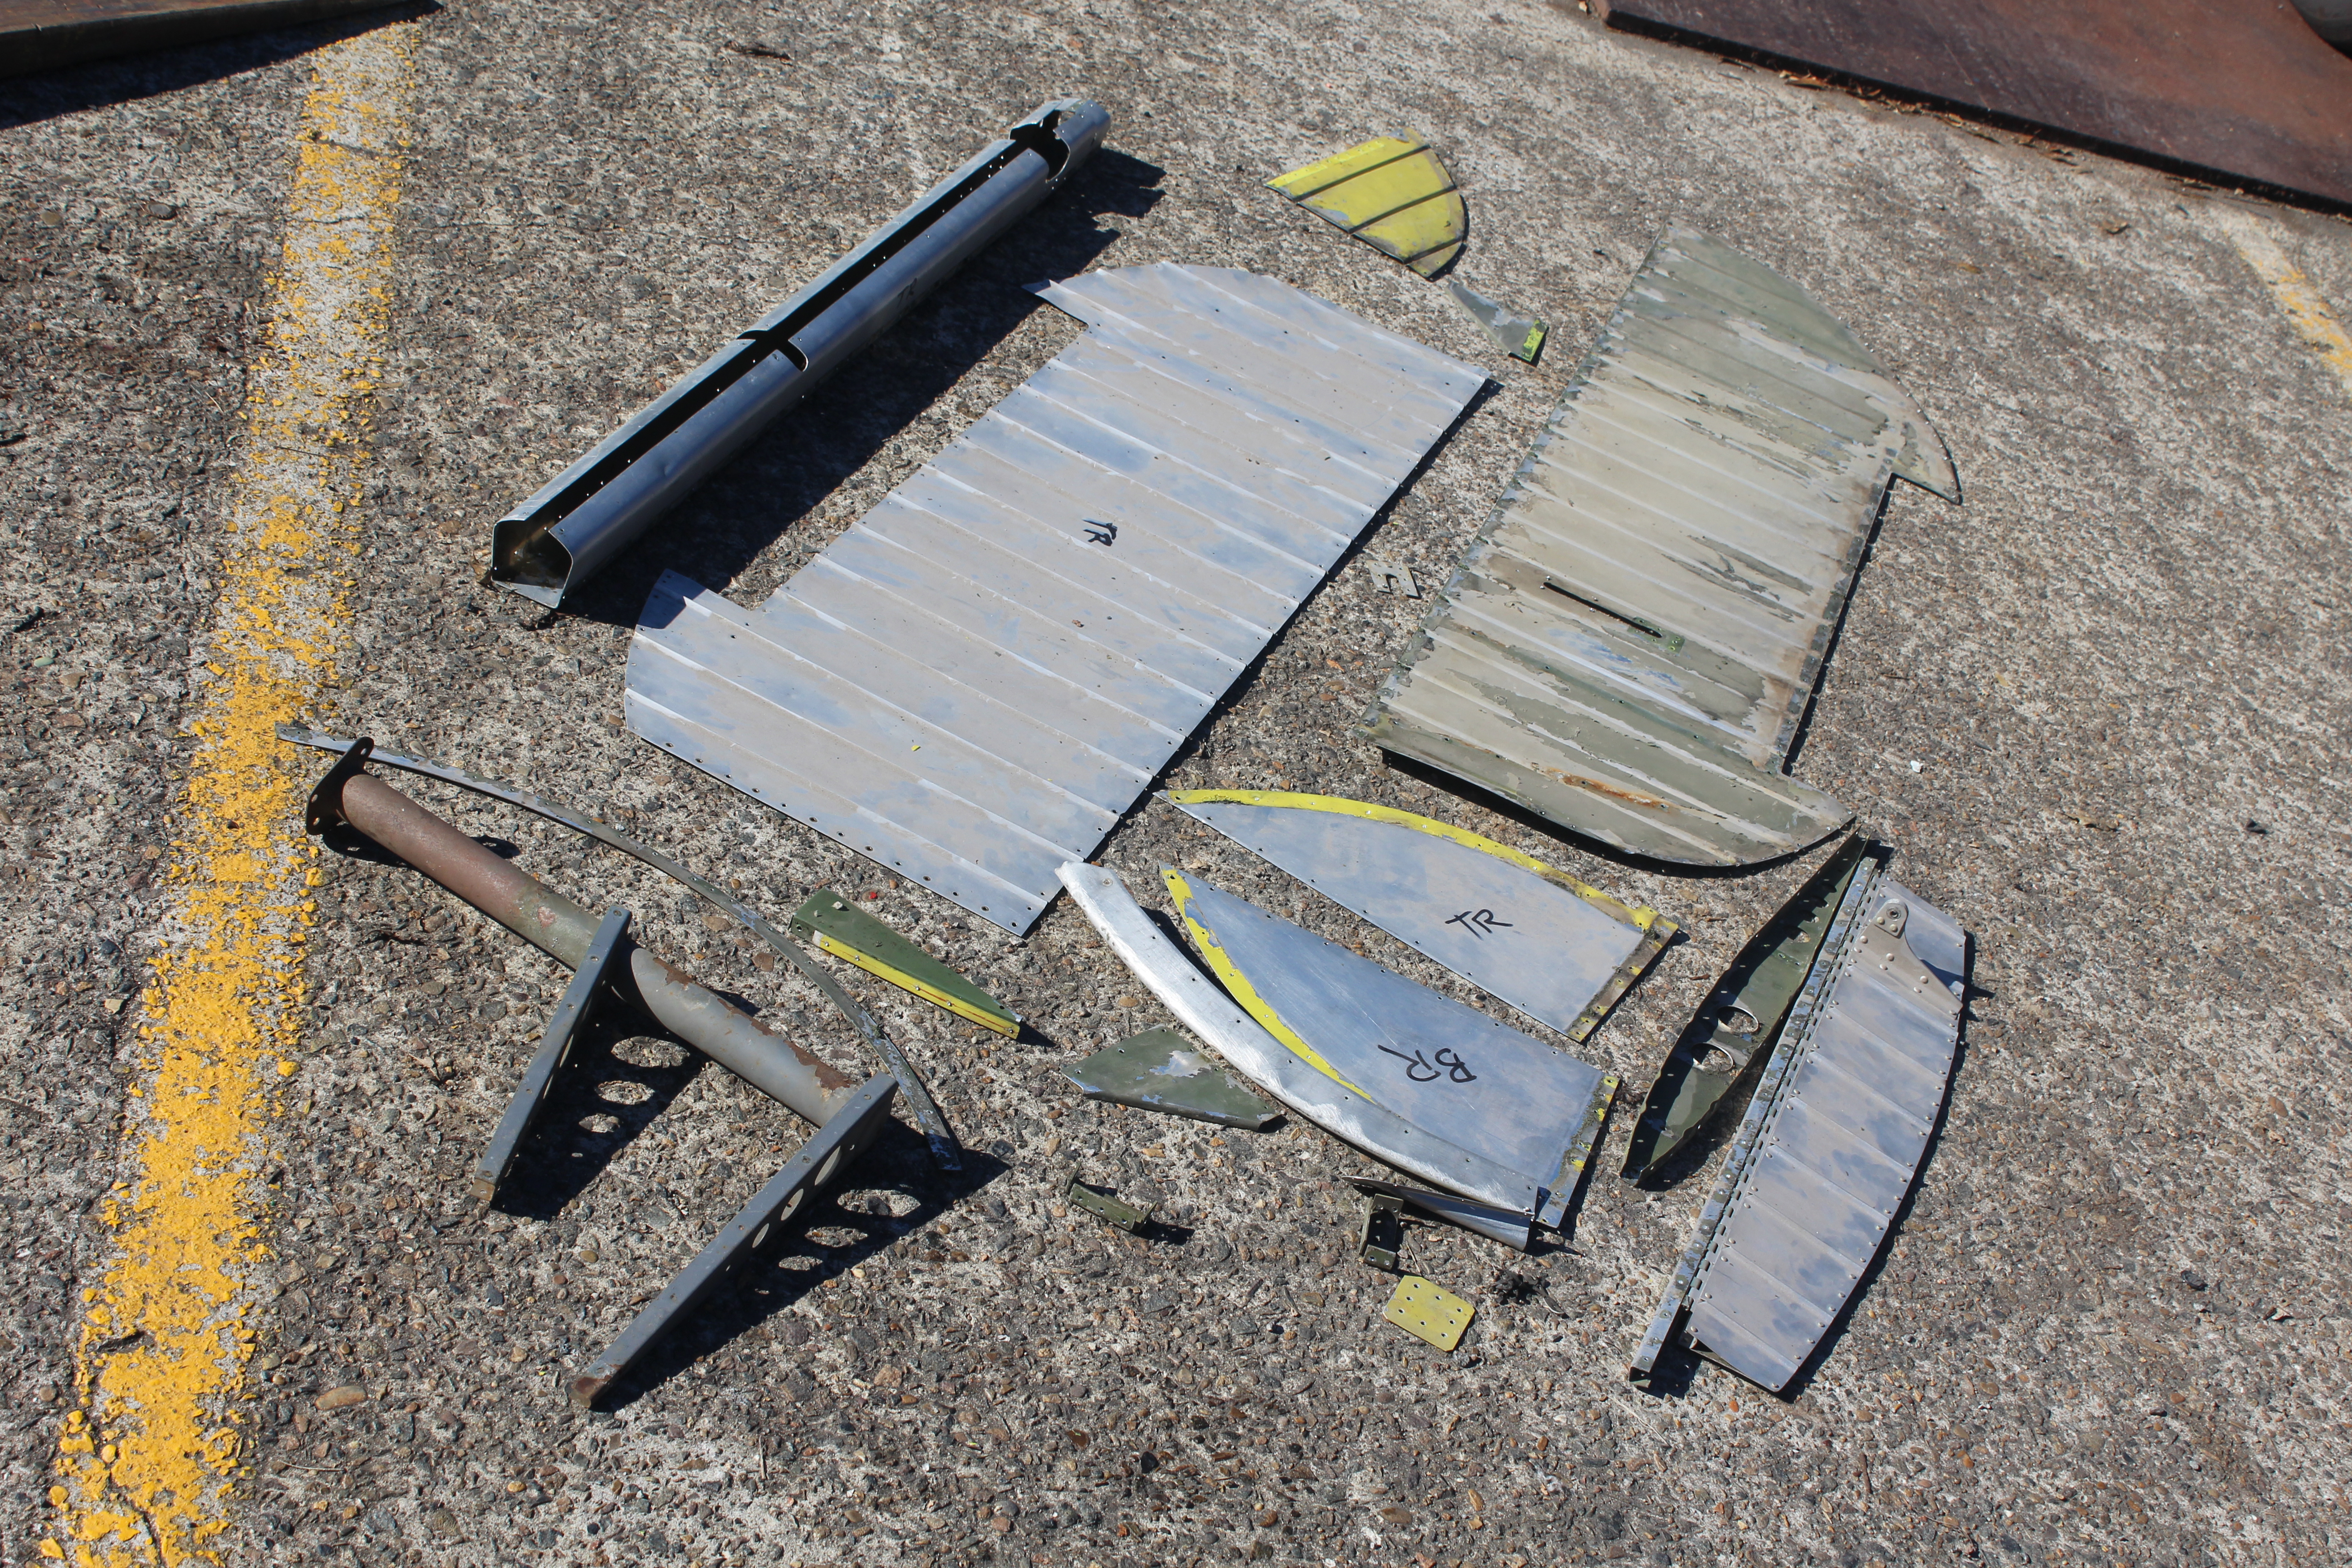
Here are some photos of Pete's Birddog project, with his captions:  The tailplane before I drilled it apart showing the skins marked with their respective positions so I can cut and drill new skins  The Armament Panel for an eight rocket installation manufactured from scratch by me and which shall be “operational”  The disassembled elevator  All the tailplane internal ribs disassembled from the main and secondary spars all marked with their respective positions  And also the newly cut and drilled left wing flap shroud skin prior in a new type of primer I tried (but didn’t like so I’m going back to PPG Etch Prime).That flap shroud skin was the last one needed to start the rebuild of the wing. |
|
|
|
Post by Mustang51 on Aug 3, 2017 14:53:20 GMT 12
Thanks for posting those Dave. Since the time those were taken I have drilled apart the main tailplane spar, bead blasted, alodined and primed a lot of the components all of which shall have a green coat applied to the interior pieces before reassembly. Purchased a sheet of Alclad for the new skins ($Aust375 - ouch)and shall get to cutting them out soon. The steel elevator spar with the two ribs attached has been blasted and primed and all those tailplane ribs have been drilled out to accept 1/8th rivets. Paint stripping this weekend after Temora then they too shall get the 'treatment'. Lot of process repetition but that's just the way it is.
|
|

