|
|
Post by Bruce on May 2, 2007 23:14:06 GMT 12
Hi guys, I have just finished my Kiwi resins Vincent. I havent done too many resin kits before so this one was a little tricky (its also a biplane, which always is a challenge to me) but the Vildebeeste that I am now building will benefit from the experience! The model is finished as Dave Locheads own NZ301, whilst in service with 1(BR) sqn at Whenuapai in 1941. I have always wanted to do a Vincent in this scheme as it is so distinctive. The kit is very good, and I also took the option of getting the aeroclub white metal engine and scarf mount, which fiish it off nicely. The resin equivilents of these parts arent bad though. The detail in the kit is very good and the parts fit well. I highly recommend these kits, although they arent for a beginner. (I will post these on the Kiwi web forum as well....)       I am building the Vildebeeste as NZ109 in Wigram "B Flight" Colours. I have just put '301 on the shelf beside near contemporary Avro 626 and the aircraft looks huge! these V bombers are monsters! |
|
|
|
Post by Dave Homewood on May 3, 2007 0:13:49 GMT 12
Well done Bruce. It is good to see one of these kits together. Can we please see a photo of it sitting with the Avro?
|
|
|
|
Post by Bruce on May 3, 2007 9:21:51 GMT 12
I was going to wait until I had the Vildebeeste, then I could have 2 aircraft in Wigram flight colours, A and B flights... I'll see what I can do
|
|
|
|
Post by agalbraith on May 3, 2007 21:45:50 GMT 12
Awesome plane that!
Nice work Bruce, it is nice to see some Kiwi Resin kits being built.
|
|
|
|
Post by flyjoe180 on May 4, 2007 10:40:23 GMT 12
Great work Bruce. I always found biplanes difficult to make too, especially when it came to painting.
|
|
|
|
Post by Dave Homewood on May 4, 2007 17:44:29 GMT 12
I have only ever built biplanes in injected plastic and have always found it difficult to get the top wing on. Is it worse with resin as I imagine it's even heavier? Is there a trick to it?
The only one I ever got really right was my Matchbox 1/2 Tiger moth and it looked great, but then (the late) cat Barney decided to sit on it and snap all the struts! The only kit he ever sat on too, ahhh! (no his death was unconnected, but that was a close run thing!)
|
|
|
|
Post by flyjoe180 on May 4, 2007 17:48:30 GMT 12
The models worst enemies: Dust, kids, and cats  |
|
|
|
Post by tibor on May 4, 2007 18:23:20 GMT 12
The only one I ever got really right was my Matchbox 1/2 Tiger moth and it looked great, but then (the late) cat Barney decided to sit on it and snap all the struts! Surely with a 1/2 scale Tiger, Barney would have fitted in the cockpit?  |
|
|
|
Post by Bruce on May 4, 2007 19:29:15 GMT 12
The top wing is definitely the problem with biplanes! The tricky bit is getting the struts to line up with the matching holes in the wings, and getting all of them to do it at once (Multi bay wings are worse!) I have heard using wing jigs recommended, to hold the wings at the correct spacing etc, but I find that the jigs themselves get in the way when aligning the struts. also when using Cyano adhesive (super glue) you need the weight of the wing to apply pressure to make the adhesive bond (thats how that type of glue works). the 1/72 things are definitely worse - you guys doing larger scales have it easy.
What I did with the vincent was attach the struts to the top wing using cyano - I left the aileron struts until later, but all the others went on O.K, with Cyano you only need to hold them for a few seconds, and you can even put them in on an angle such as the Cabane struts. (Dave Locheads instructions include the strut lengths - which are accurate) Once that has set nicely, the top wing goes on and the outer struts glued in using cyano - it is possible to do one side at a time on the vincent) Once these are in place you find the Cabanes are in virtually the right place to cement them in, and while the glue sets you hold the alignment of everything using paint bottles! (I found I had to sit a bottle on the top centre section so that the cabanes aligned positively.) The process was harder than it sounds, and whilst fitting the undercarriage afterwards, one set of struts bent slightly... The problem with Cyano is that it leaves foggy marks on the surrounding paintwork, which then needs a further touch up (always paint biplane wings before assembly Joe) The result looks O.K except the flash when taking photos always shows the paintwork touch up areas - (these arent visible under normal light)
I didnt find the heavier resin parts to be much of an issue, they are at least straight and accurate, which is more than can be said for some injected or vac formed kits. The other advantage of the vincent (other than being a decent size) is the fact that both wings are the same size and shape, with no stagger, sweepback or other things that frustrate alignment!
I would love to say that the more you do the easier it gets, but it doesnt!
|
|
|
|
Post by Dave Homewood on May 4, 2007 21:22:59 GMT 12
Whoops, 1/32 Tiger Moth I meant  Thanks Bruce re the wings. I have always wanted to restore the Tiger Moth, I decided after Barney's intervention to strip it down and detail the cockpits and give it a better paint job. I began that and was going well but the project stalled and is still "in the workshop". The biggest hurdle will be repairing the wings. The struts are pokedso I'll have to build new ones. I'm cosidering making them metal and heating the tips to sink into the plastic wings and let set, for added strength. Do you reckon that's work? Joe, I have always been careful to not let any kids near my models, and apart from the Barney incident the cats have all been good. Dust however does tend to sneak in when I'm not looking. I solved that by bunging most of my models in boxes where no-one will ever reach them. |
|
|
|
Post by Bruce on May 4, 2007 22:24:02 GMT 12
Regarding your Tiger Struts Dave, it depends on the size of them in 1/32. looking at my 1/72 tiger and doubling the size still makes them fairly fine. getting metal struts of that size may be a bit hard, but I know that there is a variety of aluminium aerofoil section extrusions available for flying models, there may be something suitable - Try the Frankton Model shop. the thing with Tiger struts is that they taper at each end, which isnt easy to reproduce on hollow extrusion. Youmay be able to find some suitable plastic strut stock that can be shaped to suit, and this would probably look better - although not as Cat proof!
Doing a bit of work on the Vilde tonight, having made one before really helps make good progress! Might get a photo of the Vincent with a Tiger this weekend - you'll be really surprised at the size difference!
|
|
|
|
Post by Dave Homewood on May 4, 2007 23:29:50 GMT 12
I was thinking of getting some rod and filing it into an aerofoil kinda shape as a start. If this doesn't work, the 2nd option is brass tube, which I'll put into the vice and squeeze down to the approximate shape.
A third considered option is two lengths of piano wire side by side, which once in plave I'd bond together and fill out the gap with putty to form the strut. All options are just throughts right now. Will see what happens. I'd prefer to go the metal option as the original struts were rubbish for fit, the plastic was rubbish to glue to in that situation, and I think melting them into the wings will form the strongest set up.
The struts are only about 1.5 to 2 mm by about 50mm I guess. I won't be two bothered if they do not look perfectly like the real thing so long as they hold the wing on and don't detract from the look of the kit.
Oh yes, option four is to portray it in an engineering workshop scene or crash scene without the top wing!
One other thing that worries me about top wings on the resin kits is cyanoacrylate (Super Glue) breaks down over time and loses its strength (it's desinged to, it was originally designed for surgery to replace the need to remove stitches from internal surgery). So, will later on the wings fall off? Has anyone had this happen? I certainly have with 120mm resin figures which have become brittle in the joints and come apart later when dusting.
|
|
|
|
Post by Bruce on May 9, 2007 23:03:07 GMT 12
Finished the Vildebeeste tonight - it looks spectacular in the pre war silver with Blue trim of the Wigram B Flight machines. I dont have a camera handy tonight, but watch this space....
|
|
|
|
Post by Bruce on May 10, 2007 19:45:23 GMT 12
Photos of the two V Bombers (and Friends...) 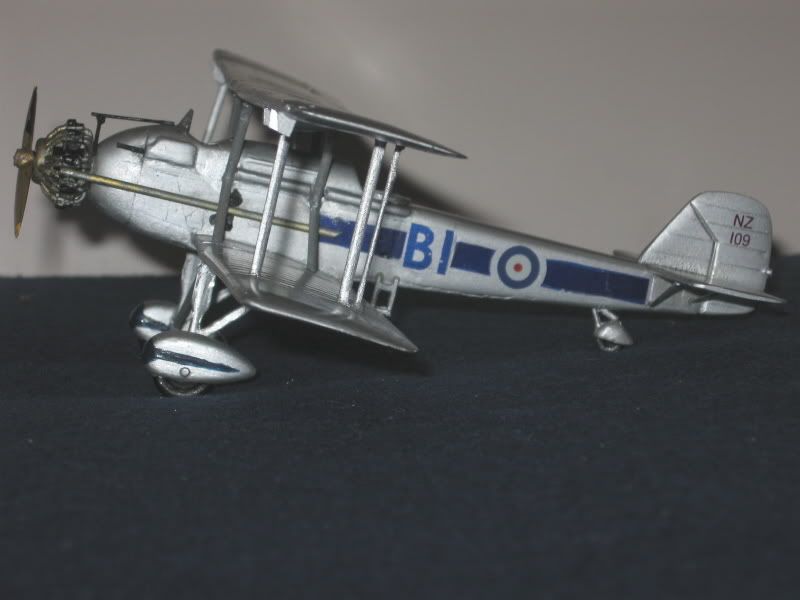 Vildebeeste NZ109, Central Flying School B Flight, Wigram Circa 1938 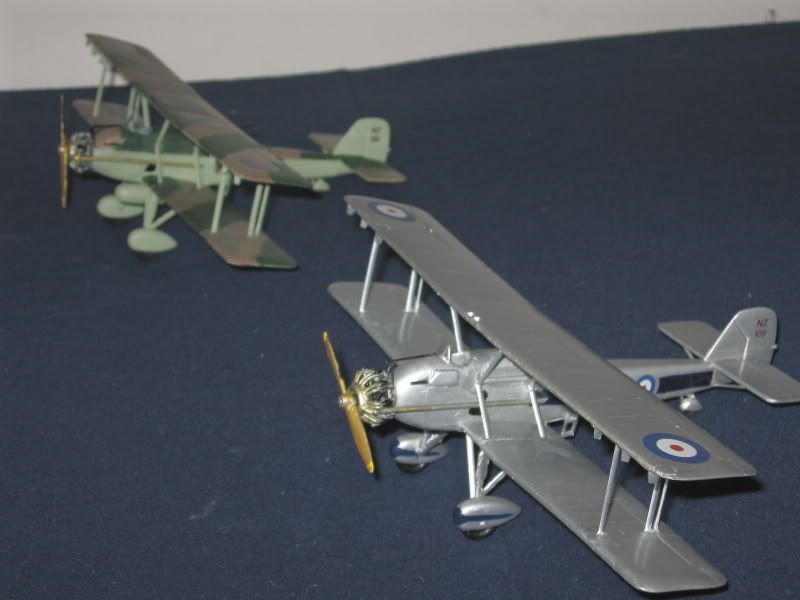 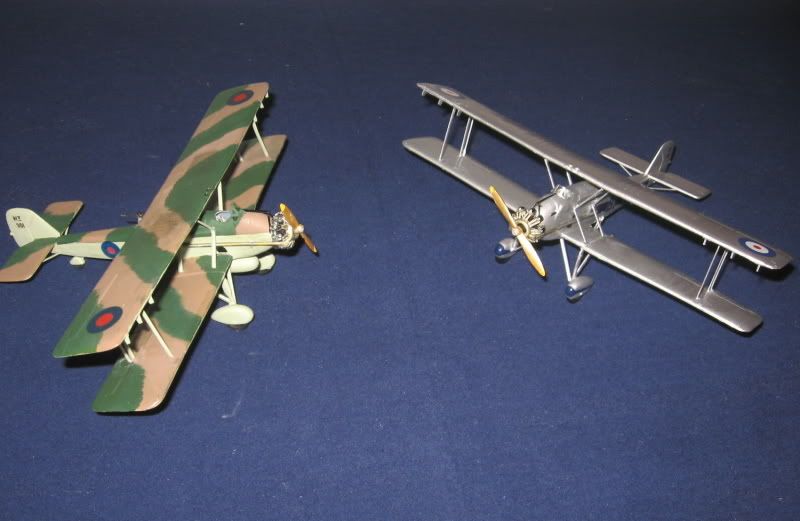 Vildebeeste and Vincent 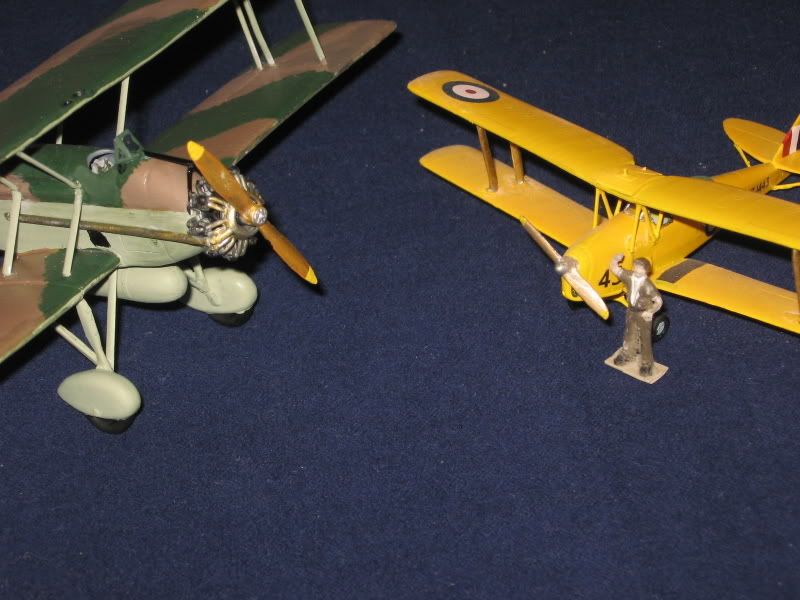 An illustration of the size of one of these brutes compared to an aircraft we are all familiar with. 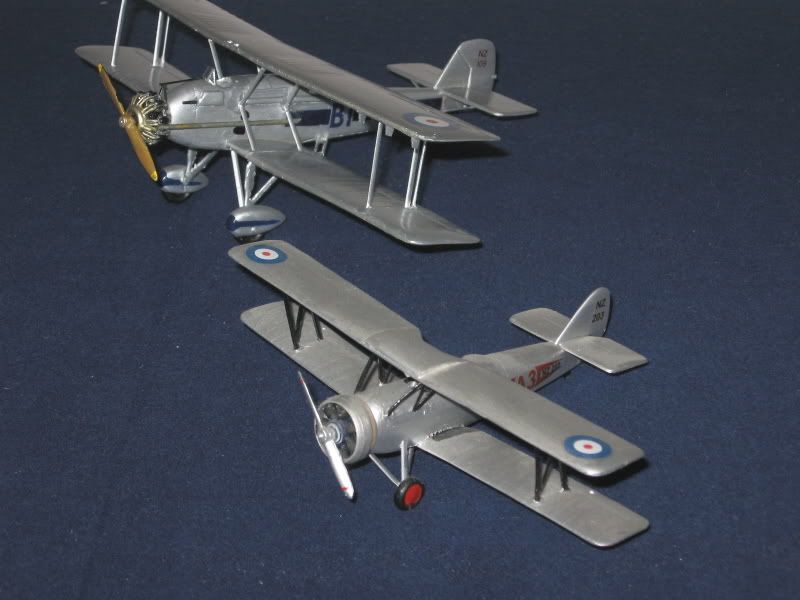 Wigram A flight (Avro 626 NZ203) and B Flight (NZ109) - both schemes from the same period. 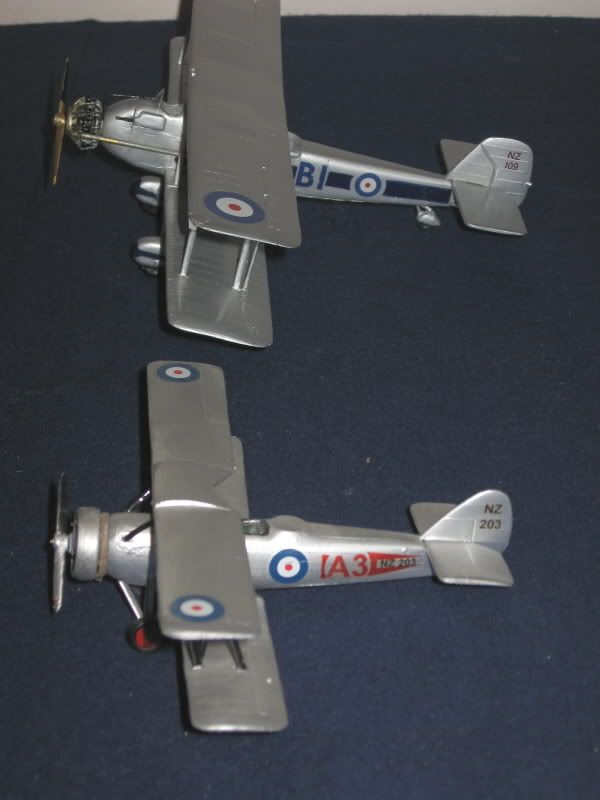 |
|
|
|
Post by flyjoe180 on May 11, 2007 10:25:50 GMT 12
Great stuff Bruce, you have been very industrious! The silver schemes are very smart indeed. The figure by the Tiger Moth, is he waving or shaking a fist?  |
|
|
|
Post by Dave Homewood on May 11, 2007 10:37:26 GMT 12
Well done Bruce. How do you manage to bang them out so fast? Even at the height of my modelling days it took me weeks to months to complete an aircraft.
|
|
|
|
Post by Bruce on May 11, 2007 10:45:21 GMT 12
I was building the two simultaneously - The kits are actually pretty quick to put together, and whilst waiting for paint / glue / filler etc to dry I work on other bits, such as putting the engines etc together. Its also good to have the next one in mind, as it helps with Motivation.
Onwards to the Short Singapore!
|
|
|
|
Post by davelochead on May 13, 2007 11:21:52 GMT 12
Great Job there, I especially like the Silver Vildebeest, and I am always pleased ( and a little proud) to see my kits being built.
Many Thanks!
Dave Lochead
|
|


