Post by Bruce on Aug 12, 2007 22:25:53 GMT 12
i have started the next project, as with a little reshuffling the shelves, I can indeed fit a Boeing 727.
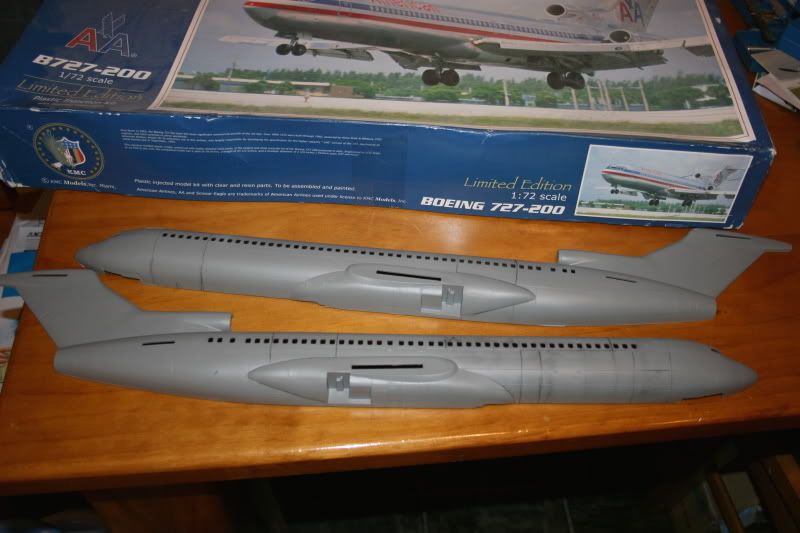
This is a 1/72 scale KMC 727 -200 which will need to be "de-stretched" to -100 config. The minor pressure is this kit is extremely sought after and is heinously expensive - the mod requires a great deal of care.
The only significant change (and it IS significant) is the fuselage stretch, so everything else will be as it comes out of the box. The kit has very good mouldings and lots of resin bits. There is no interior detail at all, but I understand this is to prevent overloading the resin undercarriage legs (they look great, but may have structural issues if loaded too much)
Fortunately I have found the boeing station diagram which shows where the "plugs" were inserted to form the -200 fuse. The rear plug is around the wing root fairing, so is pretty tricky, but needs to be removed from here as anywhere else will effect the contours of the tailcone. The front fuse plug can be removed from a non - scale location due to a constant section, however there is a cargo door on the lower RH side which also needs repositioning.
I decided to "check twice, cut once" and marked out the plug positions on the fuse halves:
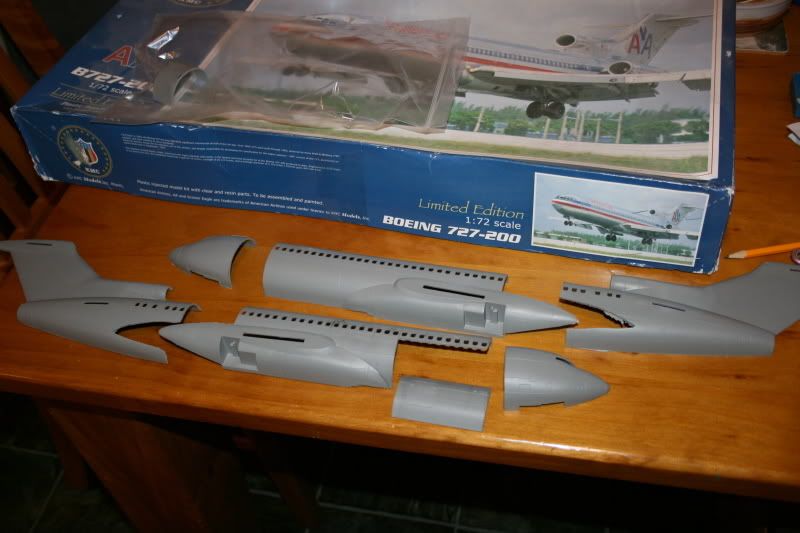
I thenn took the pieces to my workshop and carefully cut them with the bandsaw. This cuts very precisely without putting pressure on the parts which could distort them. the pieces now look like this:
After taping the sections together and sanding all the joint faces to esure a clean fit the various bits are put back together. I used numerous sections of plastic strip to strengthen then joints and ensure positive alignment, although the area around the rear wing root fairing will need a little filler:
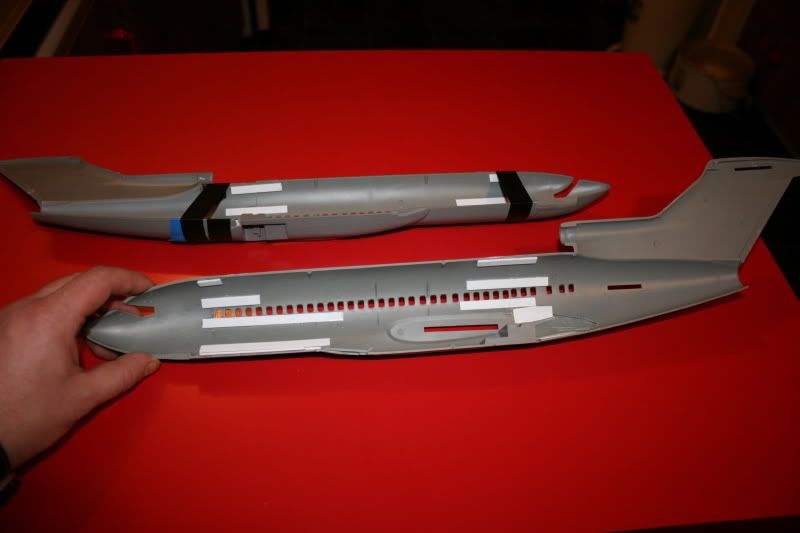
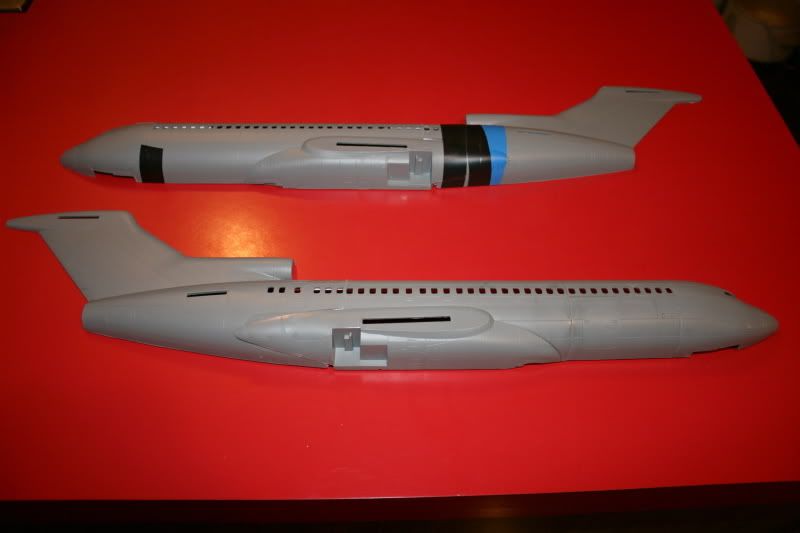
The two fuse halves are now -100 length - currently one half is still taped while the glue sets:
Watch this space for updates.
This is a 1/72 scale KMC 727 -200 which will need to be "de-stretched" to -100 config. The minor pressure is this kit is extremely sought after and is heinously expensive - the mod requires a great deal of care.
The only significant change (and it IS significant) is the fuselage stretch, so everything else will be as it comes out of the box. The kit has very good mouldings and lots of resin bits. There is no interior detail at all, but I understand this is to prevent overloading the resin undercarriage legs (they look great, but may have structural issues if loaded too much)
Fortunately I have found the boeing station diagram which shows where the "plugs" were inserted to form the -200 fuse. The rear plug is around the wing root fairing, so is pretty tricky, but needs to be removed from here as anywhere else will effect the contours of the tailcone. The front fuse plug can be removed from a non - scale location due to a constant section, however there is a cargo door on the lower RH side which also needs repositioning.
I decided to "check twice, cut once" and marked out the plug positions on the fuse halves:
I thenn took the pieces to my workshop and carefully cut them with the bandsaw. This cuts very precisely without putting pressure on the parts which could distort them. the pieces now look like this:
After taping the sections together and sanding all the joint faces to esure a clean fit the various bits are put back together. I used numerous sections of plastic strip to strengthen then joints and ensure positive alignment, although the area around the rear wing root fairing will need a little filler:
The two fuse halves are now -100 length - currently one half is still taped while the glue sets:
Watch this space for updates.