Post by Bruce on Oct 14, 2007 21:13:13 GMT 12
Its been a while since I updated progress on the 727, I've also been busy with my homebuilt, and between the both of them I havent taken many photos!
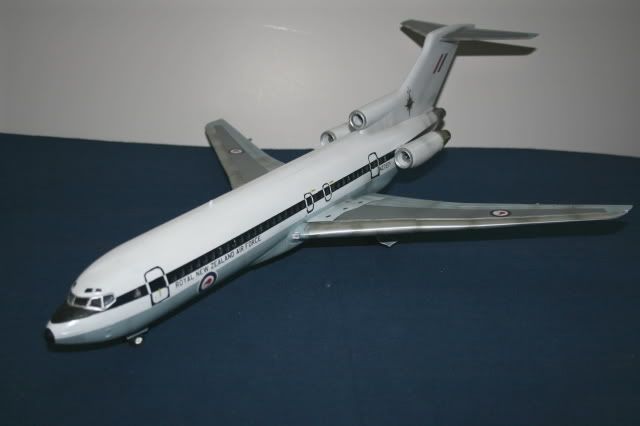
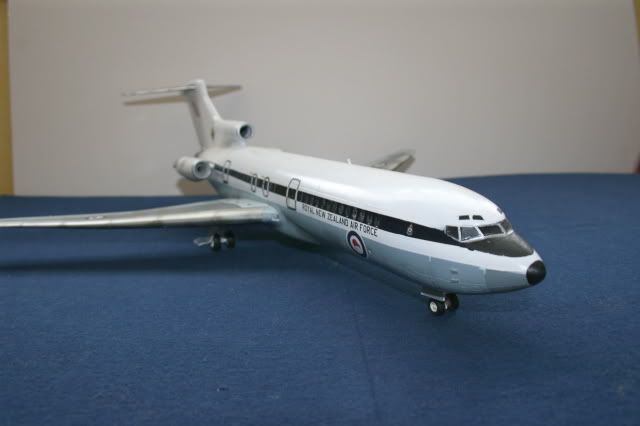
Anyway, the 727 has now got to the painting stage. Despite the fuselage splices it went together very easily. The kit has no interior detail, probably to save weight on the resin undercarriage. I left it that way, especially as I did have to put a bit on lead up front with the shorter fuse. A bit of filler sorted out the fuse joints O.K. The wings are very simple with the flap hangars resin cast components. In theory, the inboard leading edge slats shout be deployed on the ground, but that would be way too difficult on this kit. The panel lines on the wing seem a bit deep as well, but as this is an "easy build" (except for the fuse splicing) this has also been left.
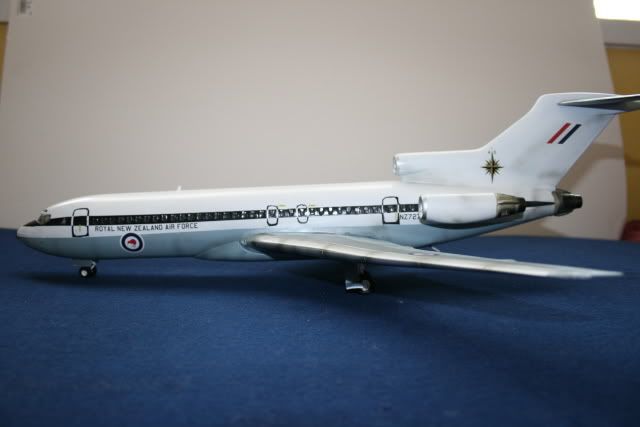
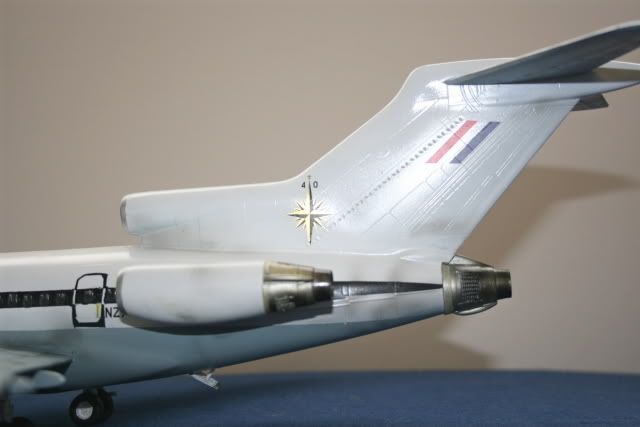
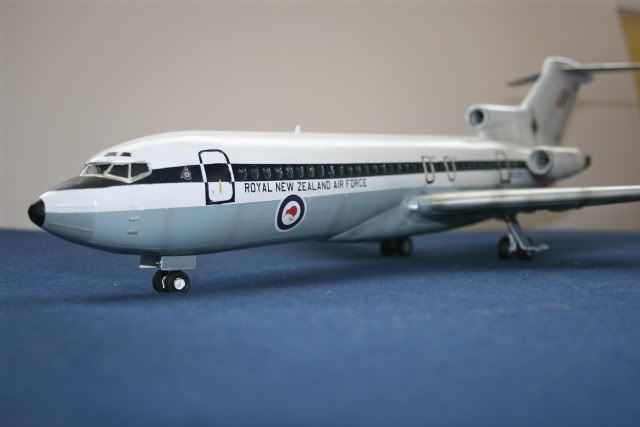
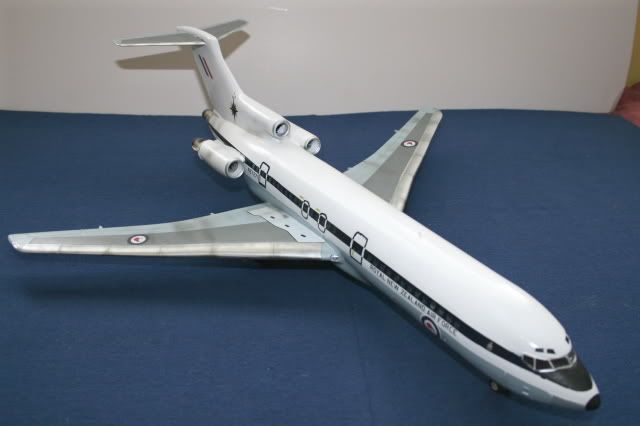
Painting has progressed O.K, with the light grey going on first from a Tamiya Rattle can. I then shaded the Radome and belly door panels with the airbrush, then did the dark over wing sections. Next was the silver leading edges, once again using a rattle can, then the white top was masked and painted. (the outer engines have not ben attached permanently yet, and they were painted at this time as well. Ithen masked the blue cheatline and the door surrounds, and hit them with the airbrush. finally a little panel higlights and a little weathering was applied. Even though the Boings were VIP Birds, they did get grimy, I have a photo of one at Brize Norton in the UK and there are smudges etc (always will be) around the tail end (no disrespect to 40 sqn)

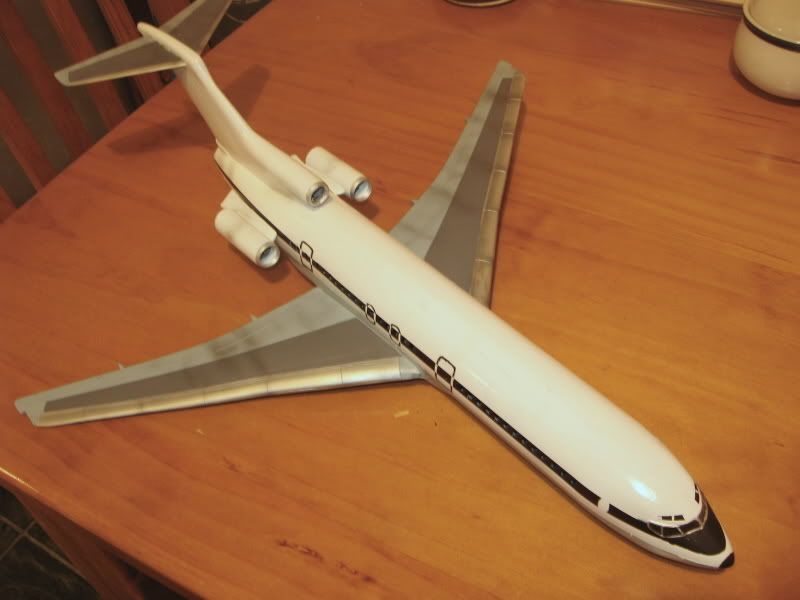
sharp eyed rivet counters will notice a RH rear door, which our 727s didnt have. the molding of a doorframe is left over from the -200, and I forgot to remove it. rather than leave it, I gave it a blue surround to match all the other doors, so it doesnt look weird.
There's a bit more to go yet, and I have asked a friendly decalmaker known for his C130 decals to make up a set with the 40 sqn insignia.
the homebuilt is taking a lot of my time at present, so this one will sit for a bit. I will post more photos as it is completed.
Anyway, the 727 has now got to the painting stage. Despite the fuselage splices it went together very easily. The kit has no interior detail, probably to save weight on the resin undercarriage. I left it that way, especially as I did have to put a bit on lead up front with the shorter fuse. A bit of filler sorted out the fuse joints O.K. The wings are very simple with the flap hangars resin cast components. In theory, the inboard leading edge slats shout be deployed on the ground, but that would be way too difficult on this kit. The panel lines on the wing seem a bit deep as well, but as this is an "easy build" (except for the fuse splicing) this has also been left.
Painting has progressed O.K, with the light grey going on first from a Tamiya Rattle can. I then shaded the Radome and belly door panels with the airbrush, then did the dark over wing sections. Next was the silver leading edges, once again using a rattle can, then the white top was masked and painted. (the outer engines have not ben attached permanently yet, and they were painted at this time as well. Ithen masked the blue cheatline and the door surrounds, and hit them with the airbrush. finally a little panel higlights and a little weathering was applied. Even though the Boings were VIP Birds, they did get grimy, I have a photo of one at Brize Norton in the UK and there are smudges etc (always will be) around the tail end (no disrespect to 40 sqn)
sharp eyed rivet counters will notice a RH rear door, which our 727s didnt have. the molding of a doorframe is left over from the -200, and I forgot to remove it. rather than leave it, I gave it a blue surround to match all the other doors, so it doesnt look weird.
There's a bit more to go yet, and I have asked a friendly decalmaker known for his C130 decals to make up a set with the 40 sqn insignia.
the homebuilt is taking a lot of my time at present, so this one will sit for a bit. I will post more photos as it is completed.


 remember to fill and sand off the door moldings when you do your conversion.....