Post by mumbles on Jul 20, 2008 14:41:55 GMT 12
To blow out the cobwebs and unwind after the saga that was my Macchi build, I am going old school and having some fun.
In 1981 we were living in Rotorua, and 5 year old me saw a doco on TV where someone was holding a model of a swing-wing jet, with working wings. Naturally I was fascinated by this, and Dad must have been in a generous mood, so off to the model shop we went to get me one.
Somehow, having set out to get a variable geometry superjet, we came home with Airfix's Hudson. Go figure .
.
Anyway, it was rapidly assembled and painted, and probably lasted all of six months before complete destruction at either my or miy sisters hands. It certainly didn't move with us to Lower Hutt in 1983. However, pieces of it (undercarriage leg, canopy, pilots seat) did survive and remained in my possession for some time. If I can find them they will be incorporated into the next Hudson.
I've had a soft spot for the Airfix Hudson ever since, and picked up a couple a little while ago. While one will be as good as I feel like making it, I decided the other was to replicate the original 1981 model, in essence making a model of a model and having some fun ;D I
t won't be completely accurate, as in 1981 it was moulded in silver plastic, rather than the pleasant light grey of the now.
Rules to keep to the original:
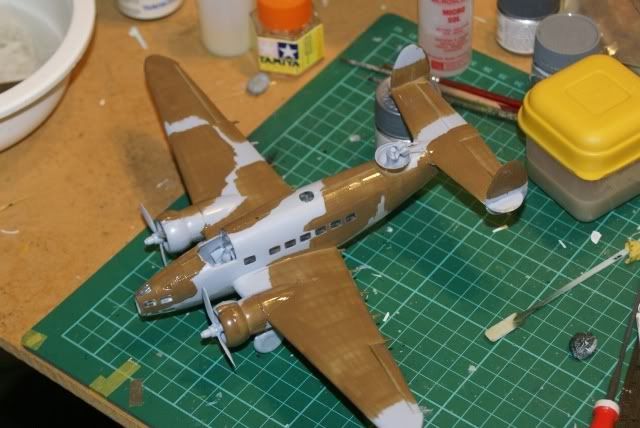
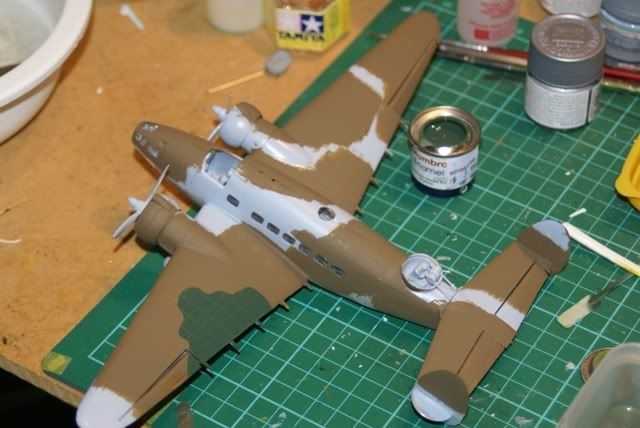
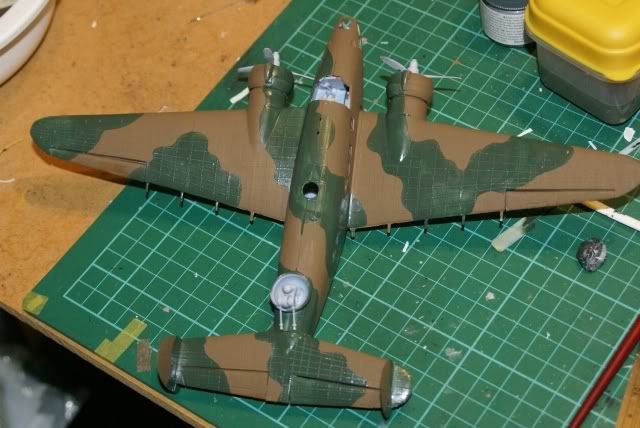
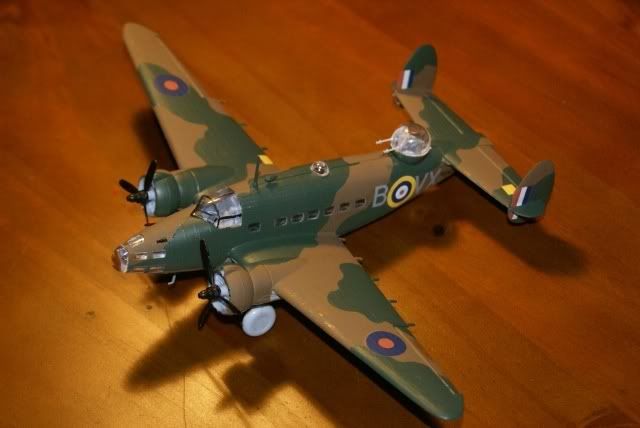
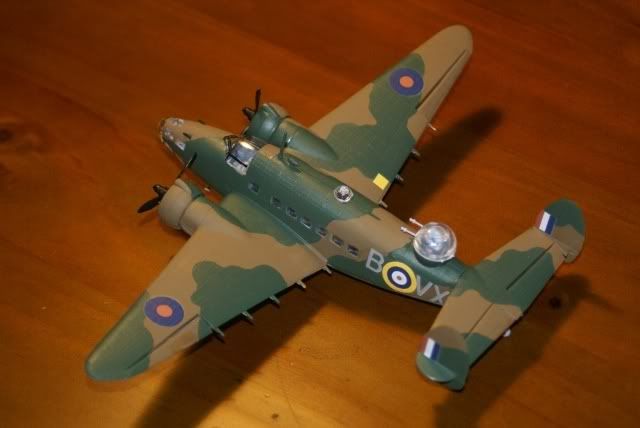
1)No detail painting. Camouflage scheme only. Maybe props (can't remember if they were painted or not) as well.
2)No sanding, filling, fettling or otherwise normal assembly practices. Technique only to be employed if a part absolutely will not fit.
3)No preshading, countershading, weathering, gloss coating, matt coating.
4)No detailing or accesorising.
5)Must be brush painted with humbrol enamels. Maximum of two coats allowed.
Simple .
.
Really this is an excuse just to have some good clean fun with a model, and expunge some accuracy fatigue.
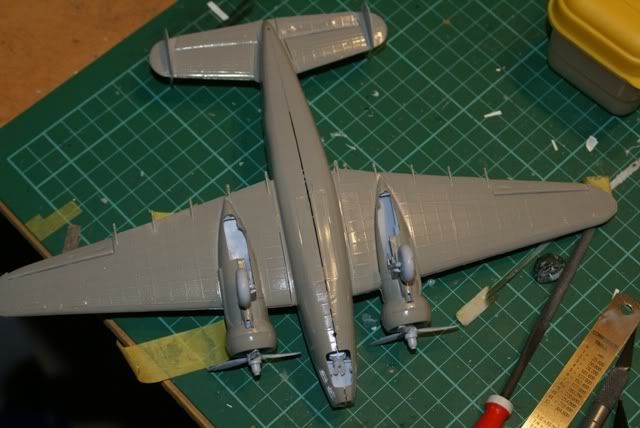
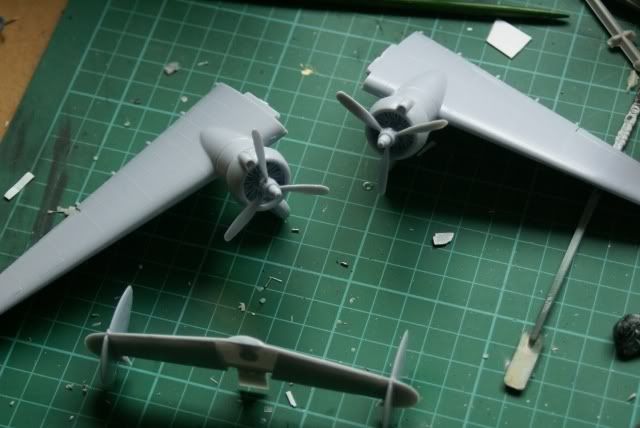
Wings and empennage assembled. Working ailerons? Check!Working retractable undercarriage? Check! Visible seams? Check!
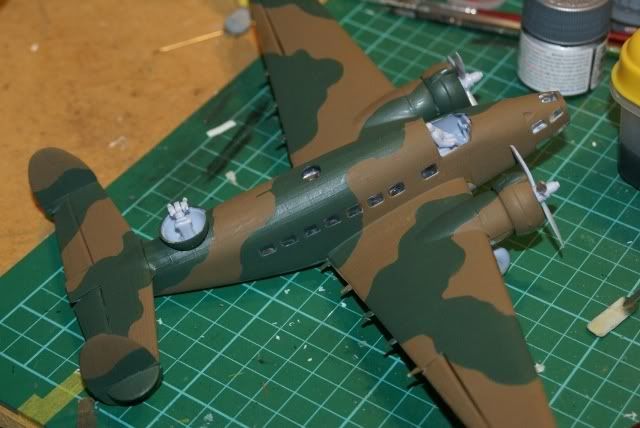
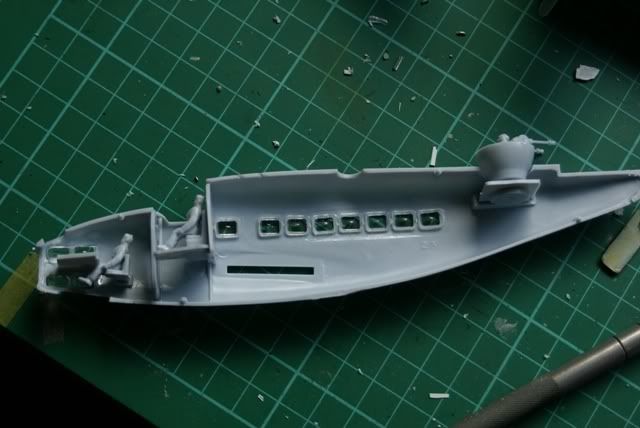
Interior assembled and ready to close up. Turret rotates...
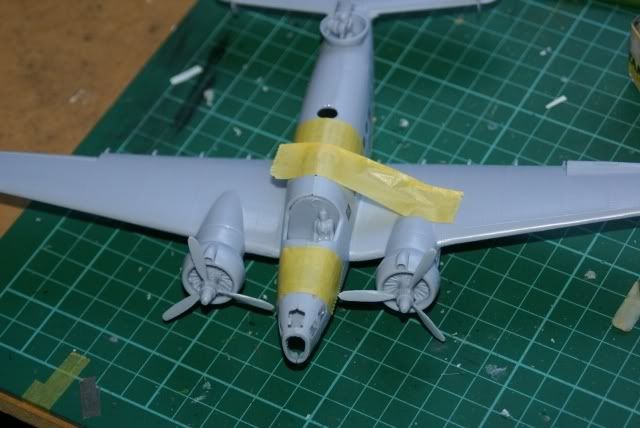
Final assembly is amazingly rapid when you aren't sighting everything for alignment. I tried to get away without using tape, but the old moulds aren't what they used to be.
Start painting in a couple of hours I reckon
In 1981 we were living in Rotorua, and 5 year old me saw a doco on TV where someone was holding a model of a swing-wing jet, with working wings. Naturally I was fascinated by this, and Dad must have been in a generous mood, so off to the model shop we went to get me one.
Somehow, having set out to get a variable geometry superjet, we came home with Airfix's Hudson. Go figure
 .
.Anyway, it was rapidly assembled and painted, and probably lasted all of six months before complete destruction at either my or miy sisters hands. It certainly didn't move with us to Lower Hutt in 1983. However, pieces of it (undercarriage leg, canopy, pilots seat) did survive and remained in my possession for some time. If I can find them they will be incorporated into the next Hudson.
I've had a soft spot for the Airfix Hudson ever since, and picked up a couple a little while ago. While one will be as good as I feel like making it, I decided the other was to replicate the original 1981 model, in essence making a model of a model and having some fun ;D I
t won't be completely accurate, as in 1981 it was moulded in silver plastic, rather than the pleasant light grey of the now.
Rules to keep to the original:
1)No detail painting. Camouflage scheme only. Maybe props (can't remember if they were painted or not) as well.
2)No sanding, filling, fettling or otherwise normal assembly practices. Technique only to be employed if a part absolutely will not fit.
3)No preshading, countershading, weathering, gloss coating, matt coating.
4)No detailing or accesorising.
5)Must be brush painted with humbrol enamels. Maximum of two coats allowed.
Simple
 .
.Really this is an excuse just to have some good clean fun with a model, and expunge some accuracy fatigue.
Wings and empennage assembled. Working ailerons? Check!Working retractable undercarriage? Check! Visible seams? Check!
Interior assembled and ready to close up. Turret rotates...
Final assembly is amazingly rapid when you aren't sighting everything for alignment. I tried to get away without using tape, but the old moulds aren't what they used to be.
Start painting in a couple of hours I reckon